
The Year of Wonky Feet: George Turns One!
It’s completely insane to me that the last time I wrote a personal blog post here, I was only just sharing the news from our 20-week ultrasound scan that our baby boy had been diagnosed with bilateral club feet (in utero). And now just last month, our little gorgeous George has turned a full year old already, and about to start walking!! Bananas! They say the days are long, but the years are short, and I swear with every child you add to your family, the days get longer and the years get shorter!
I had zero intentions of ever sharing our baby on the internet (and will share a lot less as we exit the baby stage - we value our children’s privacy and right to choose), but I have also learned that sharing these club foot moments here and there has been helpful for a number of other women facing a similar journey. I had a guardian angel in one of our Instagram friends (Tiffany, thank you thank you, if you’re reading this!!) who was 3 months ahead of us in the 3rd child club foot journey, and guided me through the process with helpful tips. And so, this is how I am paying that forward. I thought I’d write this post as an update on how his club foot journey continued through the two phases of the treatment (casting and bracing), how our last year has been, why most of my fears were unfounded and a few bits & pieces that helped along the way (disclosure: some affiliate links). If you missed the diagnosis part, read back here first. I’ll pick up from where we left off.
Spoiler alert: my pregnancy hormones were just that, the news was devastating at the time but the dysplasia fixing process was not, the clubfoot community is so wonderful, and George is one of the cutest, happiest, chilled out babies we’ve ever known, wonky feet included.

Post 20-week scan, I went back 4 weeks later as required by the doctors for the confirmation scan to ensure that the same deformity was seen with the feet and no other chromosomal abnormalities had developed. Nothing went awry, they just confirmed it was still just an “isolated” double club foot issue, and we went on our merry way. The following 16 weeks of pregnancy were like any other third trimester - hot, sweaty and uncomfortable lol. Though that may have been because I was still going break-neck speed trying to get DIY projects done in the heat of summer!
A week before George was born, we chose one of the two pediatric orthopedic surgeons we had been referred to (we opted for Nemours down in Wilmington which seemed easier than battling parking at the Children’s Hospital in Philly) and we spoke with her on the phone to understand the upcoming process. She was hysterical, matter of fact and easy to understand; we knew we were in good hands. We learned that there were two phases to the whole process, one which lasts a couple months (casting), and then the second which lasts for the 5 years after that (bracing). George was born, we saw his adorable little wonky feet and the journey began.


PHASE I - CASTING
On the day he was born, Stu had to phone the orthopedic group to confirm his birth and schedule our first appointment, not less than one week later. We took George home, got him settled and gave him the first and only full-immersion bath he then had for the next 8 weeks. It felt like I had barely left hospital (4 days due to a c-section), then we were already trekking down to Wilmington in Delaware to meet the doc in person and get George’s first set of casts. To say that week was an emotional whirlwind is an epic understatement! The fears I’d had over the last 20 weeks all came rushing to the surface…. I’m in severe pain and can’t even hold him through this, he’s going to be in severe pain, he’s going to scream his little head off getting this casting done, I’m not going to get to properly bond with my teeny-little baby, how are we going to manage, this is going to be awful….
And then this happened. He fell asleep during his first casting. Haha!

And then a week later when we had to get the first casts off, which was utterly terrifying from a parent’s perspective watching essentially an angle grinder being put on the casts of the ickle fragile legs of a newborn. (Of course, we trust the nurses and technicians implicitly as they’ve done this a thousand times, but still ACK!) And yet George - Mr. I-heard-every-power-tool-under-the-sun-in-utero - fell asleep again and didn’t freak out whatsoever. Mind blowing! We asked if that was normal, but apparently most babies do cry in the repeat cast removal process once they realise what’s going on. George never did! So lesson for preggo mums, get that DIY going! Or at least hoover the house a lot, haha. Regardless, the main fear was that George was going to be in pain as they shifted his feet into uncomfortable positions and kept them there during the casting process, but he didn’t cry out in pain once. The doctors do offer pacifiers dipped in a sugary liquid to keep the babies happy, but George didn’t like that much… he preferred just holding our hands. In fact, this is one of our fave pictures from the whole process below.


The casting process is pretty straightforward - it’s all based on the Ponseti method which was amazingly developed back in the 50s, and has allowed many thousands of children to avoid surgery (which did not have a great success rate at keeping the deformity at bay). The Ponseti method on the other hand has a 90% success rate in non-recurrence. Feet have a variety of motion (up/down, left/right and in/out… go on, try it now that I’ve made you think!), and most children with clubfoot have deformities of all 4 muscles that allow this movement - Cavus, Adductus, Varus and Equinus. So through a series of weekly casts, they slowly correct each of the muscle twists. First, they flatten the foot, then they shift it up, then they align it with the heel, then finally they rotate it outwards. The order is crucial to getting the bones and muscles to align correctly. George required 8 weeks of weekly casting, in 6 sets of casts (the last set stayed on for 3 weeks) - some babies require more, some less, it just depends on how twisted each foot is based on the flexion range. The actual casting process was surprisingly quick each time, taking about 15 minutes to remove the old casts (cue the angle grinder thing) and another 15-20 minutes to put on the new ones (a series of pre-plastered strips that are molded onto the leg as the doctor holds the foot in the next position). They would also weigh him once the old casts were off and told us to weigh him again 24 hours after the casts were fully dry. Wet casts weigh quite a lot, so you have to log the dry weight to help the normal pediatrician track his actual weight properly and ensure he was growing per the general guidelines. That was actually the most surprising element - just how heavy the casts and his legs were. The casts added a solid 1lb of weight which makes a pretty big difference to a little 7lb newborn!! Here’s how it all looked for the first 6 weeks of casting below, I think I forgot to photograph a week or two, but you can still see how his feet and casts progress. We couldn’t believe how quickly his feet changed each week and how miraculous the whole process was!


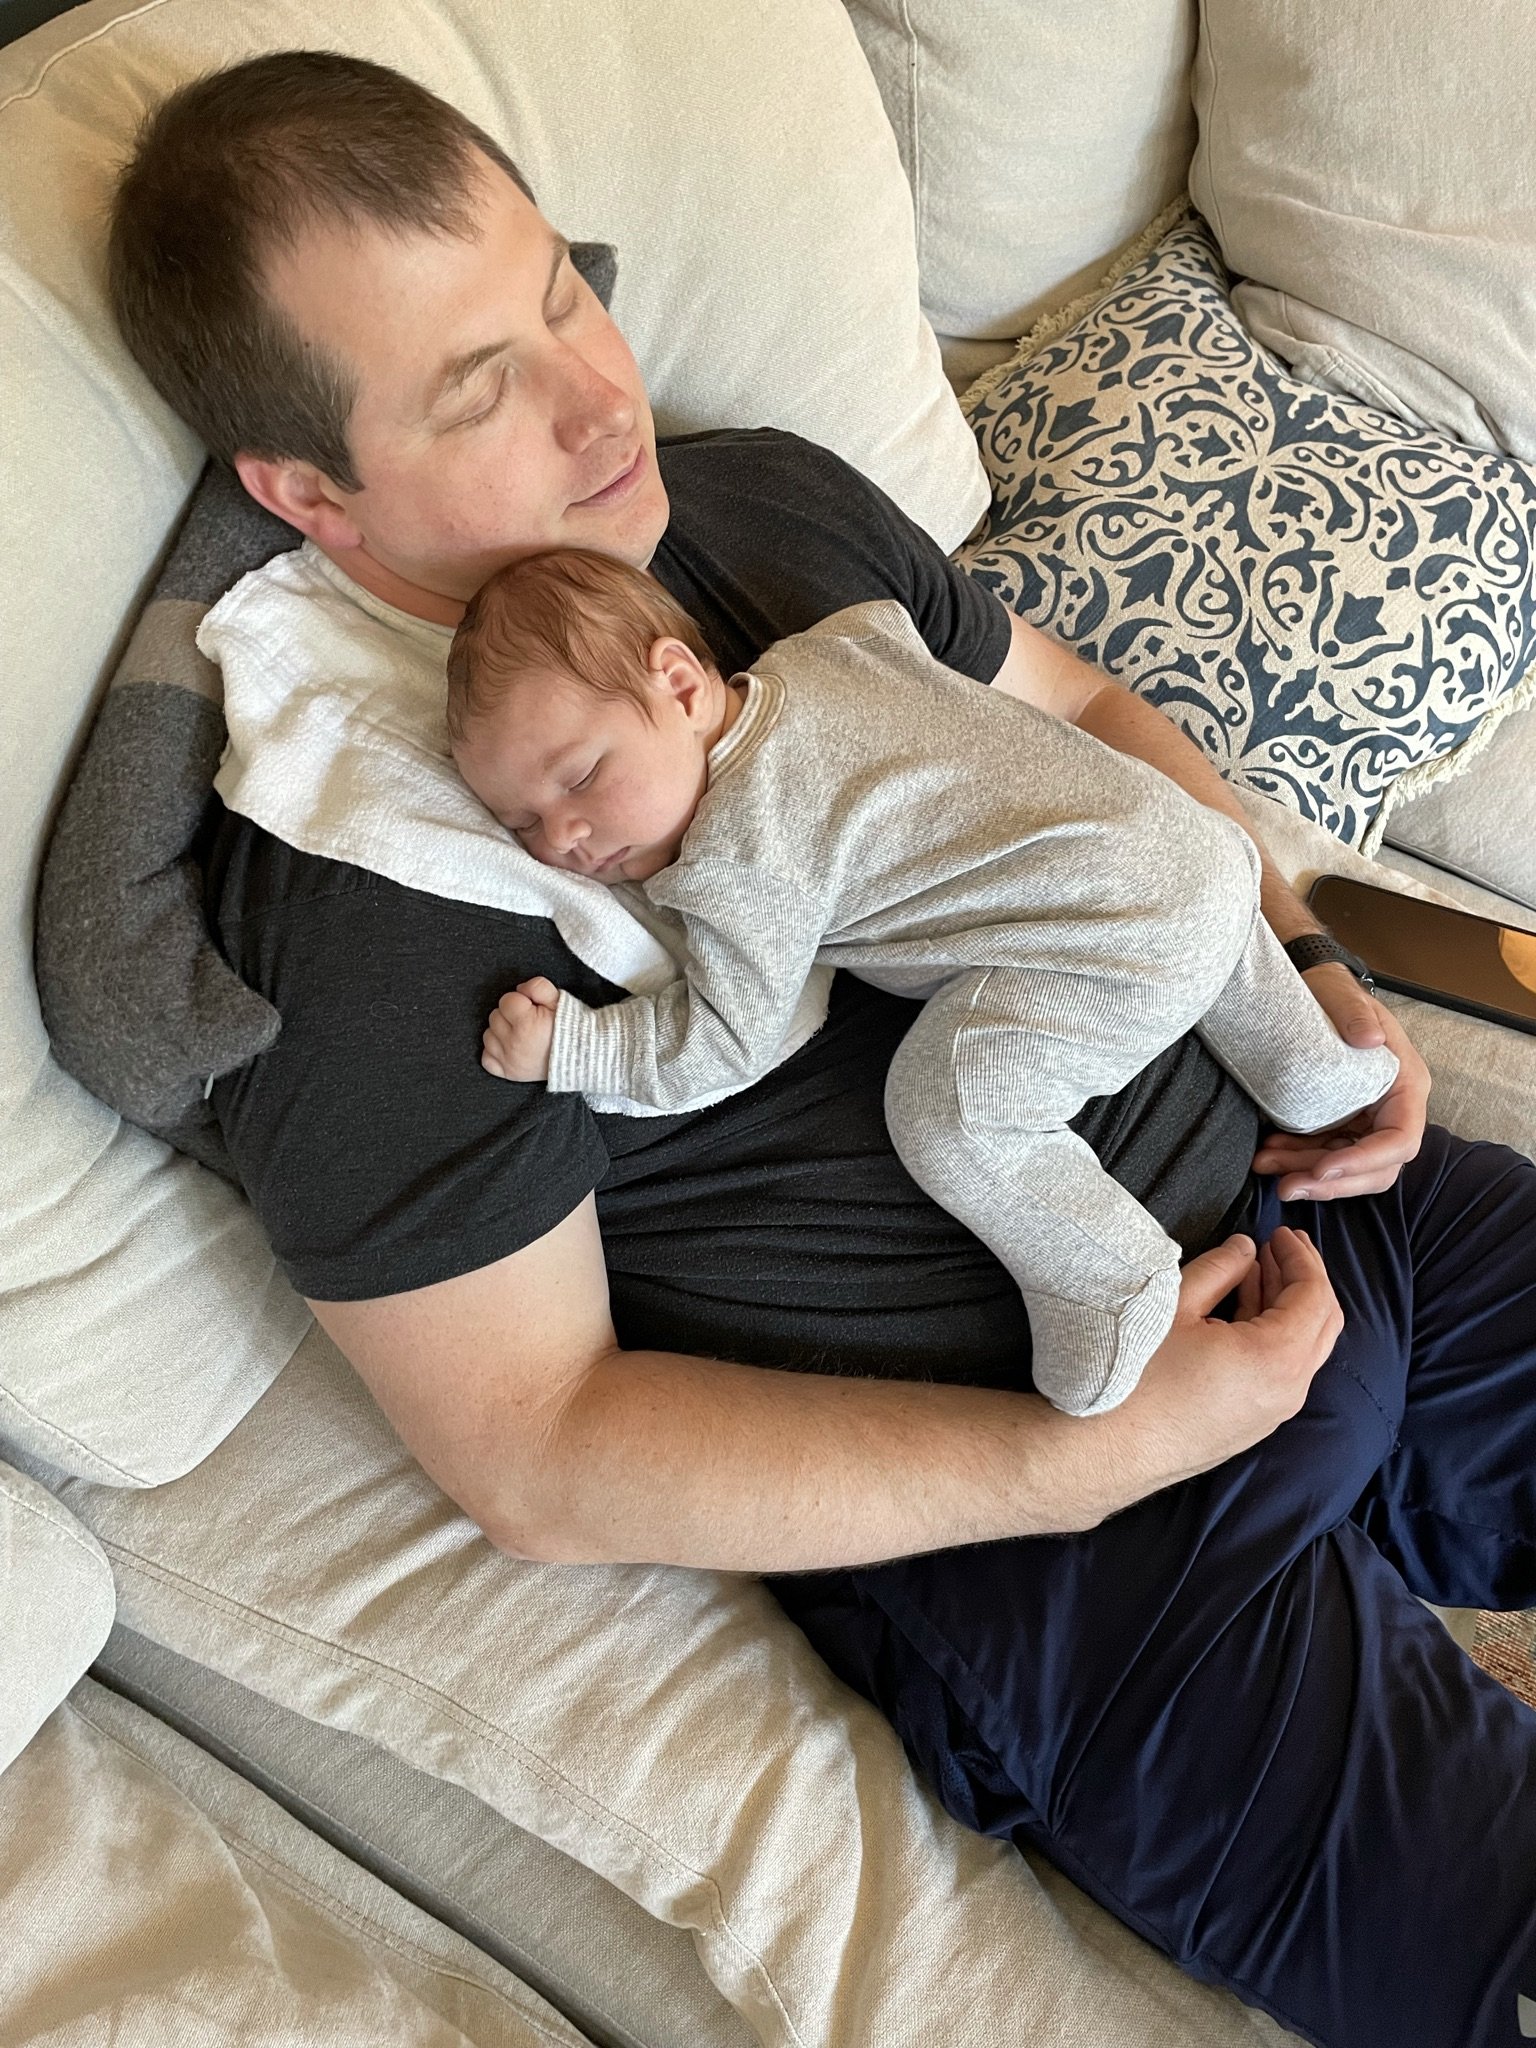
It also turns out that most of the fears and worries around the casting were unfounded. I was so worried that breastfeeding was going to be really difficult once he had the casts on (as if breastfeeding weren’t hard enough already?!) and was going to be more painful for me with his casts brushing up against my c-section wounds. However, I can continue to highly recommend the Boppy pillow which cushioned my c-section from his extra weight, and was soft enough to conform to however he needed to lay. I also covered up his casts with either a onesie that was one size bigger than he needed (to cover the extra size of the casts), or if he was in a normal little bodysuit then I used these full leg socks to prevent the casts from catching on anything for me or him. The doctors did also provide cast netting “socks” which go over the full length of the cast, and they provided extras for the inevitable pee disasters and blow outs. Diaper changes were actually significantly easier than expected, as you don’t have two flailing baby legs to deal with. But you do have to be careful not to get the casts wet and ensure that baby boy’s willy is covered with a wipe as you change them! The benefit is because you’re getting new casts every week, when the poop does happen you can wipe most of it off, change the netting sock and then be back in the hospital for the next casts before you know it. Tummy time was also pretty uneventful for George- though it looked really funny with his casted legs poking up behind him, it didn’t seem to bother him in the slightest.
I did “mourn” the loss of not being able to put George in the same onesies and clothes as his older brother and sister, which was a bit heartbreaking. But I tried to combat that by either using the bigger size up (ie put him in 3-month clothes at 1-month) so he could wear the same outfits for a little bit, or I tried to take the positive road and view it as an opportunity to get him some new clothes that were more fit for his unique needs. So, we indulged in a few of these magnetic onesies which are a godsend that I’d honestly recommend for any baby! And then as he transitioned into boots, we also splurged on a few more of these good quality popper-bottom footless rompers which are surprisingly few and far between for most US clothing brands. Bathing was the only thing we didn’t really get to “do”, so we just used a nice quality muslin cloth to sponge him down every few days from face to bottom. Babies don’t really get dirty enough to warrant it but starting a nightly bath as part of the bedtime routine was an essential part of life for our first two babies in getting them into a rhythm. Not having that delayed the routine aspect of life, but it’s really only temporary. And finally, I did also “mourn” not being able to baby-wear George the same way as I could the other two kids - he couldn’t be all curled up on my chest or inside a sling while I did things because of the casts, and those snuggles never quite felt the same. But I did find that I could still wear him in the Baby Bjorn with the casts on, better than nothing especially when I needed to get grocery shopping done, etc.


Back in the hospital, at the beginning of the casting process, the doctor estimated that George would need 7-8 sets of casts based on his range of motion. But after 5 sets, she was pleased enough with the progress and suddenly that day we were launched into the tenotomy surgery. Sounds very scary (does the word surgery induce fear in everyone like it does me?), but it’s not really - it’s a minor out-patient surgery where the doctor punctures the Achilles tendon on each ankle to release the tension between the foot and the calf muscle. The club foot deformity means that the Achilles tendon is shortened at birth. However, at their young age, tendons essentially just grow back together, and it lengthens the tendon so that they can properly walk later on. I hadn’t had the mental time I expected to gear myself up for the procedure and seeing George be hurt, so Stu took one for the team and stayed with him in the room while it was done. He reported that George barely even whimpered, and it was all over in about 30 seconds. The wounds were no bigger than a basic papercut and healed perfectly by the time the next casts were off. It really wasn’t awful! In fact, the third picture of us holding his hands while he got the last set of casts on is one of our favourite pictures.


Right after the tenotomy surgery, they put band-aids over the cuts and then immediately put on the final set of casts for approximately 2-3 weeks. This was the only point where we found George uncomfortable with anything. He was going through a major growth spurt over these few weeks, and packed on nearly 1.5lb pounds. We found that by the third week he was grabbing at his legs a bit and generally grumpy all day, we think because the casts were feeling tight. There is always a “muffin top” at the top of the cast each week where the fat accumulates, and then the rest of the leg looks waif-like and skeletal by comparison when the casts come off. But that last week, the muffin-top was really protruding. I’m realising I didn’t get many pictures of this, but you can sort of see the chafing at the top of his legs in the second picture below. We gave him Tylenol for a day or two which helped a bit, and he managed it. He was a very happy baby the minute the final casts came off though!

And so we moved onto…
PHASE II - BOOTS & BRACING
At this point, George is now nearly 3 months old, time has flown by in a blur of normal sleepless nights, family chaos and weekly doctor’s appointments… and we’re entering the “maintenance” stage of the process. Casting is complete, and he now wears the special orthotics boots & braces for the next 5 years. Yep, 5 years. The only thing that changes through this is a) the length of time he wears the full contraption each day and b) the size of the boots & bar as he grows.
After his last casts came off and the doctor confirmed everything was on track, we were sent across the hall in the hospital to the prosthetic/orthotics company (LaWalle) to get his boots fitted. His first little boots were SO TINY!! Size 000 in fact! With prior advice from the doc, we came armed with the right kind of socks - non-terry cloth, thin cotton socks that wouldn’t get bunched up as you pulled the boot straps tight. After several lessons from both the doctor and the prosthetics tech that confirmed we knew how to put the boots on properly (practicing on a doll first haha), we were finally on our way home after a 3-4 hour long afternoon.
Thankfully, it wasn’t a huge learning curve with the boots. They are quite a simple system of leather/suede fabric and buckles stuck to a solid piece of plastic, and then that clicks into an adjustable bar that is set to the width of the baby’s shoulders. The minor challenges were learning to pull the boots super tight (which doesn’t hurt the baby), getting to grips with actually getting the boots on a very squirmy baby and getting the ‘tongue’ parts to stay flat in the process (pulling it tight over the foot and holding it with the buckle is the secret), especially when the suede was new and stiff (it quickly softens in a week or two). A second minor challenge is ensuring the bar was wide enough and checking it often since they grow so quickly. We stored a tiny allen wrench (another example of our DIY habits coming in handy) in his chest of drawers for the couple of occasions we needed to extend the bar length. Once we were home, we also ordered one of these bar covers that he could play with and for protection. You can see a few pics below with and without the cover while we waited for it to arrive. (I really liked this site too which has bar and boot covers as they fully detail what size you need, something that you don’t know until you already have the first set).


For the first 3 months (where you start counting from the moment that last casts come off), George had to wear the orthotic contraption for a whopping 23 hours a day. And the hour he had free of the boots, was suggested to be split up into 15-minute increments over the day. For me, this was the hardest part of our journey. I always find the 4th-6th month period the toughest with a newborn anyway, as you’re starting to add in solid food, get on a schedule, going through sleep regressions, etc… but adding a strict 15-minute scheduled free play in 4 times a day, seemed quite difficult. We followed the eat, play, sleep routine on a 45-minute cycle, and adding in 15 minutes of boot free time, PLUS the time it took to get the boots back on again, felt like I was constantly fighting the clock to keep him on a general schedule. Add in that we also started experience reflux issues and general breastfeeding issues (which happened with my older children at 4-5 months too), and I personally struggled through this phase a lot. That said, George didn’t. He took it as it came, enjoyed the tummy time without the boots on and had no qualms when they went back on again. Eventually over the next few weeks, I got faster at putting them on and the suede softened up, so the process became less taxing. In the end, we did two stints of 15-minute free play during the day and then one 30-minute free time during bath & bedtime routine. It worked for us, and during our monthly doctor visits, she said that was fine. But that was definitely the hardest part for us.
As we got used to the new normal (and weight!!) of George and his boots, we all learned to adapt. We found that these popper-bottom rompers were essential to the frequent diaper changes of a 4 months old - as you don’t want to be taking the boots on and off all the time. That said, changing him got even easier, such a doddle with the bar! You basically have a handle to lift up the entire bottom half of the baby (haha!) and especially when you have a very messy nappy, it makes clean up so.much.easier. Take those silver linings! Additionally, we found the high-top crew socks (not ankle ones) kept his feet happy and blister-free. We were warned early on that we may need moleskin, extra band-aids or cloth to take pressure off his skin, but we never needed any of it. Our boots came equipped with this little white rubber piece called a “pressure-saddle” - I’m not sure if this is normal or not, but if you can request it, do! It certainly prevented any creases forming and in 12 months, we’ve only ever had one tiny blood bruise which healed within a week.
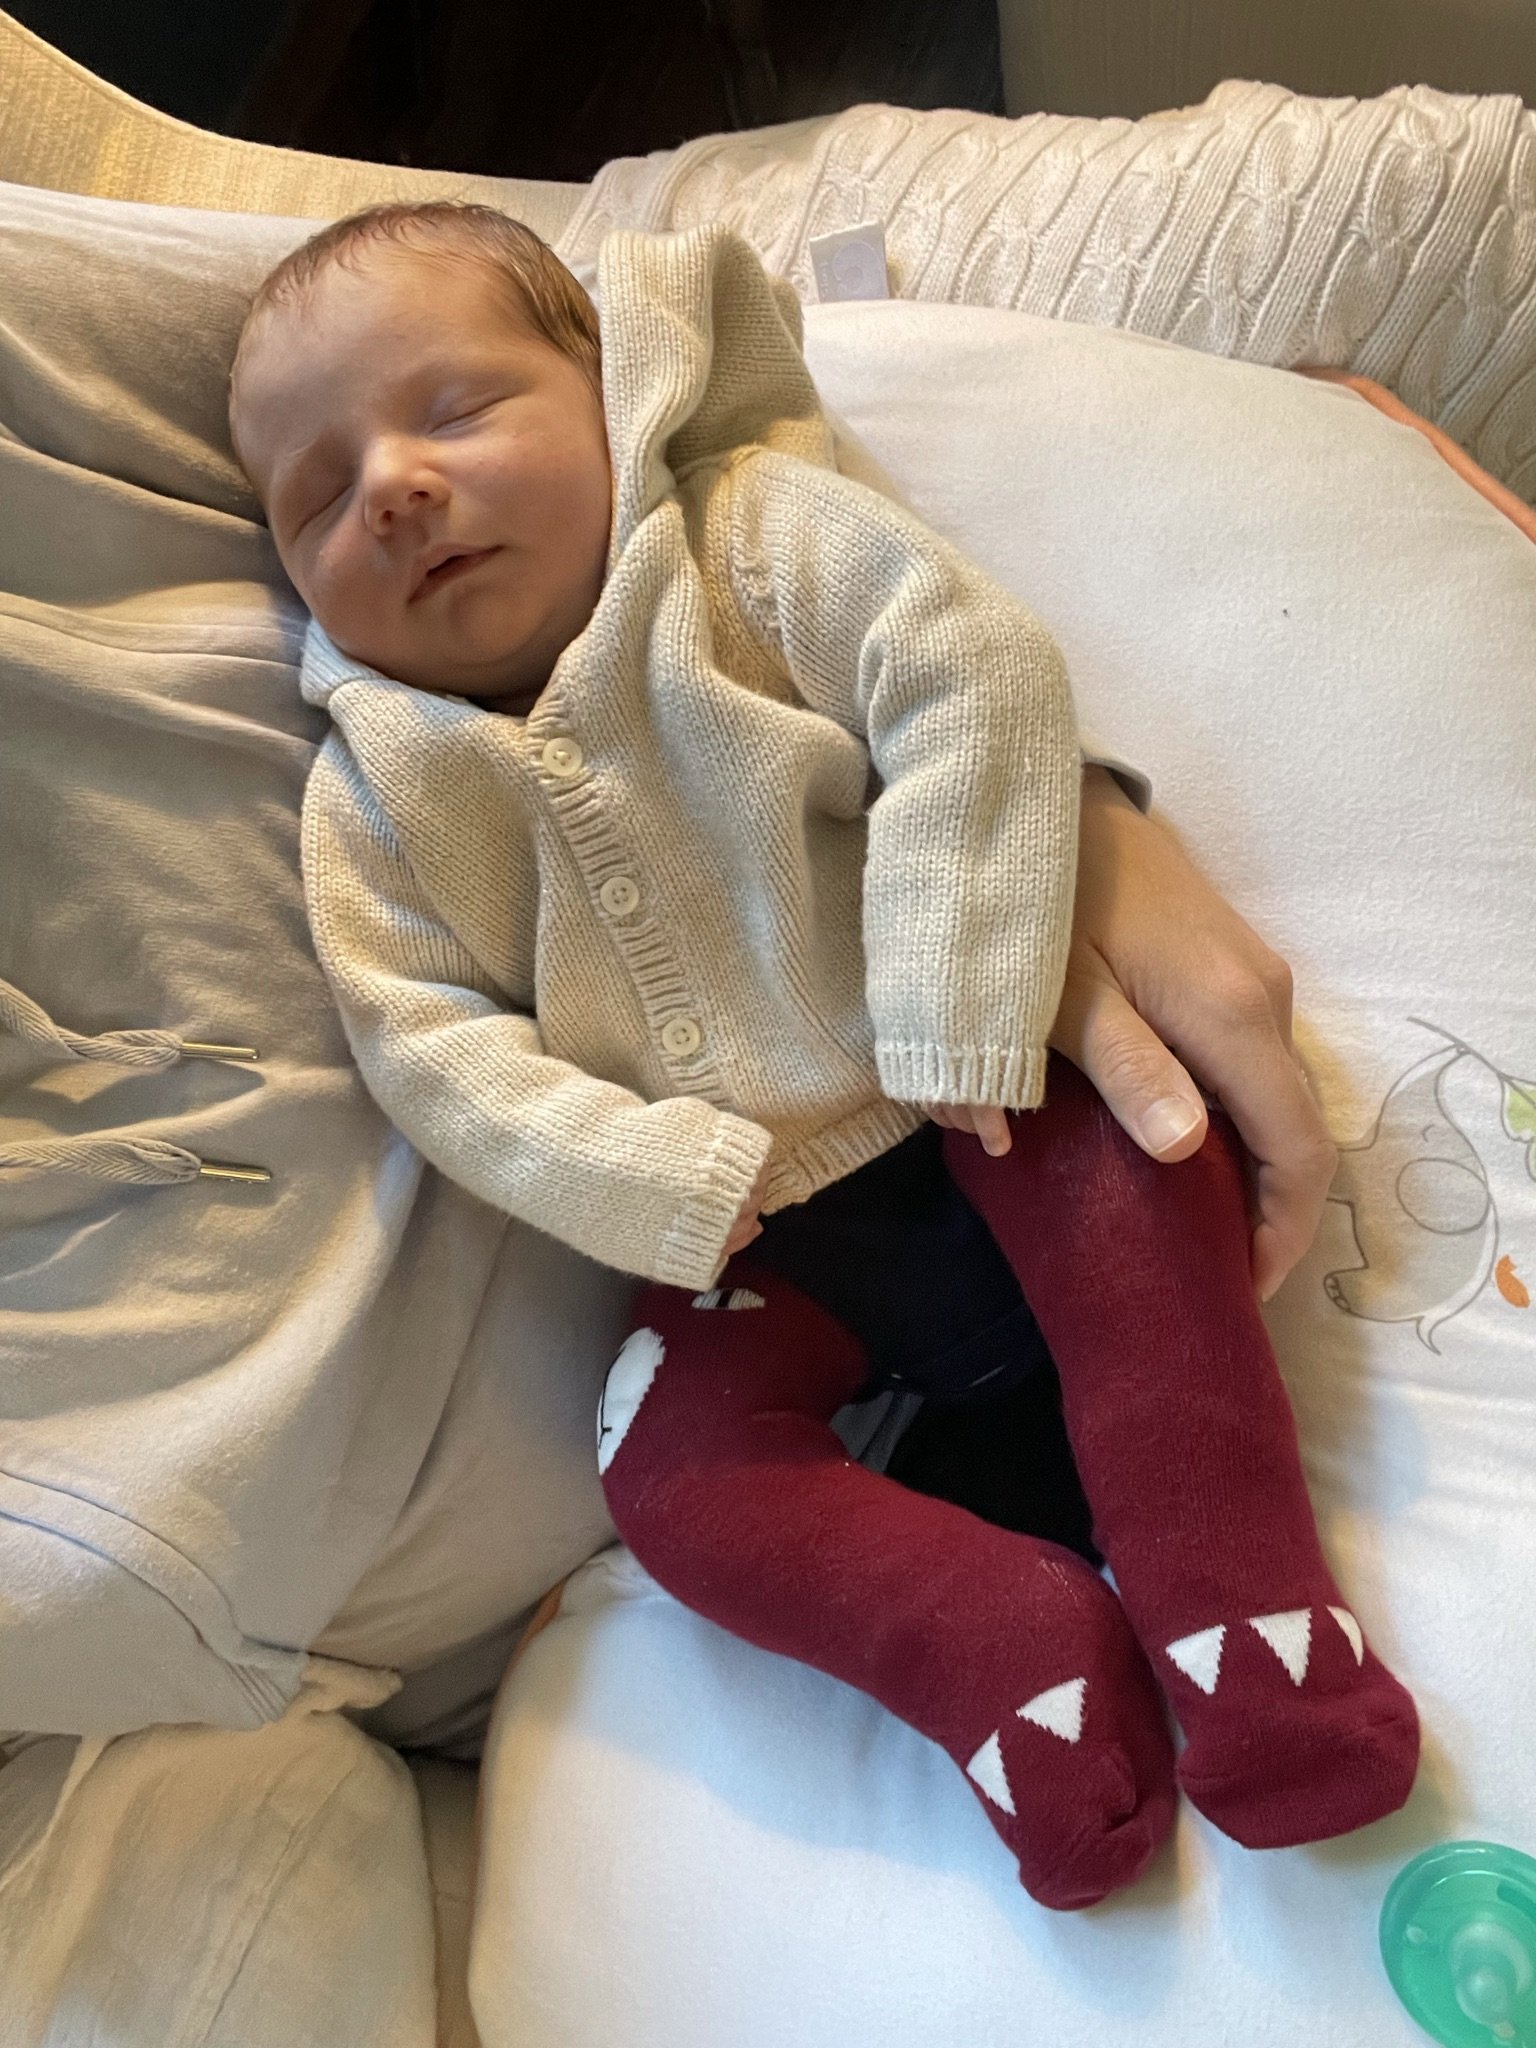
For keeping him contained and portable - we loved our Baby Bjorn products - both the bouncer and the carrier which were easy to manipulate around the bar. We tried everything we could to not have to take the boots & bar off, so we found both the carrier and the bouncer easy to just slip the middle flap of each product through his legs and secure as usual. Equally, around 3-4 months after trying the Merlin suit for sleeping and various swaddles (he hated them all), we returned to our tried and true merino wool sleep sacks. These also fit the bar perfectly, and continue to do so even now (pictures 3 below). For the snowy winter months, this bunting / sleeping bag (pictured in the gallery below where I’m wearing him) was perfect for the stroller too to keep his feet covered while in the bar - you can either have the legs individually zipped, or zip them together to create the sleeping bag - so smart!!


About a month after his initial boot fitting, we returned to the hospital for a check-up where we were shocked that he needed a new set of boots already! Shock!! Thankfully the bar lasts through a number of boots, so you don’t always have to get a whole new system. But I will say the financial concerns started coming into play a bit more. Stu has fantastic corporate health insurance, but even with a top plan, the whole boots & bar system cost us $350 each time. Added onto copays for weekly visits, travel to and from the hospital, time off work, new onesies, etc it all adds up. We are lucky we have the means to cover it, but even in our privileged state, the costs are something to account for as you plan. There are also many second-hand sites and charity funds for those less-privileged such as ClubFoot CARES and we will be aiming to give back by donating George’s old boots to this charity to help those in need.
Still struggling with the 23-hour a day boot wearing + sleep regression, we counted down the days until the 6-month appointment where we hoped that his foot progress was good and the hours of wear-time could be reduced. We got that green light in June, phew! And once again purchased yet another pair of boots (third set if you’re keeping count). We were now able to reduce him to 16-18 hours of wear-time which meant we put the boots on for all 2-3 naptimes and his 12-hour sleep at night, plus an extra hour between bath and bed. This made life soooooooo much easier, it was quite freeing! It also meant that the boots being put on for nap-time and bed-time helped signal those moments, and created a sleeping routine that he adjusted to very quickly. Hallelujah! It did also mean the boots were put on at his changing table up against the new paneling we had installed, and he made sure to add his mark to that wall. The boots are heavier than you might think, and between that and the casts acting as weight exercises for the baby, they grow really strong thigh muscles at an early age. And boy do we have some dents to prove it! We also learned that if the baby is laying perpendicular to you, to put the furthest boot away from you on first and then the closest one on second - because otherwise that first boot comes careening down onto your hand with speed and force, and that hurts, a lot. It’s also when the bar cover became a real godsend too, protecting your own hands from the weight of the bar as the baby throws it around with their feet - but also protecting your walls, the crib and the baby themselves from the solid metal. Bonus, we spent the extra $5 to add “taggies” onto the bar cover (little ribbons they can play with), and that was well worth it - George absolutely loves grabbing at them, especially helpful during diaper changes too.

His 9-month boot check-up came with a 4th set of boots (good lord they grow quickly!) and an empty bank account ha! The doc was very happy with his progress although it was around this time when I questioned about his toes being constantly curled and his odd little ‘twisted ski-jump’ toenails. She advised that his toes will slowly flatten out (they have already), especially as he starts walking, and that the toenails will follow-suit. Apparently, no one knows why they grow that way for club foot babies! We also had another reduction of wear-time down to 14-16 hours, so opted to just drop one nap from the schedule - so he now wears the boots for post-bath & bedtime (6pm-7am) and his morning nap (9am-11am). At this point, George is now crushing all of his gross-motor milestones with no problem - again another concern I had coming into all of this. He’s rolled over earlier than his older brother, started sitting up, reaching for things, army crawling and then full crawling by 9 months.
By his 12 month check-up, he was standing-up, pulling up and starting to cruise a little too. At this final quarterly check-in, we got yet another set of boots (and a new bar this time as he is growing so rapidly) - which makes for 5 sets of boots in one year. Gasp!! We have remained at 14-16 hours for the boots wear-time, and will adjust that to be his afternoon nap instead of morning nap as we slowly wean him onto one nap a day. He is now a power pro with the boots on and even fully stands up in the crib in the morning with his boots on! Not bothered in the slightest! We did have to move him out of the Chicco KeyFit infant car seat around 10-11 months as the width of the bar and his hips was too great for the seat, he constantly whined every time we put him in, so we can only assume it hurt and was putting uncomfortable pressure on his legs & hips. He was also more than 20lbs at this point, so my poor decimated back was grateful for the switch too! He’s now in our daughter’s old convertible GracoFit which has worked well so far.
And that’s it! George reached his milestone birthday in early September and we’re all in a little shock that this year has passed so quickly. At the beginning it felt like such a blur of doctor’s appointments and constant change, but we’ve all really settled into a rhythm of life and are looking forward to him taking his first solo steps soon. Looking at his feet now, you’d never know what he went through earlier in the year! We’re excited that we’ve graduated to bi-yearly (twice per year) appointments now which will be to check his progress and ensure that the deformity isn’t recurring in any way. But based on his perfect little tootsies that I’m all too obsessed with staring at, we feel hopeful that all is well and will be in the future too.


I write this post in the hope that it’s helpful for any other parents who have perhaps recently had a clubfoot diagnosis and are fearing the worst. It’s a dry post for sure, but I hope it contains helpful forward-facing information about our experience and more importantly, reassurance that often comes in the mundane form, when you’re struggling to come to grips with surprising news. For any who have found this helpful, or perhaps want more information or to connect more directly, please do drop a comment or feel free to email hello@brooksandstone.com.
Love & cuddles,
Lex
