
One Room Challenge - Aemelia’s Room Plan (Week 1)
Welcome back to anyone who visited yesterday and learned of all the plans for Henry’s room! And welcome to those of you who may just be joining us for the first time. We have a crazy plan for our first participation in the One Room Challenge, in that we’ve decided to tackle not one, not two, but three separate spaces! Our two kids’s rooms and our kitchen. Why? Well, because we’re not yet living in our fairytale 1929 Tudor home due to the renovations, and we really really REALLY want to be living there. So, imposing a deadline where a finished room is expected by a whole load of strangers gives us the extra smack on the bum we need to get it done. It’s a tall order and we will likely fail at something somewhere along the road – but it’ll be a fun journey and a great story nevertheless, and hopefully it moves us into the house by June 25th. Hoorah!
Tomorrow, for those who like to stay ahead of the game, we’ll share all the details about our kitchen! Want to know a little about us? Useless info & fun facts is here. Want to learn more about the One Room Challenge - check this or read my very first premise & inspiration post.
So…

Meet Aemelia! Always laughing & quite the little fashionista.
Our daughter’s room is the room that launched a thousand designs. Quite literally. It is the biggest bedroom in the house, and the one with the most character, storage, and potential. So why give it to our boisterous 3 year old you may ask? Well, that has to do with the layout of where it sits in the house – on the corner wing above the garage, sharing a tiny Jack & Jill bathroom with Henry’s room, and tucked behind the attic stairs and what we call ‘the office’ (really just an extra open area by the stairs). Check out my previous post on inspiration and the floor plan if you’re interested in those details. It was one of our favourite rooms when we first viewed the house in August, and I immediately started planning the design for it as soon as we decided Aemelia would be the occupant.
That said, I’ve been through so many iterations of this design, trying to balance Aemelia’s larger than life personality with her fervent love of bright colour, with a historic house that demands more demure and timeless aesthetics. And I’ve struggled with my own inhibitions too – never one to pander to the ‘girls should wear pink’ brigade, I’ve shunned the concept of a ‘girly’ room with all my being up until this point. But now, despite having a wardrobe filled with blue and orange (her choices), Aemelia does in fact like and ask for both pink and purple. Somehow, beyond all reason, that has become the base colours of the room. #didntseethatcoming
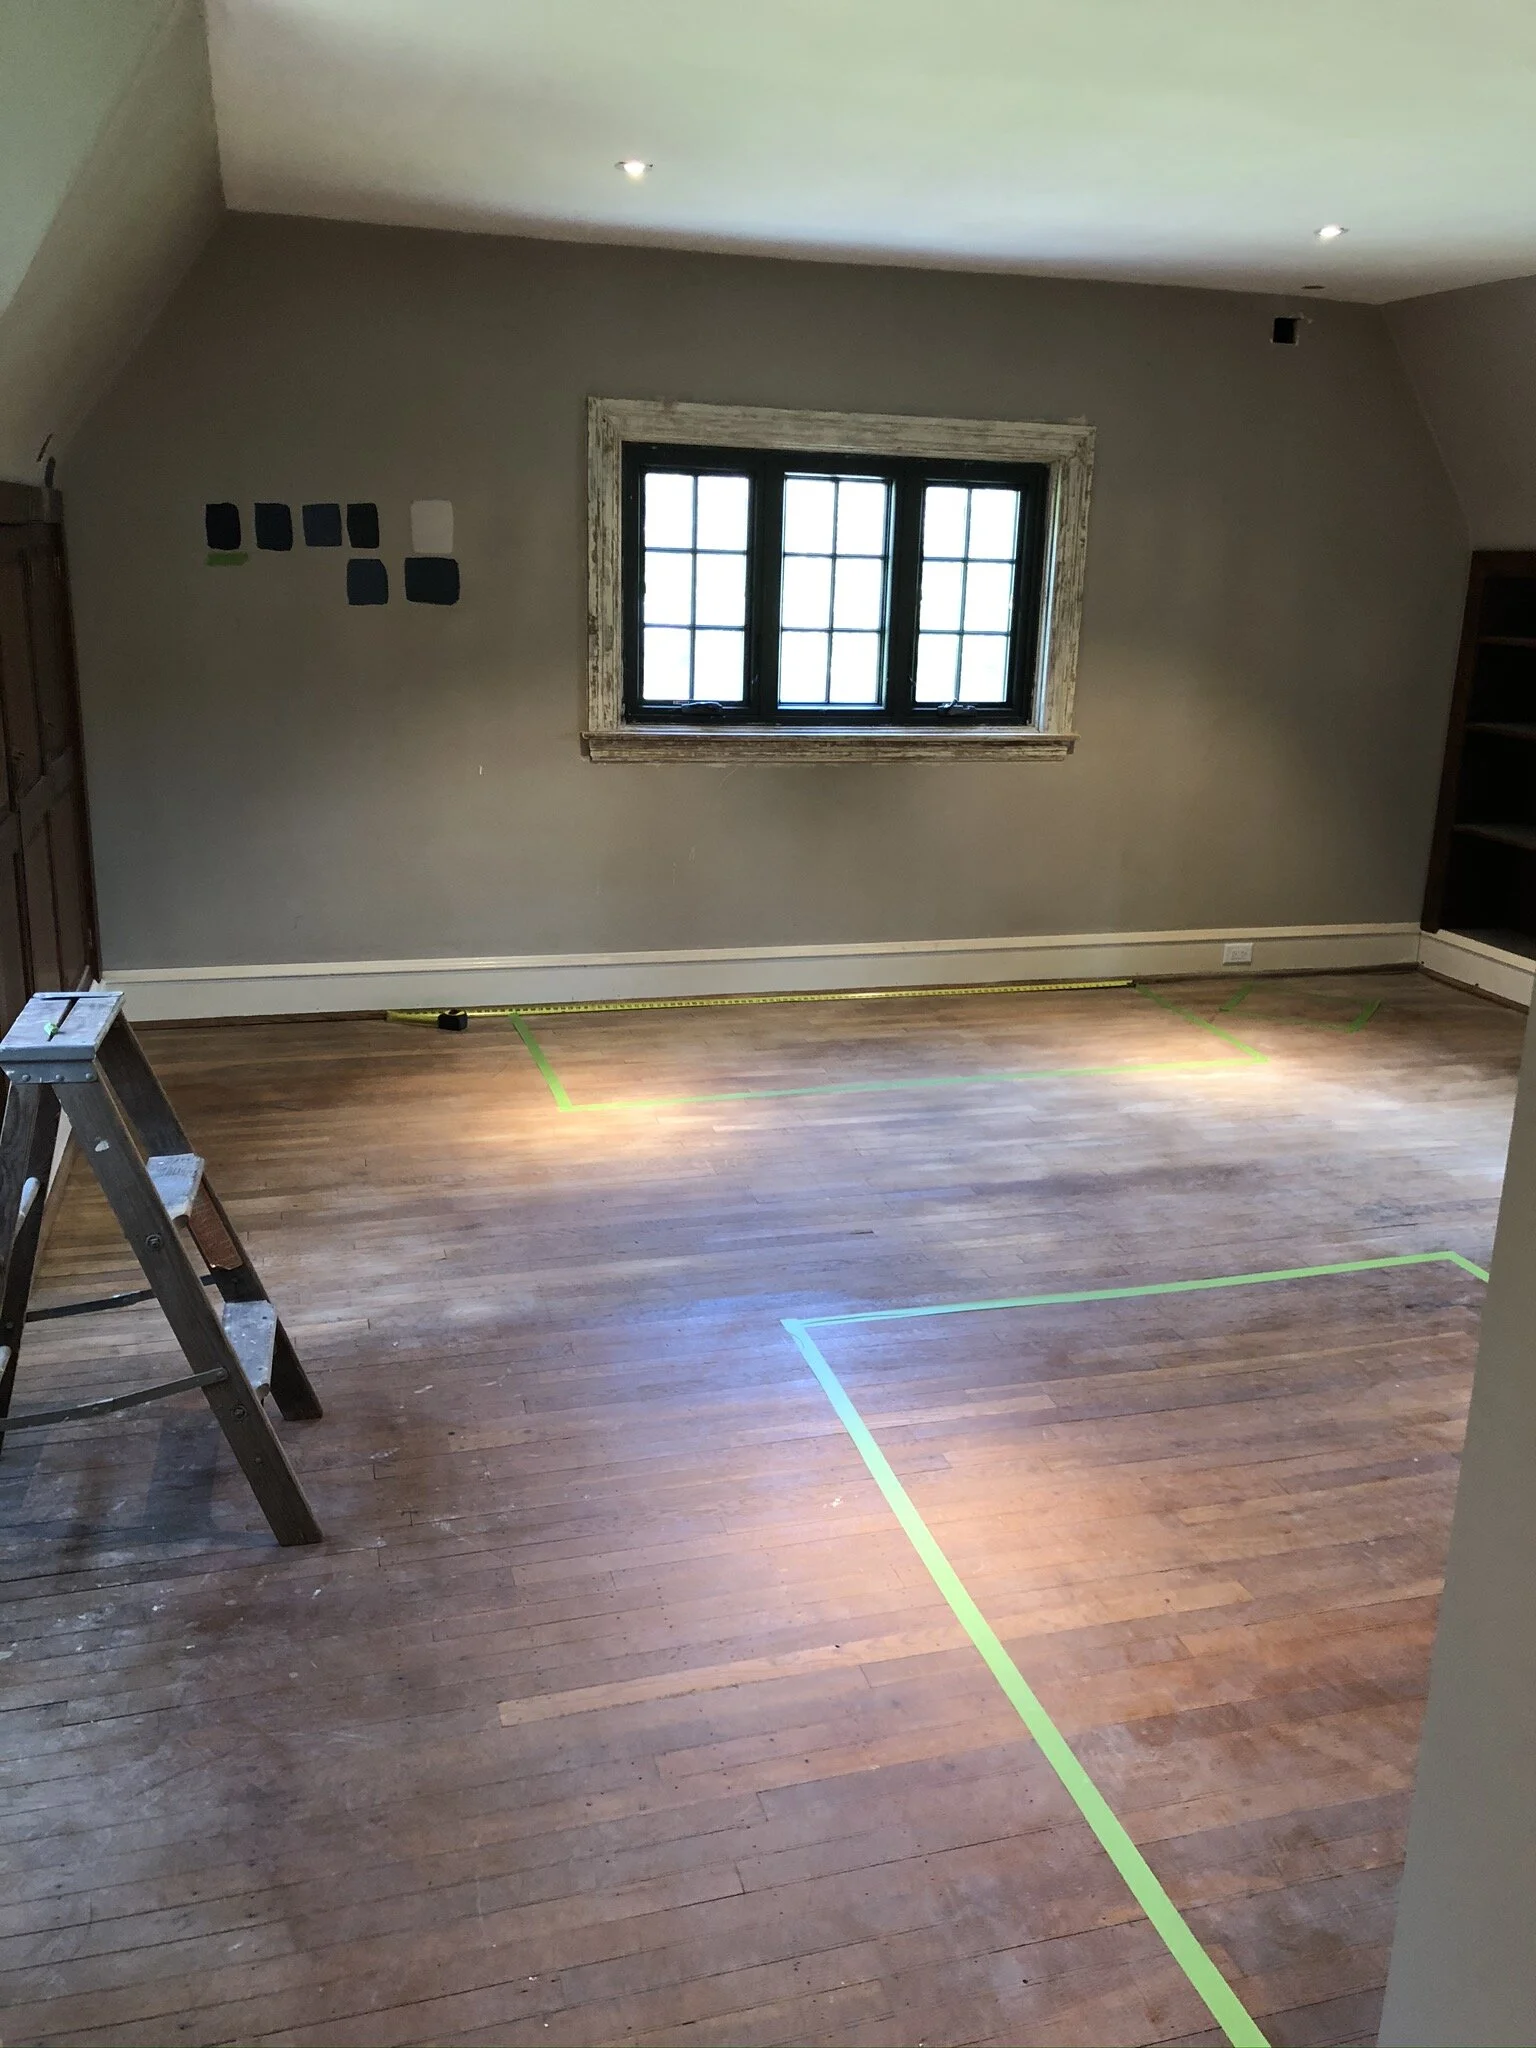
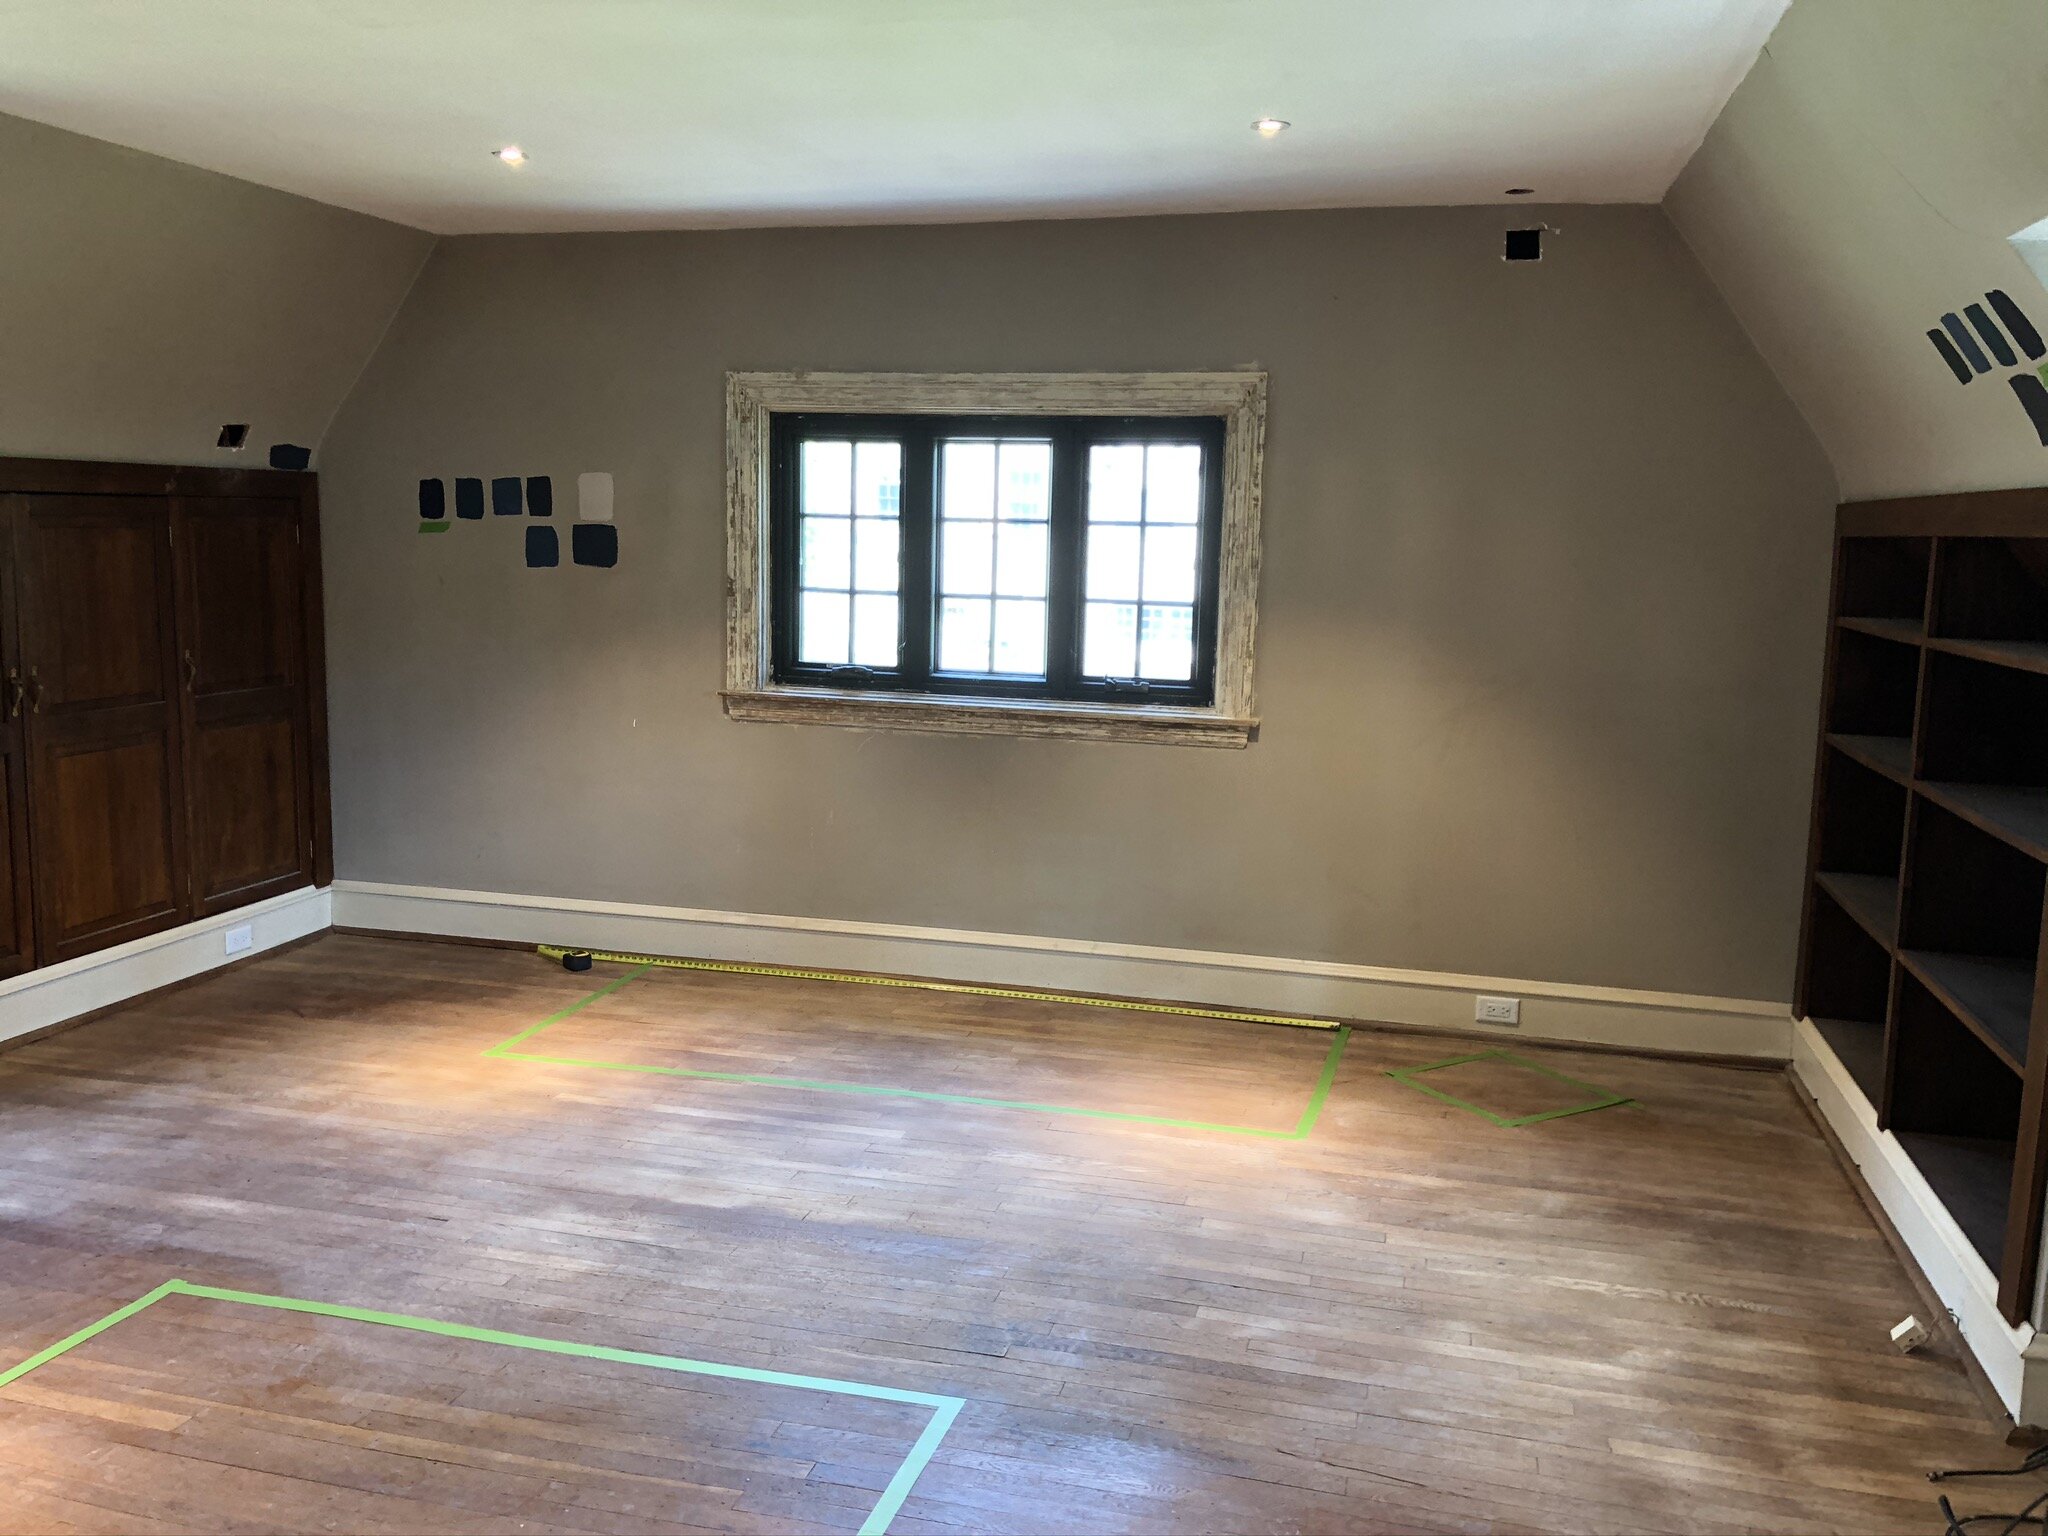
THE BEFORE PICTURES
For the house’s previous occupant, the room used to be his office. As a local doctor (GP), the bookshelves were actually filled with leather bound books, he had a large executive banker’s style desk, a real briefcase at the base of the desk and a casual TV set up in the corner. I can often imagine him sitting at his desk working – he is such a lovely man! We have theories that perhaps the garage (right below it) and this room were added at some point in the 1950’s which might explain the odd layout in the house, but at the same time, both also seem original due to consistent hardwood throughout, crumbling stucco in the garage, mixed assortments of drywall and plaster, and original doorknobs. Our 50’s theory is also that all of the storage under the eaves was added then too – but who knows. Until we can go digging in the planning archives when the world re-opens, we’ll just have to keep wondering!


At a little over 18’ x 15’, with an added alcove, the room is massive (especially for a kid). It contains no less than 2 radiators, 4 built-in wood bookcases, 4 built-in wood storage closets, a small under-eaves actual closet, and a huge full height actual closet. With three windows surrounding the room, it gets plenty of natural light and has a stunning view of the red Japanese maple in the front garden. Just like Henry’s room, it didn’t have any overhead light before – just two sconces on one wall. So when all the electrical work happened we kept those original sconces (albeit they need a good scrub), added a couple more sconces in the alcove, and added 4 recessed spotlights on a dimmer to provide ambiance.
The room was pretty dirty with a lot of stains all over the walls, peeling and cracking paint around all the windows, radiators and doors, so it’s taken a fair amount of prep work to get to a blank state ready for design.


THE CHALLENGES
Given the size, the challenges are pretty few and far between. We’re not adding molding in this room (too much hassle with the number of angles!) so we don’t need to worry about whether it’s level, and our bigger question is what we’re going to put on all those bookshelves without buying a load new toys! Books is the answer of course…! Nevertheless, these are the 3 things I did spend more time noodling over.
(1) The Sofa – Putting a whole sofa in a toddler’s room feels rather extravagant, but we read a lot of books at bedtime and now that both kids go to bed at the same time, we liked the idea of having a space where we can all read together as a family. This room is the only space that can really accommodate it and Aemelia is always chief book selector anyway. My little heart has been in love with the Madeline sofa by Rowe Fine Furniture for a long time now, and that’s what we planned to put there. But it wasn’t available until after the challenge was long over (late July) and it doesn’t have slipcovers which we realised would be a bit silly with two kids and two pets – so ultimately we’ve decided to go for a more “temporary” and family-friendly option that I’ll hack a little bit to make look more designer, until they both get older and we can justify the higher price tag of the really pretty one!


(2) The Light – oh god lord, the light!! With the 3 windows, the natural light is lovely. But being a solidly North facing room, the light that comes in is a cool grey and dims the space. Add to that, we have a gorgeous red maple reflecting pink and red tones through one window, and evergreens reflecting green and brown tones out of the opposite window. So the light effects in this room are a complete mystery!! I like to think I’m pretty good at picking paint colours, but this room defies all odds and sense. Even the richest of colours seem dull, and any pastel looks white or grey, and colours right by the window are incredibly vibrant but look 4 shades different elsewhere in the room. I’ve genuinely painted more samples in here than I think I’ve ever done before!! So this one still isn’t quite figured out ..
(3) The Design - Just like Henry’s room, the goal is to buy nice, quality pieces that will last and grow with Aemelia through her childhood years. The design has to be fun enough that she loves it now, but also something that can adapt and evolve with her as her style and personality changes.
THE PLAN - Layout, Design Concept & Flatlay
Again like Henry’s room, there aren’t many options for where to put the bed. My plan for about 3 months had been to place the now full-size bed (a convertible crib) in front of the large window – keeping things according to feng shui with being able to view the door into the room, and then to have a small sofa on the opposite wall with the sconces. But it just didn’t feel right and I didn’t know what to do. Then one day I was leaning against the wall with the sconces staring idly out of the window, and I realised a view out of the window is so much better! So I ran to grab the measuring tape and was ecstatic to find that wall would accommodate her bed with only a couple of inches on either side. Whew! That switch also meant that we could get a much bigger sofa to put under the window instead, which fills the space out better too. Double win! The third layout pic here also shows our bathroom renovation plans - including the removal of the big closet in Aemelia’s room, allowing for the small shower to change to a full bath, add a second sink, and shift the toilet out of view from both rooms.


My plan for the room evolved 100% from creating a reading nook in the deepest window alcove with a floating bench and cushion (as we have to allow space for the radiator to pump out air and recycle heat still), luxurious curtains enveloping the nook with pom pom trim and fancy corded tiebacks, and two sconces for reading light. Aemelia loves to read and her tepee is one of her favourite “toys”, so we thought this would be a more grown up version of that. From there, I developed a French chateau / English country design aesthetic that complimented Henry’s Scottish highlands bedroom. A wonderful fabric aptly called “The Chateau Potagerie” inspired the whole colour palette, all found in nature – the deep purples, luscious green, dusty pink, and marigold yellow are cozy and yet invigorating. Piling on top of that is again texture and more pattern, keeping things dynamic but still European in flavour with linen blinds, herringbone weaves, cozy wool throws, etc. Besides the piece de resistance of the reading nook, the main elements in her room will actually be styling all of the bookshelves with accoutrements. So I’ve been slowly gathering bits and bobs like antique books, wooden toys, tea cups, baskets, etc that she will love to play with. For a 3 year old, she’s very careful with breakable items and can handle nice bone china, ceramic vases, etc. It is a blessing!
Once again another flay lay to convey the concept:

THE TO DO LIST (shorter than Henry’s, but more involved!)
The goal was to have reached a fully primed and blank state room by today, but I’m about one day shy of that with only one wall primed in one coat, and a lot of attention needed on the trim work. It’s been a journey getting here, with stripping all 3 windows completely (seriously arduous and tedious job!) along with the radiator covers, as well as sanding all the doors, walls and trim work. The windows and radiator covers were peeling badly, again because of previous water damage we think, and the entire room definitely has lead paint lurking beneath the surface. So it’s been an effort to keep that dust contained and get the room ready for re-encapsulating in paint to re-contain the lead danger. Ah the joys of an old house!
Nevertheless, this week we’ll be ready to crack on with the rest of the list… This one is smaller in length compared to Henry’s but the level of effort is much higher for each item, only to be beaten by the kitchen!
Measure room
Remove, strip and re-paint radiator covers
Strip all windows
Repair electrician holes (x6)
Sand room – all walls, 4 doors, 3 windows
Wood-fill all holes on windows & doors
Remove closet hooks, rails, trim
Repair walls in closet, reskim walls
Remove all doorknobs, hooks, handles and latches - clean, polish & replace
Order wallpaper
Order new sofa
Lightly sand & repaint bed frame
Order roman blinds & curtain rods
Build & install bench seat
Create bench seat cushion (my mother-in-law, a talented seamstress, is doing this one!)
Sand & re-paint shelving in closet
Install new rail in closet
Paint all walls and ceiling
(If there’s time) – sand down and re-stain wood built-ins and bookcases to a more English oak colour
Cover wood closet built-in shelves in contact paper (to use for clothes, so they don’t snag)
Source baskets & knick-knacks for bookshelves
Source rug runner
Install wallpaper
Source & order frames and artwork
Order cushions for sofa & bed
Install curtain rods, curtains & blinds
Hang artwork
Get carpets installed (please don’t @ me about this! There is a good explanation! And they will be reallllllly nice)
Move all furniture to house
Style & photograph!
I am so excited for all of this, and yes Aemelia has had a hand in deciding all of these things as we’ve moved through the process. She is as excited as I am, but she won’t see it until the day we move in! And with that, I leave you for another 24 hours until I come back with the kitchen plans tomorrow…
Aurevoir pour le moment mon ami!
Love & cuddles
Lex

IMPORTANT LINKS:
One Room Challenge sponsored by Better Homes and Gardens
Featured Designers for April 2020:
A Glass of Bovino | Beginning in the Middle | Beth Diana Smith | Clark + Aldine | Coco & Jack
Deeply Southern Home | Design Maze | Dwell by Cheryl | Erika Ward | Home Made by Carmona
House of Hipsters | Hunted Interior | Kandrac & Kole | Kate Pearce | Katrina Blair | Liz Kamarul
Veneer Designs| Rambling Renovators | Renovation Husbands | Studio Plumb