
ORC Fall 2020 – Parlour – Week 3
Once upon a time, I had no idea how to begin blog posts and introduce a seemingly random bunch of collective items that made up a week’s worth of work. That time was about 10 seconds ago.
New here? Ello! Welcome! Lovely to have you. No idea what the One Room Challenge is? Read on here, then come back pretty please. No idea about our house? Fair enough, learn about it here. About me? I’m a Jane of all trades - full time marketing consultant, part time architectural illustrator, interior design hobbyist, power tool enthusiast who will always advocate for women who build their own shit. I hail from quaint Oxfordshire, England originally, but am a fickle nomad who has called Texas, London, France, Italy, Scotland, and North Carolina home at one point or another. Or did you just miss weeks one and two? Here you go.. week 1 .. week 2 .. I also share A LOT more than I probably should on Instagram (@brooksandstone) if you’d like to follow along with more day to day enterprises around the whole house.
Now that the introductions are out of the way, we’re into week 3 of the One Room Challenge and I’m happy to report that for once, things are going according to plan(ish) with no surprises (yet). We had a little setback with the kids being sick for a week between weeks 2 and 3 where no work got done, but I’m back on track now. What happened in the last 7 days then? Essentially, anything to do with woodwork. Picture rail went up, our windowsills got sanded down and I whipped up a little Montessori style bookcase for the kids. Is this going to be the world’s most exciting blog post? Obviously not, but if you want a quick run-down of the steps we took to complete each task, a sneaky peek at the unprimed, unpainted finished work, and a little education about the Montessori school process then keep on reading on.


THE PICTURE RAIL
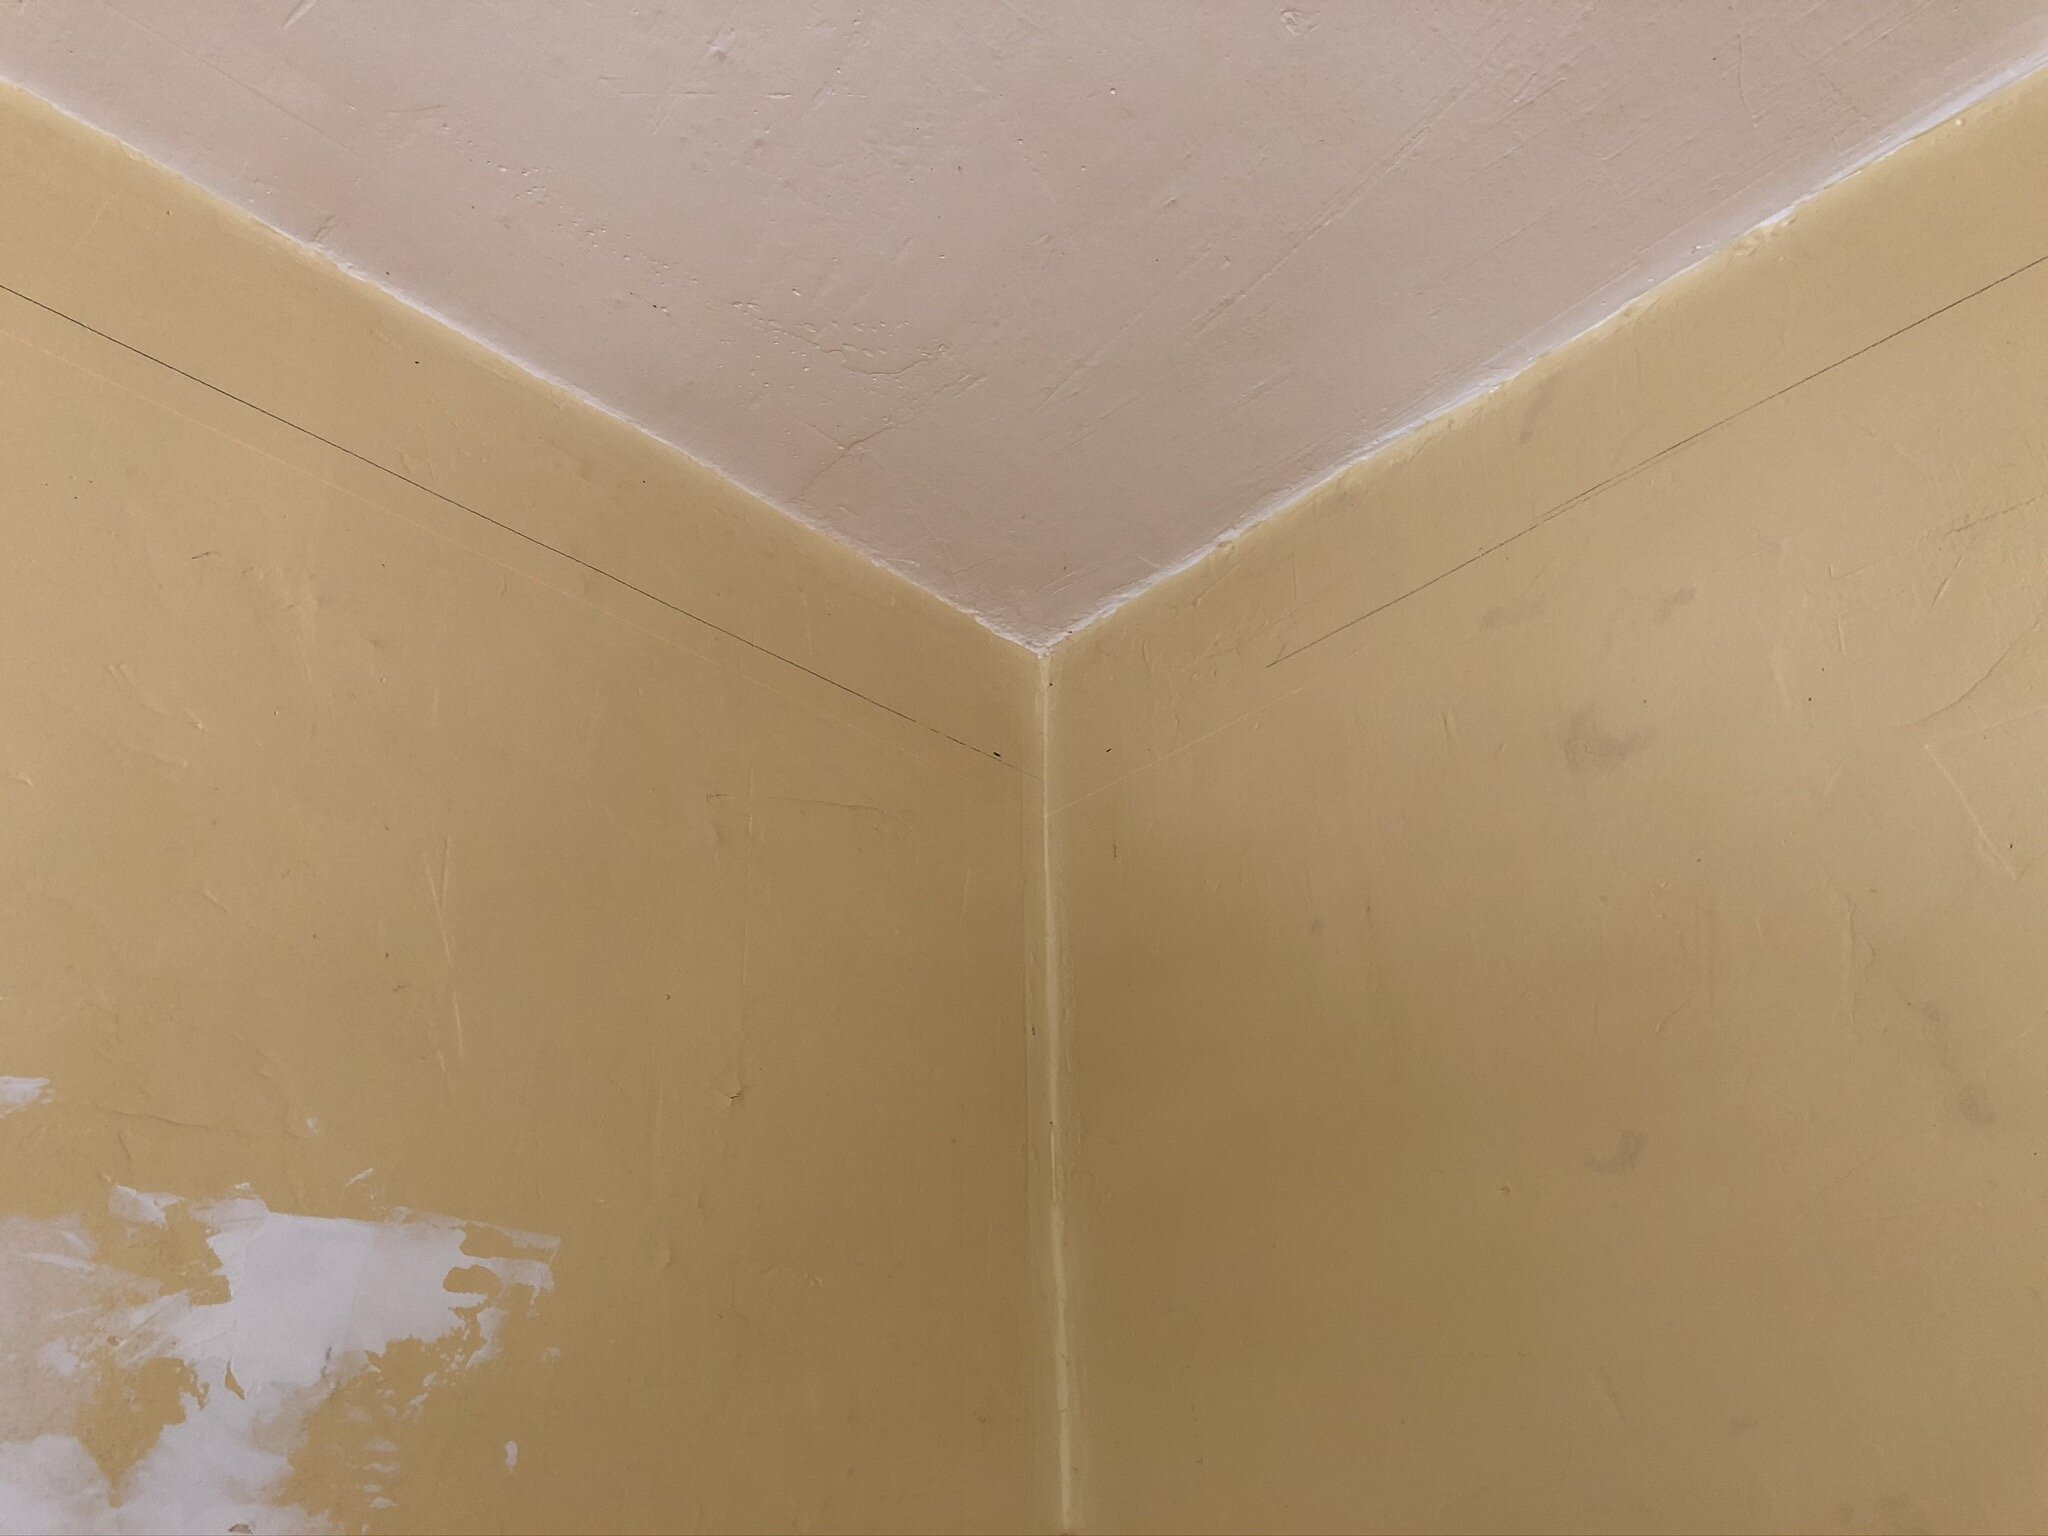
We know that one day we want to do a really fancy decorative plaster ceiling in the parlour in the future (read last week’s post for more details if you missed it), so we don’t want to install crown molding / cornicing / whatever fancy architectural term you want to call it without having a plan for the full ceiling. That is going to be a few years down the line (I think), but we didn’t want to wait with making the space still feel a little more grand in keeping with the gorgeous fireplace and bookcases at its centre. So the resulting decision was to add a picture rail all the way around the room which we would use functionally for our smaller artwork pieces, but also acts as a mini ‘crown’ to the room to give it some definition by painting above it in the ceiling colour. Thus, we trick the eye into not seeing the total wonkiness of the ceiling height and also don’t have to rush into any decisions about the ceiling design. We opted for around a 5” drop from the ceiling which matched up with the start of the ‘bead’ on each edge of the fireplace. Any other placement (like the traditional 12-18” drop that you usually use for picture rails) looked really odd, especially when we factored in the differing heights of our tall windows versus short windows on either side of the room, and the door frame at the other end. This 5” height allowed for everything to still seem in proportion properly.
As to the process, I won’t bore you with the not-at-all gory details, but here’s a snapshot:
1) Placed laser level on ladder in the middle of the room, at 5” drop from ceiling.
2) Measured down from the ceiling to laser line to see how uneven the level line was – it ranged up and down by 1.5”
3) Marked our required 4 5/8” drop (per the fireplace beading) in the corners of the room
4) “Snapped” a straight line from corner to corner – usually you use chalk or paint on a string, we just used a very long piece of 10 ft trim to create a straight line (to save hassle and because we didn’t have string handy)!
5) Marked stud locations using combination of our stud finder and drilling pilot holes (as we have extremely thick walls, almost 2” in some places before we hit a stud…)
6) Used mitre saw to cut down our 8’ picture rail pieces and/or to create scarf joints for connecting pieces, we also rounded the edges of any pieces that sat alone (like the sections between the windows)
7) Installed picture rail using nail gun anywhere we were not using studs – i.e. anywhere that it would not be used functionally, like over these sconces by the fireplace, in between windows, etc.
8) Added 3” screws at stud locations where we will actually hang artwork – i.e. big walls between the small windows, back wall by telephone box, etc.
9) Still to do…. Wood fill the holes, prime & paint!


THE BOOKCASE / TOY CUBBY
Right! Onto bookcases… so this was a bit random and not at all in the original plan for the room. But then we built the kitchen hutch cabinets (still continuing with our failed spring ORC) and had 3 perfect pieces of birch plywood leftover at precisely 13.5” in depth and 8’ in height. At that moment, a little light went off in my brain and realised they would be perfect to build a long, but shallow and short, Montessori style bookcase for the kids. Then we discovered in our trim package that our local lumber company had accidentally included 2 random 16’ lengths of trim of differing styles, but they were small (only 1 3/8” height). I called to ask if they wanted them back, and they said no keep it. With an extra $50 worth of wood in our pocket, I realised these would be perfect as a finishing touch to the bookcase. And my idea was fully formed.
We currently have these Target Threshold cubbies littered around the house for storage, and I’ve threatened to do hacks on them multiple times, but never quite get around to it. I’ve co-existed with them for far too long, and hate how cheaply they’re made. That, plus the practicality of them for kid’s stuff means the things sitting on the very top are much too high even for Aemelia (at now 4 years old) to get down safely if they’re heavy (like big wooden puzzles). The kids go to a Montessori school and are well practised in the cycle of getting one activity out at a time and putting it away when they’re done – not that that happens perfectly at home, like all parents we walk through a toy bomb site most Saturday mornings – but it means they actually like toys having a specific home and knowing where they need to be put away when the time comes. The low and shallow bookcase means you can set out activities on their level, easily accessible, and of a wide variety. It seemed like a no-brainer to add this now to our little kid’s corner in the parlour.
Roll on Saturday for our project day, and I whipped this together with pocket holes and some nails for the trim in a few hours. The height was planned based on bookcases at their school, but also on the 24” height of the Pottery Barn Carolina activity table we already have and use daily. Then, I had originally planned the length for 74” relative to the space we had on the wall but after cutting the first piece, I realised reducing the size down to 72” meant I got a perfect 24” leftover section to use for each end panel. The erroneous first piece was then shaved down by 2” and used as the middle supports instead. Simples!! Was pretty excited to see it come together so quickly, when projects lately seem to take forever! See below for the rough dimensions and plan (I can create a proper plan if anyone really wants it?). Ideally, I would have used the same trim for both top and bottom in the baseboard style, but given this was a zero-dollar furniture build out of “scrap”, I wasn’t about to split hairs over it!!
I’ve selected a special paint colour for this bookcase and to repaint their (currently stark white) activity table which will go in the same corner – can’t decide whether I’ll reveal that as I’m painting or at the end yet 😊 But it’s a wonderful calming shade that contrasts to the walls, and yet blends so the eye won’t be too drawn the kid’s area when you’re in the room!


THE WINDOWSILLS
And finally for this week, the windowsills… our home features a heck of an amount of lovely wood, which we love. But we want to lovingly restore it all to a beautifully conditioned finish. I’ll admit I’ve got lost in the old house internet rabbit holes of what is the best treatment for conditioning and restoring wood too many times to count, and every time I come out the other side none the wiser on what is best to use. You have people who wax lyrical about beeswax, another group about Restor-a-Finish, another for tung/danish/hemp/linseed oil (pick your poison it seems?!), and so on and so on. I put the question out to all of you on Instagram, and the results came back equally mixed. Wax is great! Wax is bad! RAF is the best. No, don’t use RAF, it doesn’t have longevity. Don’t touch Old English, you’ll never be able to restore it again…. Oh boy!
But I digress. That is a rabbit hole that I still need to figure out at some point in the next couple of weeks, but for the moment I focused on the windowsills alone. Covered in cracked varnish (I think, though I’ve now learned there are tests for shellac vs varnish), but also quite water damaged in certain areas and growing mold in others. I made the bold decision that a simple oil or restorative tonic wasn’t going to revive these and remove said mold problems. So I sanded them down. I made an effort to do it as lightly as possible with a higher grit, leaving areas where the stain was very engrained and big dings, etc. I don’t want it to look perfect and still wanted to maintain some of the original character. The plan is to restain them in English Chestnut to match the hardwoods and the rest of the woodwork as closely as possible. It’s hard, but I felt that a little sand was going to keep the wood in better condition for the next hundred years than just a coat of oil. Perhaps the old house community will rake me over the coals for this, but time will tell!


And that end’s this week’s novella on our third trip round the One Room Challenge sun. See you next week with some painting and textile updates!
Love & Cuddles,
Lex
Better Homes & Gardens is the official media partner of the One Room Challenge
This season’s featured designers are making over virtual spaces at Highpoint Market - check them all out below!
Albie Knows | Ana Claudia Design | At Home With Joseph | Barbour Spangle Design
Dwell by Cheryl | Eneia White Interiors | Gray Space Interiors | Haneen's Haven | Hommeboys
Interiors by Design | Jana Donohoe Designs | Laura Hodges Studio | Lauren Nicole Designs
Nicole White Designs | Nikole Starr Interiors | Nile Johnson Interior Design | Prudence Home + Design
Thou Swell | Traders Haven Design | Whitney J Decor | HPMKT