
Lights & Rugs & Fabrics, Oh My! The Boot Room
Once upon a time, I actually wrote out a week by week plan for this season’s One Room Challenge and for the last two weeks had my posts written days in advance and was just adding pictures on the day of posting. I have been determined that this season was going to be so different and I was going to get everything done according to plan. For a serial procrastinator, this is a big deal that I was being successful!! And then life threw me a curveball. I won’t go into the full details, but this last week we had a delayed 20 week scan for our third baby, and found out our unborn son has a deformity that will drastically change the first few years of his and our life. While we have gained the perspective in the last few days that it’s not life threatening and treatable, and there are many people out there who have it far worse, it’s still been a lot to come to terms with, and certainly threw off all of my finely tuned plans. I’ve written a separate post about that here outside of ORC channels for those that may want to know more.
New here? Sorry, this is not a super exciting post, and I try to be more upbeat usually… But catch up on Week 1 here where I detail the ideas for the boot room, or Week 2 for the moodboard and renderings. Or learn about the One Room Challenge and all the awesome featured designers and guest participants here.
Overall, this last week actually turned into more of a measurement and planning week. After some detailed thought processes about how we were going to achieve our tongue & groove paneling, upholstered bench, sliding shoe shelves and unique boot racks, as well learning what lumber was actually available (and not stupidly expensive)… we finally ordered the lumber from our local yard in the last few days. Now that it will be arriving in the next week, we’ll be able to get on with finally building some things! The sliding shoe shelves and boot rack will be up first as I’m primarily building those out of “scrap” wood, followed by the beginnings of the bench (building from scratch required far more logistics than I originally thought!), and then routing our v-grooves in the mdf for DIY tongue & groove panelling plus creating brackets and curved shelves. It’ll be an exciting week or two ahead with my saws and sandpaper.


For this week though, I thought I’d share some of the thought process behind the lights, fabrics and rug option chosen - as this room despite its small size, demanded quite a bit more articulated thought that I initially anticipated.
First up lights! When I started planning this room almost a year ago, we were certain that we’d be removing the original light fixture and moving it to (or saving it for) the basement. While the wrought iron light fixture is AWESOME and we both love it, it hangs nearly 29 inches down from a low 8 foot ceiling, only has one lightbulb and we regularly bash it when putting on coats or pretty much anytime we lift our arms over our heads in the middle of the room. Plus the room is insanely dark, even with the light on in high daylight (its solid North facing on a corner), sometimes I can’t tell it’s on and end up turning it off plunging us into further darkness. I had resolved that the only way to fix this was to replace the light with something that still felt historic, was still wrought iron, that had more lightbulbs, and that was more flush or semi-flush mount in style so we didn’t bang it all the time. I found this light from Visual Comfort and fell head over heels in love, but the price was astronomical. A friend even offered to get me a trade discount, but the price tag still left us both extremely uncomfortable. So I went back to the drawing board and researched another local metalsmith company with their own lighting range, but the options felt TOO historical and not modern enough to bring a new life to this room. Despite being gorgeous works, they didn’t bring that je ne sais quoi to the room. As we’d been also thinking through the lighting, I’d decided to add sconces to the room and of course the price tags just kept adding up. But then in discussing with a friend, the light bulb moment went off. We could add sconces to add light and ambiance in a more task lit way, and keep the original light fixture as the spaces where we’d be swinging things about were actually being pushed to the walls and not the centre of the room now with the new layout. Hoorah! See pic below with the yellow dots for the locations of the new sconces.


But then what sconces?! Ha. I went through the same thought process of keeping it historical and classic, but still adding a touch of difference. There were some sconces that I’d had my eye on forever, but as we’d be hanging them high above the paneling at nearly 80” at the centre of the light, having an uplighter or wall light didn’t make sense and would look visually odd being so tall. So while these really caught my eye for different reasons, I’ll have to reserve them for another time and space. After all, we still have 3 main rooms to go as well as the basement and attic, it’ll happen! ;)


Ultimately, I realized we needed more articulating / library style lights which were also in keeping with the style of room, and I landed on this sort of range from Visual Comfort Chapman & Myers. I toyed between a black finish to match the original light fixture or adding warmth with brass, and literally flipped a coin to make the decision. I couldn’t decide!! By the time I got around to making the final decisions, the Boston double arm sconce we wanted is backordered until July 7th. So we went with option 2 for the time being, which is the Library single arm light - knowing that we would eventually be needing 3 library style lights for the kids bunks we intend to build up in the attic. So this interims will move up there at some point, and we’ll add the Boston double arm sconce in when they arrive post “reveal”.


Next up was the rug situation. This gave me palpitations to figure out for months. I hummed and hared and dithered about, not sure what the best solution was. The problem is the layout of the room - we have 4 doors that get constant use and need some rug protection from muddy boots and shoes, constant leaves coming in, and protecting a 100 year old floor that is honestly on its last legs after we refinished it last winter. Those doors are all in opposite corners of the room, and we’ve got a corner of the room cut off at an awkward angle with the keystone fireplace and built in bookcase. Would have been nice if it was a nice 45 degree angle, but no, its some like 64 degrees. I debated a DIY approach, buying cheap vintage looking rugs that I would then cut apart, cut the corner off, and add back trim to make it look like a normal rug - a lot like many recently have been doing with stair runners.
But there were two things holding me back: Firstly, I’m not a hacker-type. While many can do it well, it’s not our style at all. We’d rather save up the money until we can buy what makes sense, or build it ourselves. There are certain things I’m okay with looking DIY or feeling imperfect, but rugs isn’t one of them and the size of this room was still going to make it difficult to hack off-the-rack options. If the rug isn’t right, it makes the whole room feel odd. And second, in this room, the rug is going to be under a lot of use, so while those cheap rugs are great for a while - they don’t hold up to years of abuse, cleaning, etc. We want something that’s still going to work in 10 years as much as it does the day it arrives, and for that, you need proper jute, sisal, natural materials - not polypropylene and polyester. Plus, and forgive me as I know this is a really controversial opinion, but the vintage style look (not actual vintage rugs) is feeling a little overdone. Gasp, there I said it. Sorry! I don’t like to be on-trend, and my Instagram poll a few weeks ago confirmed, that going natural is exactly what everyone else wouldn’t do! Maybe that’s lame to some of you - do what makes you happy, this does for me, especially as a natural rug feels more in line with this house anyway.

Custom Rug Dimensions
At just under 10’ x11’ size, it was an awkward shape and size to hack with standard options. And buying those big (not cheap!) sizes to hack apart felt like a waste of potential money too if it went wrong.
So cue me ordering 20+ samples from two different sisal rug companies I’d researched heavily in the hopes that one of them might be willing to partner and make the cost a bit more palatable. Didn’t quite work out, but I did end up receiving a trade discount from SisalCarpet.com, a Curran company, which also ended up having the better samples, fantastic customer service as we worked through the custom dimensions, and the pattern we liked most. Shoutout to MaryBeth for being awesome! As for cost, it is going to be more than hacking a polypropylene of course, but it is zero effort besides the measurements, will last for decades, and is still cheaper than a proper vintage rug.

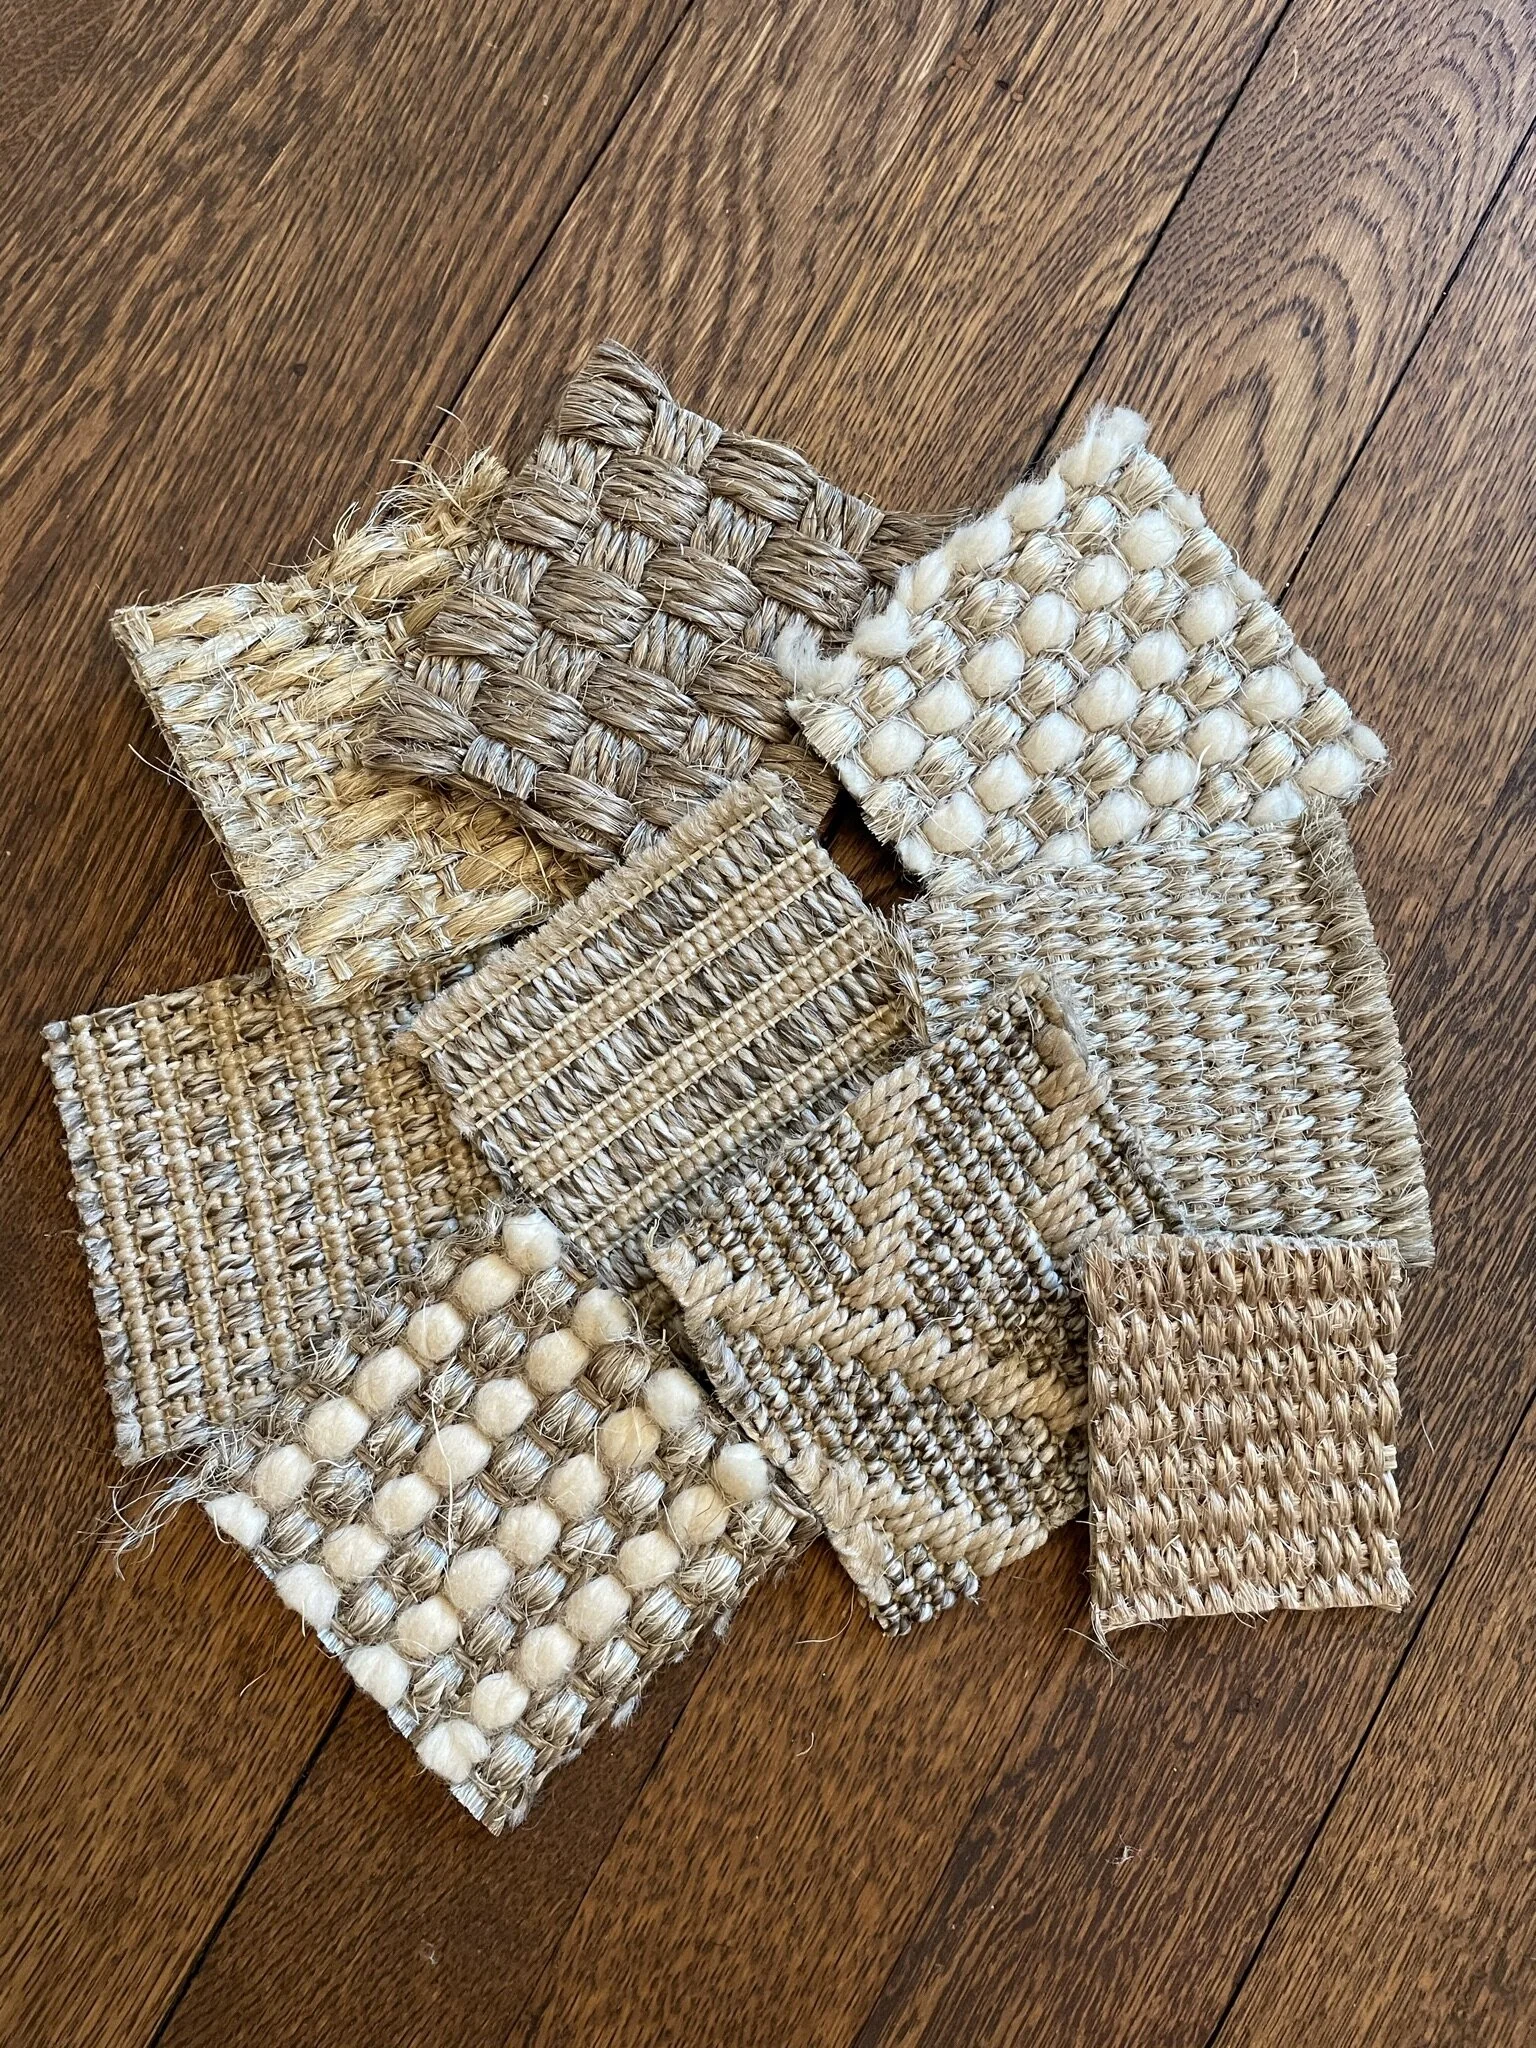


The sample we decided on is called Bedford, which is actually 75% sisal and 25% New Zealand wool weave. It has a lot more dimension than many of the basic herringbone, arrow and basket-weave patterns which I initially thought we’d pick. And the combo texture will tie in nicely with our wool curtains and provide a bit of warmth and softness underfoot as we switch between shoes and slippers. It’s backed with natural latex making it a very sustainable and eco-friendly option too, which is always a big bonus in our book. The colour-way is “ginger” which has sort of silvery/brown sisal that almost shines and an ivory wool threaded through primarily on the vertical axis. It looks so pretty against the red toned floor! While we did look at binding options for the edges, we opted to go with serged edges meaning they just use thread alone to bind the edges in a neat round finish. After all, we wanted to keep it simple in this room. I got a call just after writing this post to say that the rug was finishing up production, so it should hopefully be on it’s way in the next week or so. So exciting!! (Let’s all hope I got those measurements right!)

And finally fabrics… in order to not make this post super long, I’ll keep this part brief. When we first started planning this room, I had nothing but tartans and herringbone in my head due to my initial inspiration from the Fife Arms. But then, I stumbled across the image for the bench I wanted to make and fell in love with the fabric it was shown in - Fermoie Rabanna. Getting a sample in the colourway I wanted (oxblood) proved to be a mammoth hunt, and then when I finally received it, the fabric felt stiff, colourless and blah. For that price, not happening!! As I was waiting for that sample to arrive, I also fell in love with Lewis & Wood’s Pomegranate pattern in Raspberry - but again when it got here, it felt a little underwhelming and the base colour was darker linen than the ivory I was looking for. I did order a basic check pattern in Aubergine from a British interior design firm too, and while I adore the wool fabric in style, softness and just beauty, the price is extortionate! Especially for a first-time DIY project, so I’ll be reserving that for a nice cushion one day perhaps!! I’ve since discovered that fabric is actually from Johnstons of Elgin, so no wonder its sooooo lush!! #groan


Long story short, as I was going through all this, I had been gathering quite the supply of fabrics and wallpapers from Warner House, a brand I discovered last year as they relaunched. On a whim, I had ordered a “Cusco” swatch for another room, and absolutely fell head over heels with the quality and beauty of it. So I ordered a sample in the “Raspberry” colourway and Oh. my. god. I couldn’t design the bench with anything else now. The paint had to coordinate with the fabric - hence why I needed to add more purple to it to make it a custom colour which I’m now calling “Rogue Port”. The rug had to match the fabric which is why we needed shimmery tones. The brass lights had to add more warmth to balance the richness of this fabric. It went on… this little image doesn’t do it any justice, but when it arrived I’ll share some videos on Instagram.

And there ends the saga of choosing all the different things. I’m one of those people where I will look at thousands of items that everyone will say, well that looks nice, but I have to find just.the.right.thing. It’s a curse, but a fun one that I enjoy partaking in. ;)
See you on the flip side of week 4, as I’ll finally get on with some building in the next week!
And they lived happily ever after…. swimming in fabric & rug samples and light fixtures.
Love & cuddles, Lex

One Room Challenge sponsored by Better Homes and Gardens
Featured Designers for Spring 2021:
Ariene C. Bethea | At Home With Ashley | Banyan Bridges | Bari J. Ackerman
Brit Arnesen | Brownstone Boys | Cass Makes Home | Dominique Gebru
Gray Space Interiors | Haneen's Haven | Home Ec. | Nile Johnson Design |
Pennies for a Fortune | Prepford Wife | Rachel Moriarty Interiors | Sachi Lord |
Susan Hill Interior Design | This Is Simplicite | Tiffany DeLangie | Victoria Lee Jones