
DIY - Installing Underfloor Heating

Once upon a time… we installed underfloor heating in our kitchen (back in May 2020, in fact)! And then, we didn’t turn it on for another 9 months!! We finally turned it on and it short-circuited (#facepalm), cue another month wait waiting for our electrician. Well, my friends, it is finally, officially, hot in here! And our little toes are super toasty on what has been a very cold stone floor otherwise!
DISCLAIMER: This post is sponsored - i.e. we were gifted free product in exchange for writing this post and sharing our process and experience on Instagram. We received the WarmlyYours heating mats and thermostat, but purchased all other materials ourselves. We do NOT partner with companies that we do not whole-heartedly believe in, so when we accept a product it is with good reason, research and real-life experience. Please read more about our collaboration principles here. We do not receive any commission or affiliate payment if you purchase the product after reading this post.
Back in May, I introduced our partnership with the wonderful WarmlyYours, and the planning steps we went through, up to receiving our electric underfloor heating mats for the kitchen. Check out that full post for the background! This is part two of the story about how the actual prep-work and installation of the mats went, and the step by step guide to our process, including as usual where we went a little wrong and had to course-correct. A part three post will follow about how we actually tiled the difficult “opus” pattern (cue some marriage questioning during that part!!), and then sealed, grouted and sealed again.
We took a chunk of time off of work, and did a whole 4-day flooring extravaganza for these two parts, transforming our kitchen from a scruffy subfloor mess to a beautiful tiled and heated space in one extremely long weekend. These were 12-hour, no-joke, sweaty, back-aching laborious days. But we did it!! Might be some kind of DIY record?! So buckle up, this is another meaty informational post folks!


So let’s get to it….
Before we dug into this whole process, we ensured we had all the materials ready and waiting, so we weren’t making extra trips to the hardware store every day. Generally speaking, that worked out as planned, with one big exception – but we’ll get to that! 😉 There were 4 main components that we covered here in the first two days: (1) ensuring our plan was sound and measured out, (2) laying a cement board border around our heating mat space to act as a barrier for the self-levelling cement that goes over the heating mats, (3) laying the heating mats, and (4) pouring the cement. Straight forward right? Read on….
DAY ONE (THURSDAY) : Prepping the Surface
We got stuck straight in! Like excited school children, we were a bit giddy to start with, but that wore off fairly quickly…
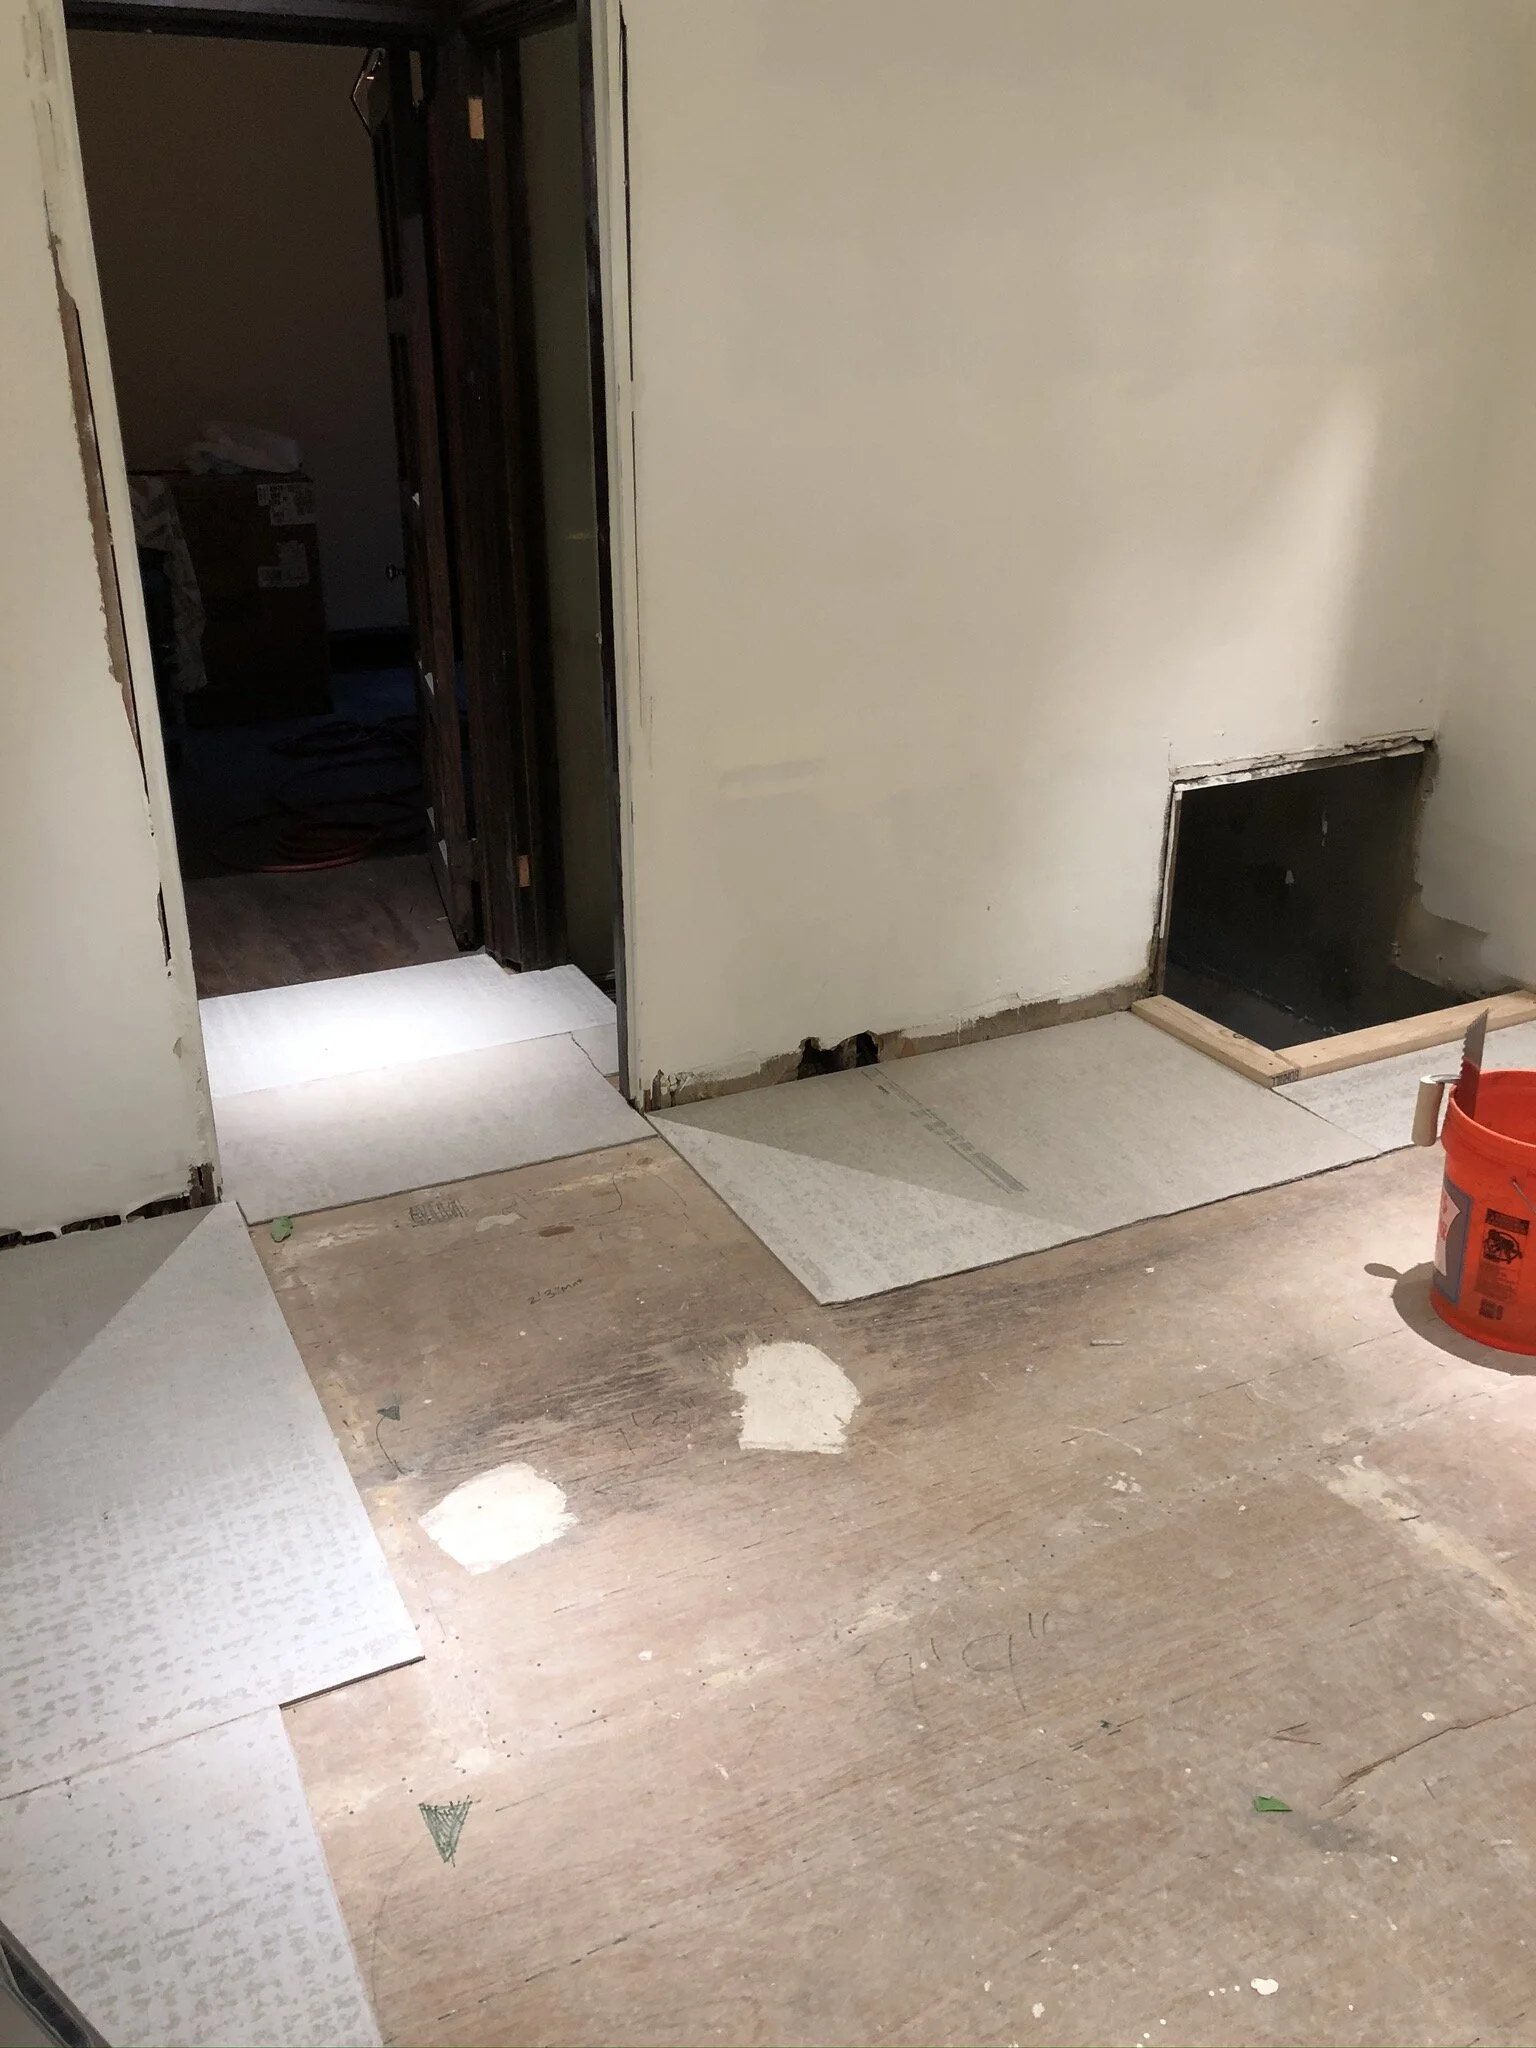
The first part was very quick, and that was filling in spots in our subfloor. We bought a single sheet of standard 5mm underlayment, cut it down to size and screwed it in place. The rest of the subfloor is nailed down, but we honestly just couldn’t be bothered getting the nail gun & compressor out for two tiny sections, so 1 1/2” screws it was!
Then, we made sure the subfloor was as clean and clear of debris and goop as possible so that we wouldn’t have any issues laying the Hardi-backer cement board and/or heating mats. This meant I had to spend about an hour clearing the floor of old tile mastic that we had scraped off the walls a few months before. The previous formica countertop and backsplash had been adhered to the walls with mastic, and that stuff is messy as hell to get off! So the mastic-y gloop that resembles baby poop in colour and consistency was still all over the floor in the corners, and it had to fully come off. Yick!


The third part was what actually took us the longest. We measured and marked everything before we cut any materials, just to ensure we had a rock-solid plan and that we’d thought through all the pesky details. This wasn’t wholly necessary, but my view was that taking this time upfront would mean the actual cutting of materials and laying out of the mats would go much faster if we weren’t measuring every single step 2-3 times. So, first of all, we marked with painter’s tape where our cabinets were going to go. Then we marked with sharpie where we were going to place our Hardie-backer border, which would sit proud of the cabinets by a couple of inches and contain the self-levelling cement in the final step. And then finally we drew the entire WarmlyYours heating mat layout on the floor, inch by inch. Once that was complete, I think it was about 3pm! We made a mental note that if we did this again, we would have called it a day here.


However never ones to back down on a long day, we moved on to cutting, laying and securing the ¼” Hardiebacker. A quick note – there are two common brands for cement board you can use, Durock or Hardiebacker. We chose Hardiebacker because it is lighter in weight (as it uses fiber versus glass composite), is reportedly easier to manipulate due to having a ‘grid’ cutting template on every sheet, and had a good water resistance level for a kitchen. That said, if we were to do this project again, we would choose Durock instead next time. While Durock makes more of a mess (we used it before in a bathroom install at the Urban Farmhouse), we still found Hardiebacker much harder to cut, especially if you were cutting in between the 1” grid lines (as we often were). Generally speaking though, we laid the Hardiebacker on a flat stable surface (preferably raised off the ground), used a big drywall T-square to mark where we wanted to cut and scored the backer paper with a utility knife. From there, we lined up the edge of the Hardieboard with the edge of our table and not-so-gently applied pressure and weight until the paper bent. Wiggling that back and forth, it eventually broke free. The key, we found, was to applying pressure slowly, as if you tried to snap it off quickly, the board would tear in the wrong place. But slow and sure wins the race! It took about 4-5 boards to be cut and a healthy amount of slightly bloody scrapes down our arms before we realised this key fact. So, lesson learned, don’t be us – slow and steady!
The benefit was, having done the extensive measuring process up front – we created a master list of sizes we needed for the Hardibacker, and went to town getting them all cut for our puzzle arrangement. After we were sure that we had every section covered, we mixed up our thin-set to lay it all down. Given the amount of thin-set we would be using over these 4 days, we bought bags, and mixed it ourselves with a Dewalt hammer drill + cement mixer attachment. Once you get the desired thick cake batter consistency, let it sit for 10 minutes and mix again, we were ready to get our boards laid down. This part was super easy, Stu troweled out the thinset using a ½” trowel at a 45 degree angle, and I came behind laying the Hardiebacker on top. After we got it all down, we then secured it every 8” with Backer-On screws (the specific kind of screw required for cement board), ensuring we stayed 2” in from every corner and edge. After all the screws were in, I laid down cement mesh tape over all the seams and mudded them with a very minimal layer of thin-set.
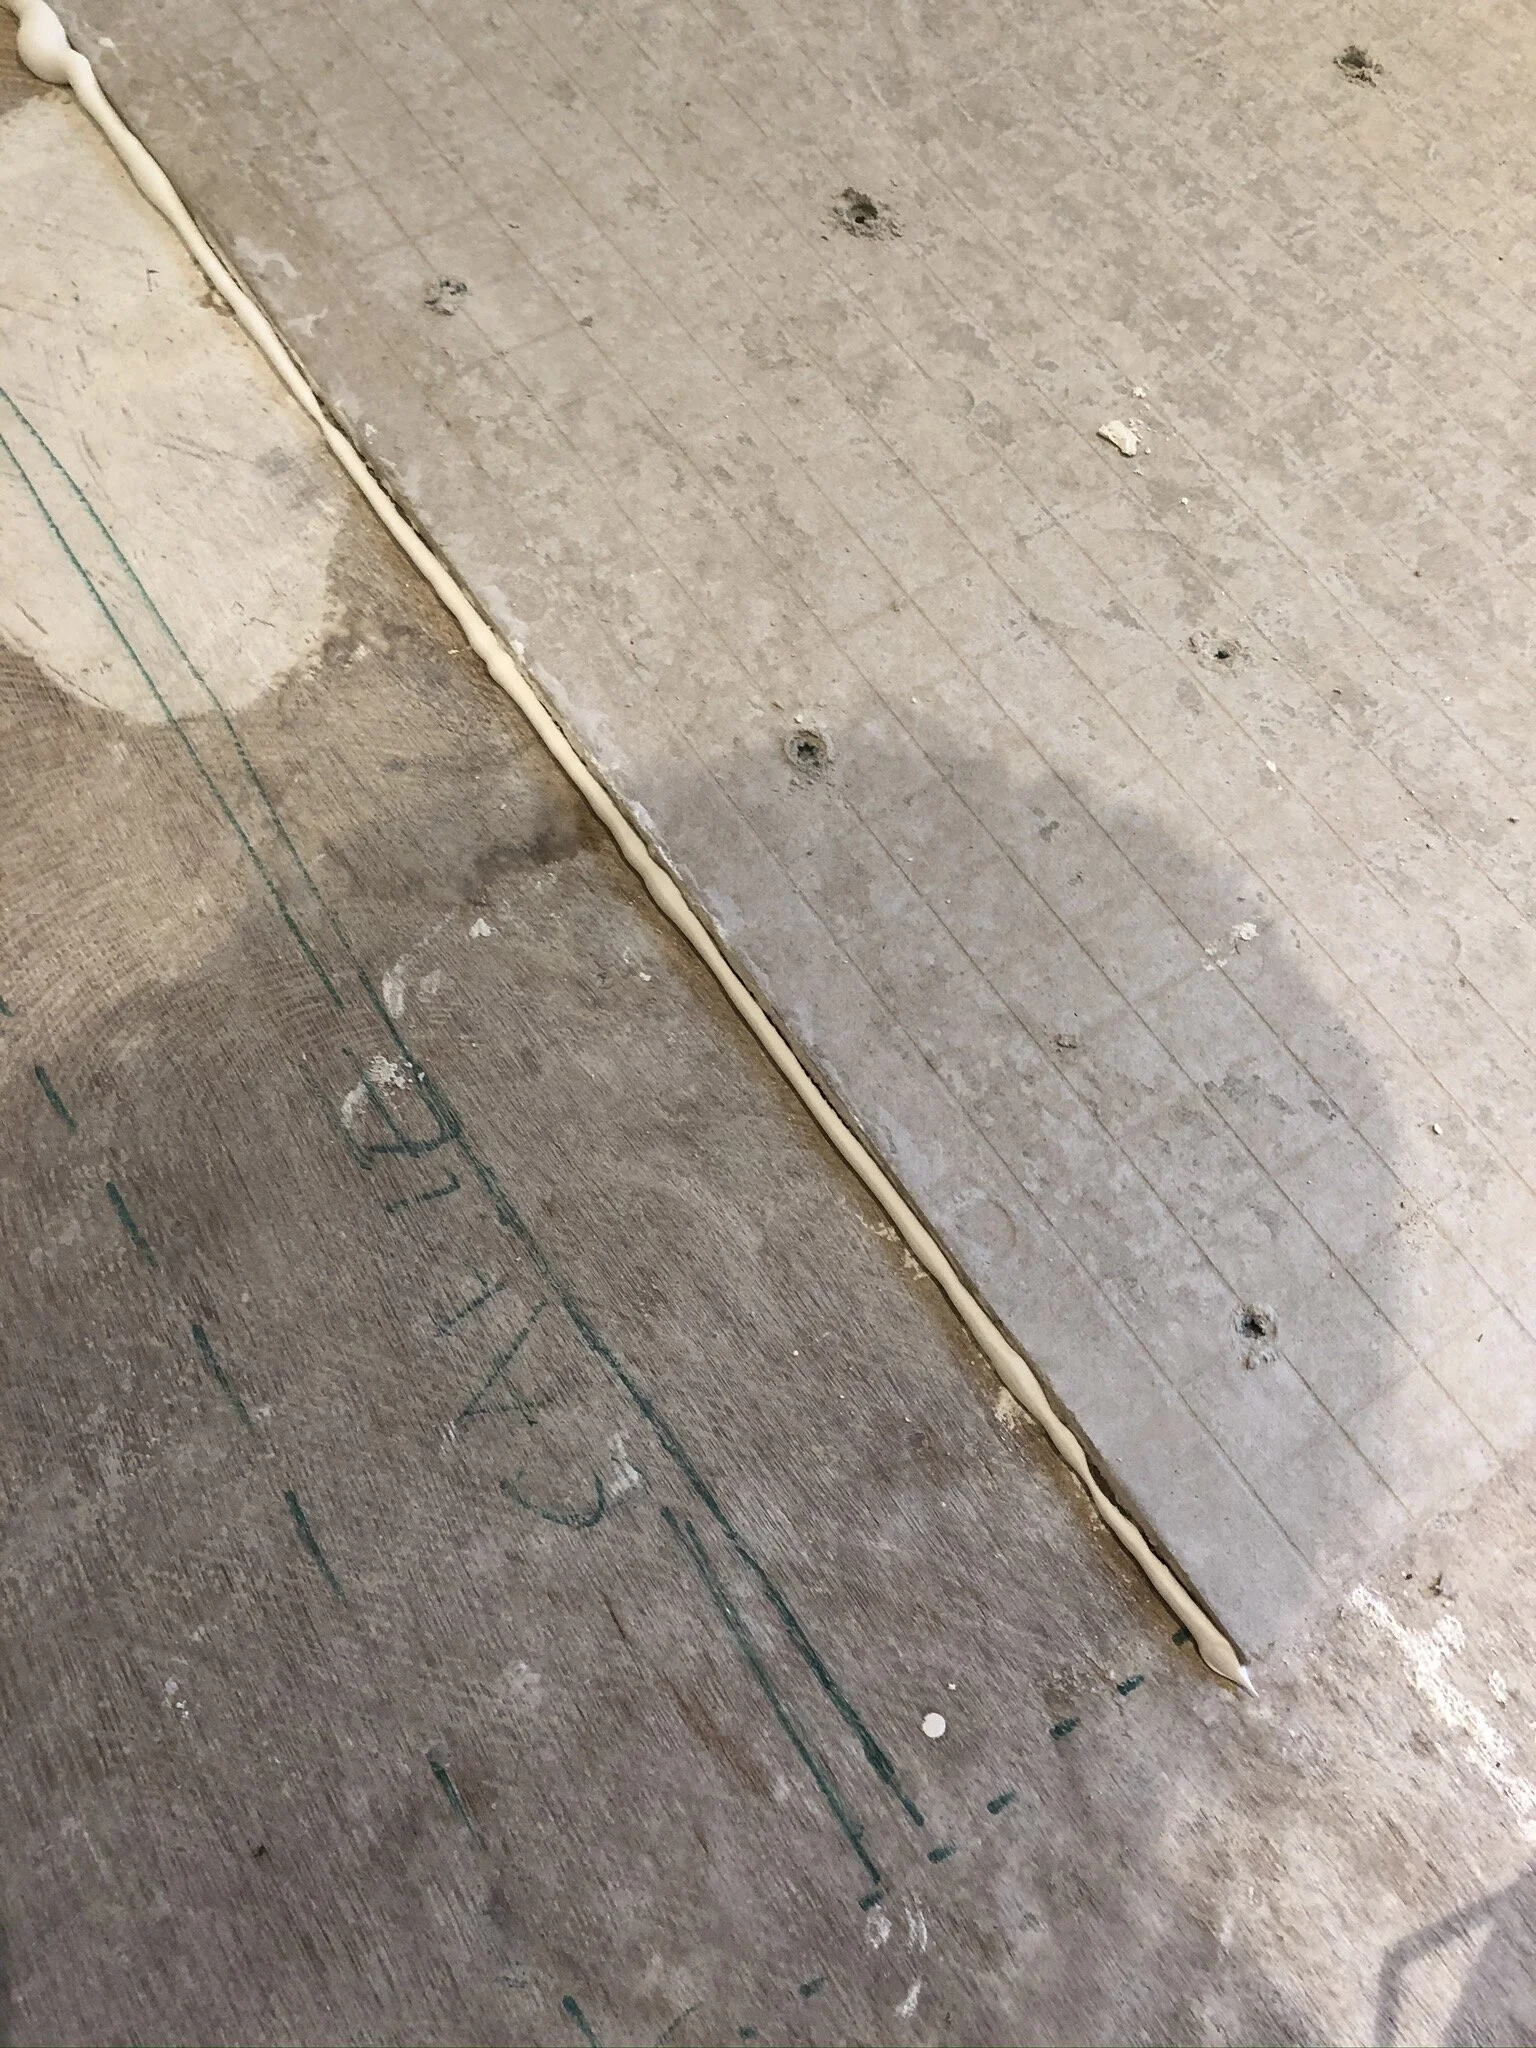
The final step for the night was silicone caulking the border between the thinset/Hardiebacker and the subfloor. The purpose of this was to ensure no gaps or channels were created on the floor for when we poured the self-levelling cement. Given that the cement is basically liquid that will escape through the tiniest holes, you need to ensure every hole and opportunity for escape is plugged. Thankfully, Alex over at @oldtownhome had made this mistake before us and we were able to learn from his blog post to take this preventative step.
And at 11pm, we had completed all of this and called it quits. Whew! We were le tired.


DAY TWO (FRIDAY): Let’s lay some heat!
Back at it again by 9am the next day, despite being exhausted, we were pretty pumped as this was the most exciting part, but also nervous as hell. This step had the most potential to go either very very right or very very wrong – but our kid in a candy shop feeling returned again, and this time… didn’t go away until we got to the cement part.
WarmlyYours makes this part of the process insanely easy – not only do they provide super detailed instructions across their website which we had studied before the weekend, but the installation manual itself guides you through every minute step without question. As long as you follow the plan precisely and keep your measurements correct, it will go smoothly.
Step 1
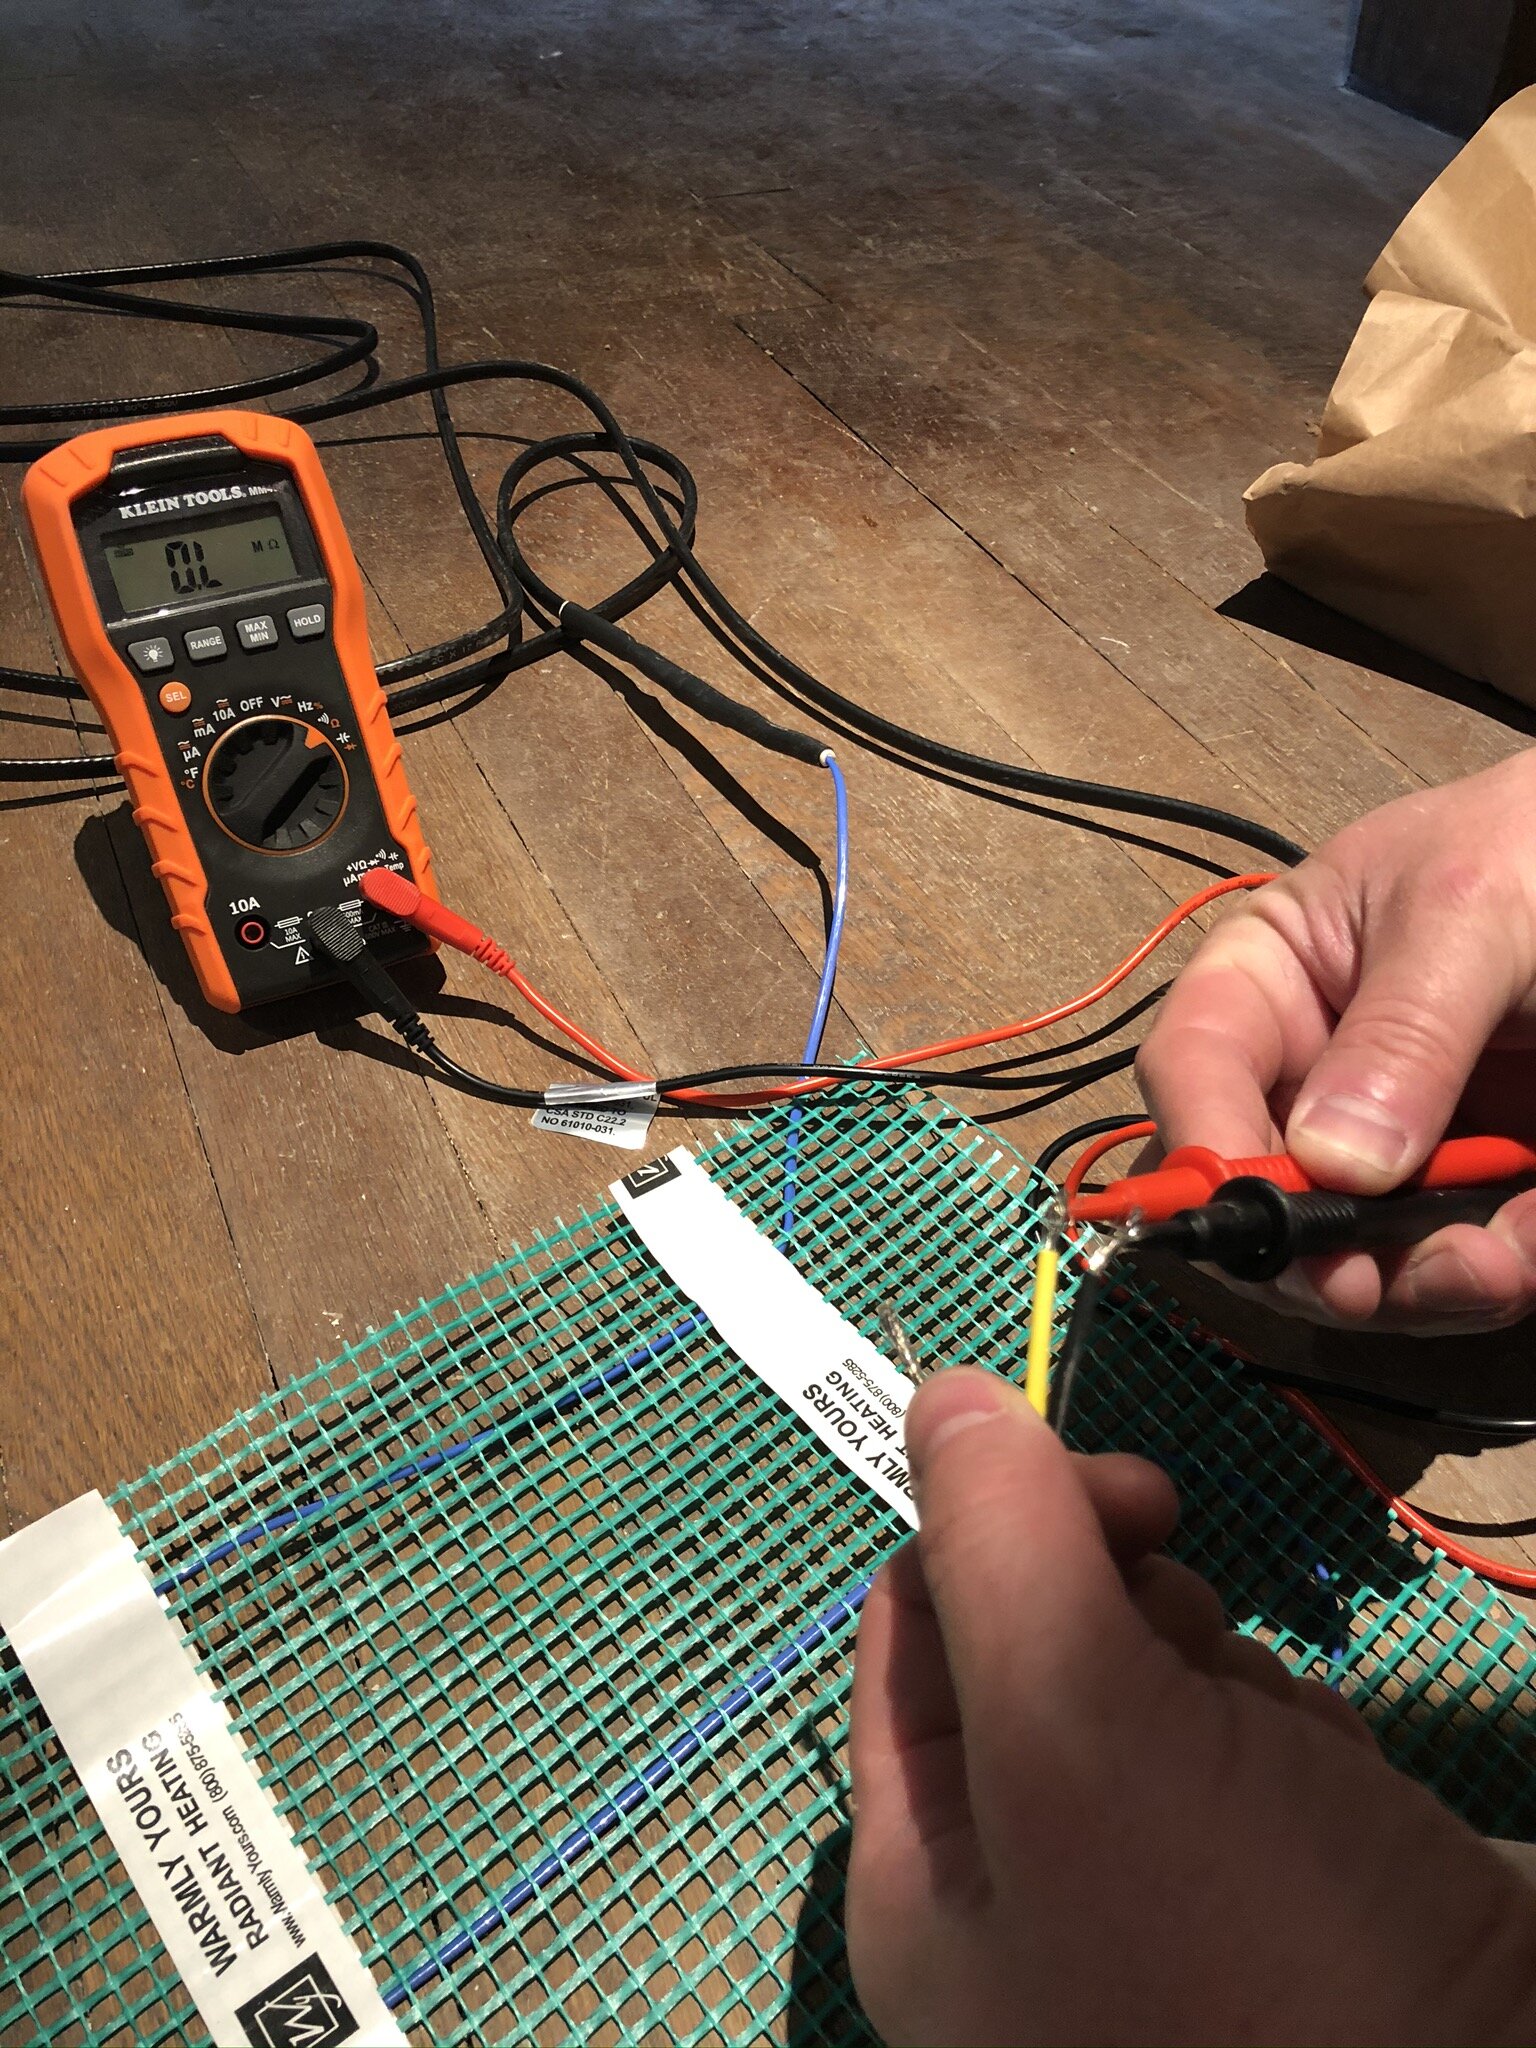
We inspected and checked our mats were the right specifications: with a 60’ long mat, we had fun laying it out from one end of the dining room, through the hallway, all the way down into the 25’ parlour to check that the length was correct! HA! The second mat at just over 5’ was much easier to measure. We inspected the wiring on the mats to ensure nothing was torn, broken, or looking damaged (even though they are quite resilient, you want to be delicate handling the wiring). Then we took the Ohm reading from each mat (we used this multi-meter), and compared it to the Ohm rating on the heating mat label. Each mat needed to be within a 10% variance of the reading before we proceeded, and we were well within the limit. This was our first time using a multi-meter, it’s very straightforward!


Step 2
Because we had already measured and marked out the whole heating map on the floor (literally drew it in sharpie), it made laying out the mats incredibly fast and simple. We started with the one in the middle, our 6’ mat with only one cut. Laid the beginning of the mat down on the triangle shape which indicates the mat beginning, measured 2’ 8” per the plan, and then very carefully made our very first cut. I probably took a full minute to cut this one bit of mesh because I was so nervous and terrified of cutting the wire. But it’s SO simple, you cut the green mesh that the wire is attached to, but do not cut the wire – then flipped the mesh around and ran it back to the bold square indicating the mat end. One cut, and two precise 2’ 8” pieces. Simples!
Feeling good, but not cocky, we got rolling (pun definitely intended, see the video!) on the second heating mat which covered the rest of the room. Roll out mat, cut mesh, swing around and roll the next section. The areas where we found it a little more daunting were when you have to cut out mesh and free-hand the wire. Most of the time when it said cut out 3” or 6”, we ended up cutting an extra half inch or so, working slowly up, to ensure the wire direction was correct for the next part of the plan. We were also careful to stay standing or kneeling on our border cement board as much as possible to ensure we weren’t stepping on the wire or potentially causing any damage. We followed the plan precisely, and ended up with about 3” less at the end than the plan called for, but in our scenario that was fine.


Step 3
The penultimate step was also simple and quick – firstly securing the heating mats to the subfloor. Using a standard staple gun, and making sure to avoid the wire at all costs, I stapled the green mesh down to the subfloor - putting a staple roughly every 4 inches. It wasn’t until I was about 4 mats in that I realised I needed to pull the mesh more taut to ensure that it laid as flat as possible. This became a small issue when it came to the cement, as parts of my mesh stuck up a bit, but luckily the wire was all covered which is the important part. Fixing that, I pulled the mesh more taut and finished stapling in bout 30 minutes. Round two was using a hot glue gun to secure the free-handed wire parts that were not attached to green mesh as we went around corners. I found this the hardest to get stuck down and ended up hot gluing along the line I wanted to follow for about 3 inches at a time. Burnt fingers ensued in places as always seems to be the case with hot glue (in my experience), and with extra globs of glue on top to make a little channel, it all seemed to stay eventually. It was during this part that we also placed the sensor in position, in between the wires on the mesh. Unfortunately I don’t have any pictures of this step (sorry don’t know why!) but it’s as simple as it sounds. Also, full disclosure, I used the Dewalt stapler and hot glue gun, because we couldn’t find our Stanley stapler or craft glue gun until after the fact… but the latter are much better (and cheaper!!). Dewalt makes some great products… but these are not on that list. The knee pads however, lifesaver!! I continued making sure I was kneeling only on the backer board, or carefully tiptoeing on the mats between wires.
Step 4
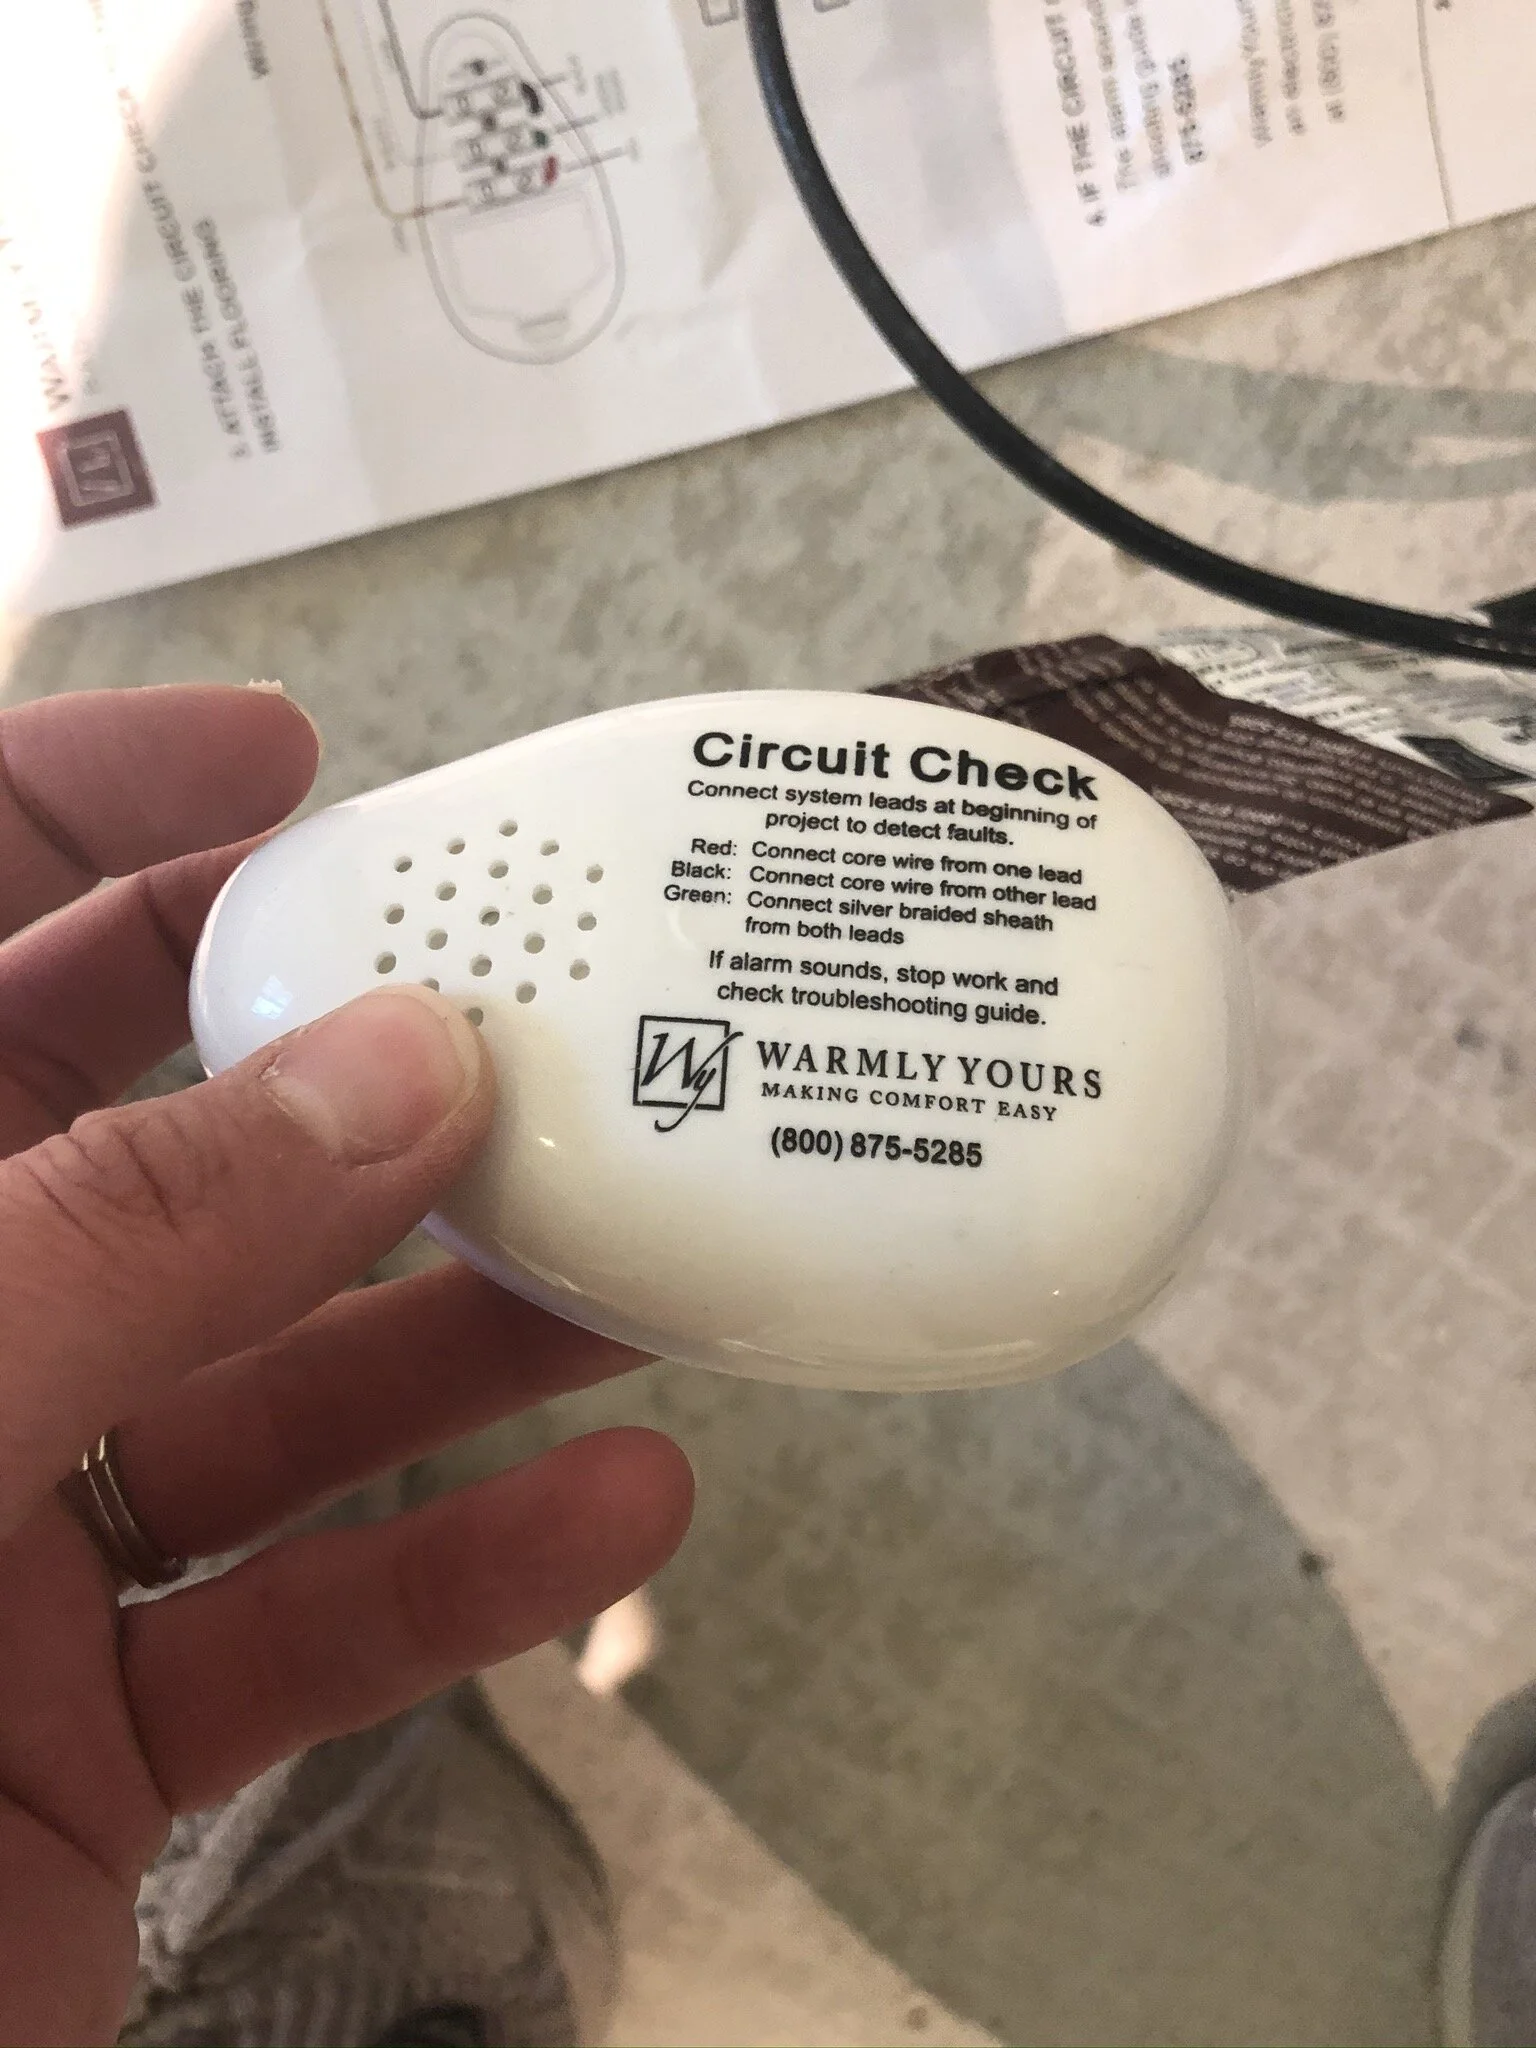
The final step with the heating mats is to check the ohm ratings one last time to make sure it’s still within variance levels. We were at this stage while I was out to get lunch, and Stu was SO PROUD of his puntastic text (see pic). Then onto the circuit check, first we connected the wires in reverse order so that the alarm actually sounds (you are testing the alarm itself), and then you connect the wires correctly where you cross all your fingers, toes, and any other extremity to pray that you never hear the alarm again. If it sounds now, it means something got broken. Funny story – I was posting all of this in real time to Instagram through the day, and had played back the video of Stu testing the circuit check. He was upstairs for some reason, heard the alarm, and came running thinking the wires had got damaged, haha!! #sorryhubs


Step 4.5
This step wouldn’t be in the normal process, but it was a learning. We had accounted for every mat, where the sensor would be laid, etc but we had forgotten to give ourselves a channel for the power wires to get to the wall where the thermostat would be located. So we had to back up, and drill a hole in the cement board after the fact (not easy) using a ½” spade bit on the drill to carefully carve out a channel that would fit the thick wires. We then had to seal this channel up too, so more silicone caulk was added at the end. At each stage of this process, we checked Ohm ratings and the circuit check to make sure we were not damaging wires.


Step 5
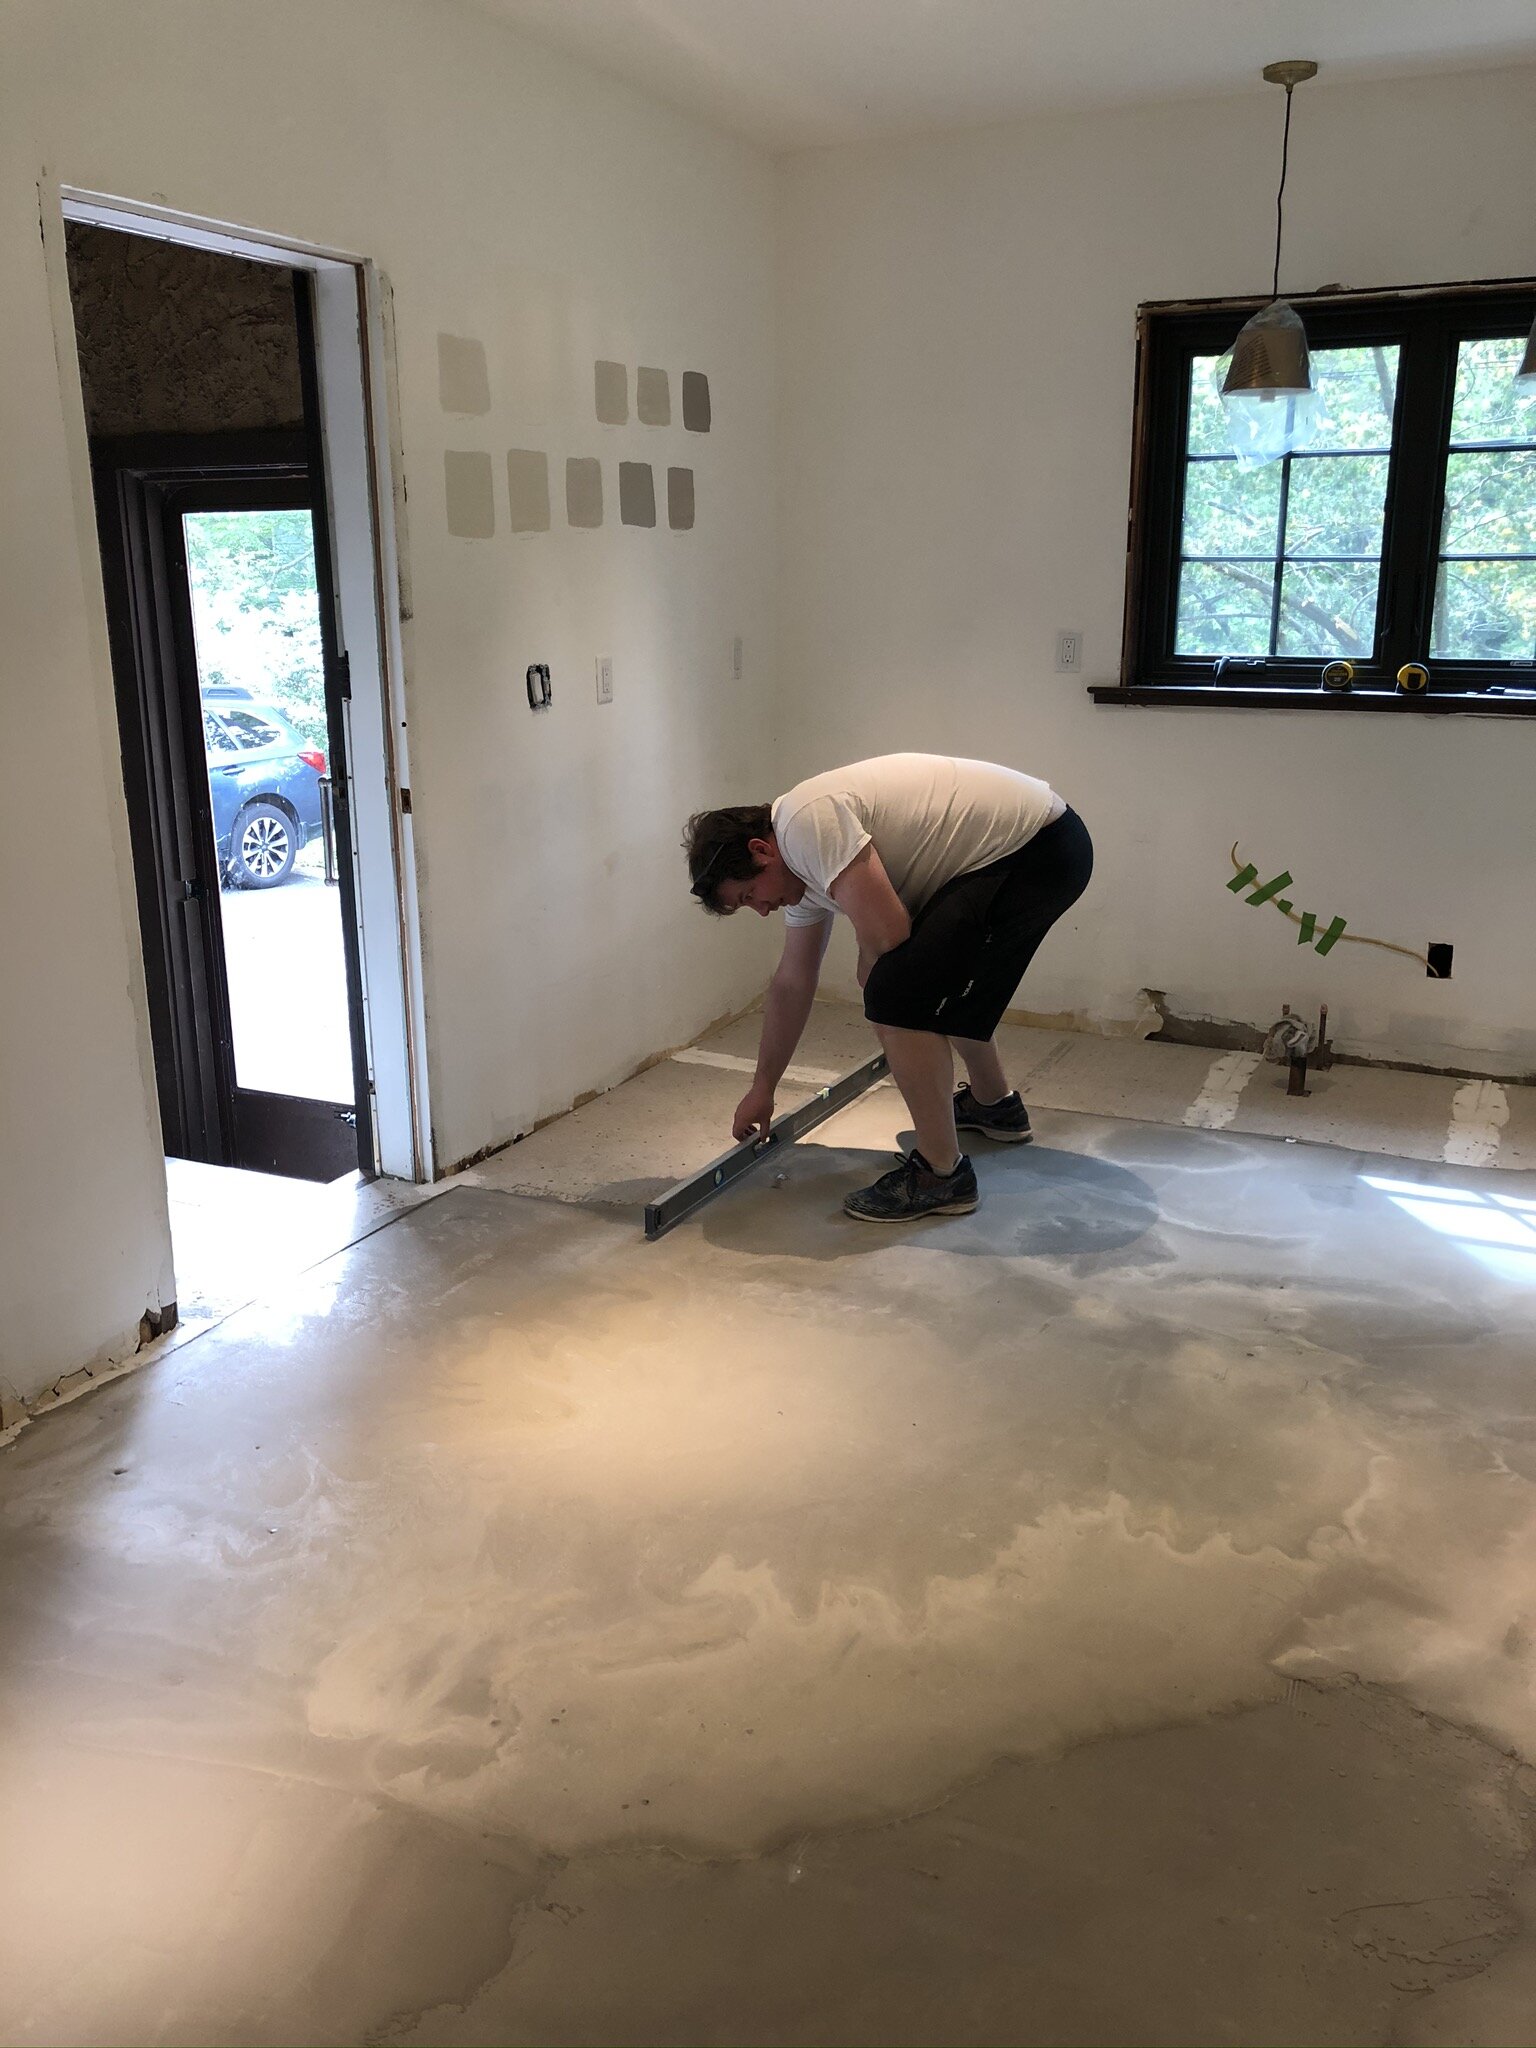
Once everything electrical was all prepped, we then rolled out the underlayment primer. Using a roller attached to a long painting handle, I poured the thin glue-like liquid into a standard paint try and rolled it out over the heating mats section. The premise is that it helps the concrete to adhere properly to whatever surface you’re pouring on top of. With only one prior experience with concrete where I didn’t use primer, and the surface is consequently now chipping off rapidly, this was a no-brainer to include as part of the process. I tried to roll it on fairly thin per the instructions, but due to the mesh and varying amounts of levelness in the floor, it naturally pooled in a few places. Where I couldn’t get clarity from prior research, was just how long you were supposed to let it dry. The instructions on the bottle said wait between 1-3 hours and THEN pour the concrete, whereas some blogs I read said you must pour within 2 hours of putting the primer down. So we hedged our bets and went for 2.5 hours of drying (when it actually looked semi-dry, but still a bit of wetness), and proceeded onwards. There’s no real way to know whether this was right until we either DO or DON’T get cracking in the floor tiles / grout in the next few years. Fingers crossed that was the right decision eh?


Step 6
The part we had dreaded the most. I’d read horror stories galore about pouring self-levelling cement, because it is such a thin consistency (like milk), it can easily fall down teeny holes, flood channels between wood panels, go under backer board etc. and next thing you know you’ve got a puddle of cement in your basement. So we took every precaution possible – caulking the backer board to seal that gap, filling edges with Great Stuff where needed, ensuring there were no holes in the subfloor. We also thought were clever in calculating the right about of cement we needed too – as I’d also read that you really need to pour all the cement wet at once to ensure a proper level surface once it dries. If you pour in batches, the batches don’t mix and the self-levelling aspect ceases to work as well. Not only that but cement is effing heavy – probably about 50lbs per bucket fully mixed. Even though we were only going up 4 steps and about 20’ distance between mixing station and the floor, it was still an effort!
So we got underway, and having covered about a third of the floor, we realised we only had two bags of cement left (of 6 total) and we weren’t going to be able to cover it all. Cue a mad panic as it was 7pm at this point, and our local hardware store now closes at 8pm due to COVID restrictions. All the face palms!! Turns out we had calculated our depth based on the backer board alone (1/4”) and hadn’t accounted for the extra thinset below it (another ¼”) – so we actually needed double the amount. I made a mad dash to the shop, loaded up 8 more bags of cement onto the trolley, and then stood in a 70 person line (no joke!!) freaking out that the already poured cement was going to completely set before I got back.
It didn’t completely set, but it was certainly more difficult to blend together on the floor and when it dried you could certainly see ebbs and flows in the different batches we poured. Not ideal, but we figured we could make up for it when we laid the next layer of thin-set & tile (generally speaking, this was fine). The one part that worried us was being able to see a few small 2-3” patches of mesh where I had not pulled it tight enough before stapling. Luckily though, the wire was still embedded in the cement. I messaged with the WarmlyYours crew the following day and they assured me as long as the wire was buried, we were good to proceed. Thank goodness for responsive and awesome customer service teams!!

Thus endeth our two days of underfloor heating extravaganza. Detailed, involved, math skills always at the ready(ish), but definitely straightforward and simple to do! We also saw someone else, months after the fact, use just Great Stuff as their border for self-levelling cement, instead of a full layer of backer board, which is very smart and reduces adding extra height under your floor…food for thought if we ever do it again (which we do intend to do… in a few bathrooms upstairs!).
It did take us another 2 months before our electrician finally wired in and installed the thermostat for us… and another 8 months after that before we actually turned the system ON. Only thing was, it short circuited the minute we did… so electrician came back out and switched it from a double pole to a single pole, and now it works perfectly!
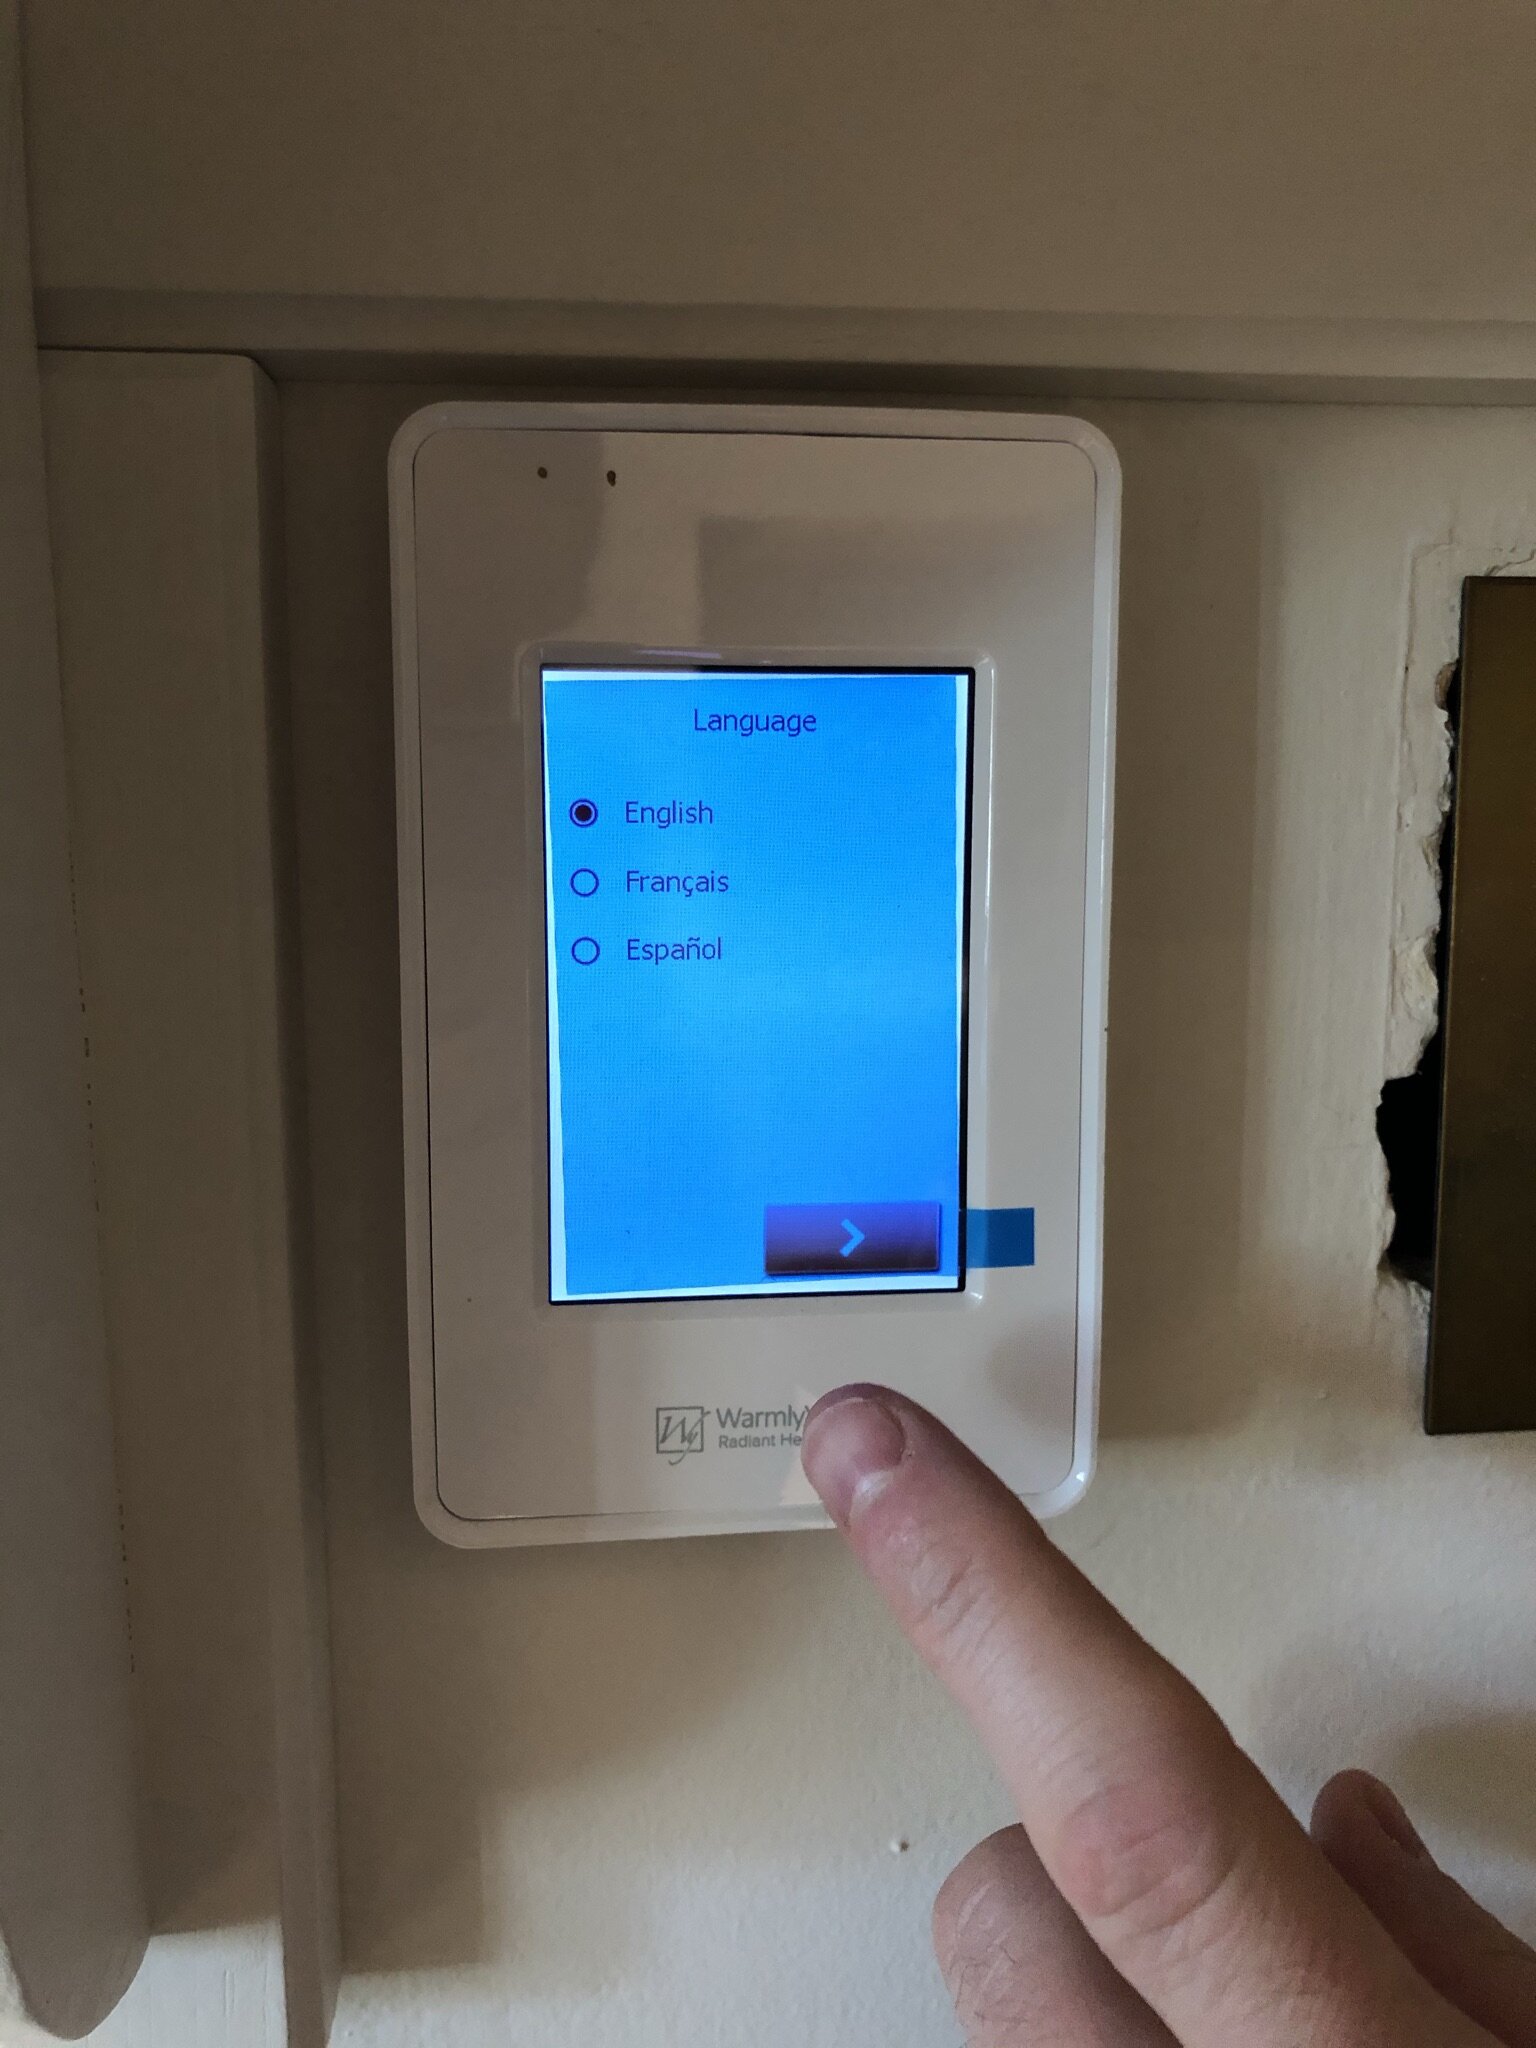
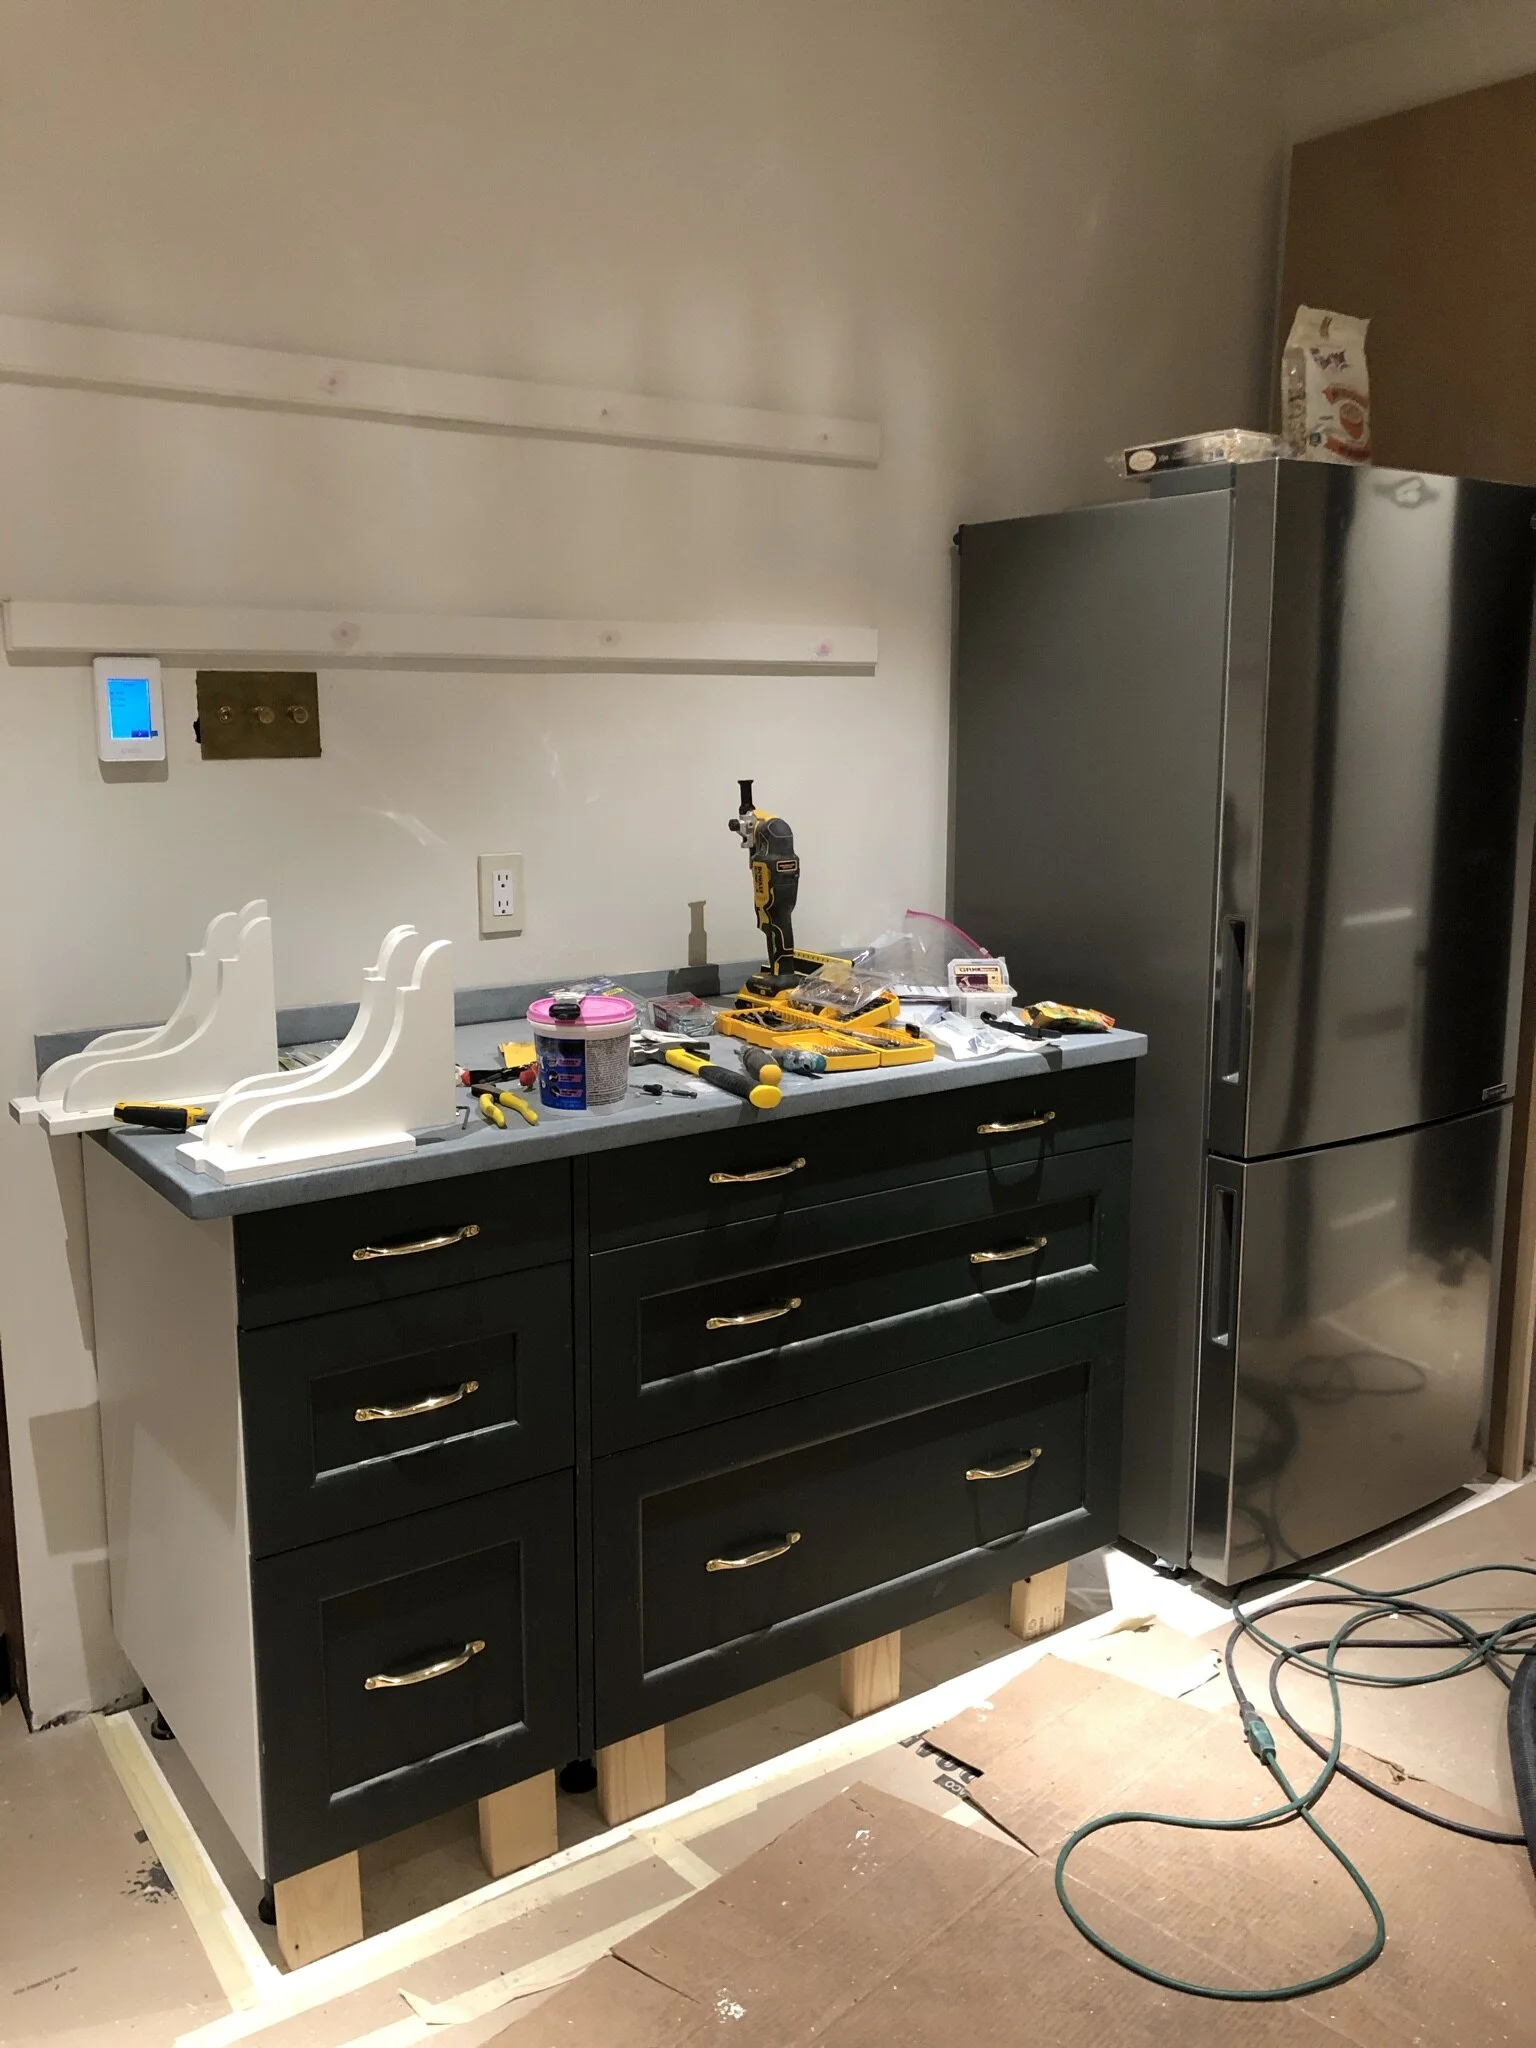
The following set-up of the nSpire touch-screen thermostat itself was really basic, just following the instructions on-screen. Full video of the process which took all of 1 minute lol! We weren’t sure about our “floor load” but referred back to the original labels from the heating mats and our WarmlyYours plan, and sure enough printed right in the legend. Pic below also shows the heating schedule, which we really like as it’s already set up to a standard corporate person’s schedule turning on for a few hours in the morning and evening. Now that we’re home pretty permanently, we keep it at around 80 degrees from 8am - 8pm when we use the kitchen most. In fact, the kids love it so much that it’s their new favourite “picnic” spot.


LE FIN!
Ooof, I know that was a long one! Hopefully it’s helpful though and demonstrates that this project is very straight forward. Let us know if you have any questions if you approach this project yourself – it’s really not as daunting as it may seem at first and can be definitely be tackled by any intermediate DIYer!
And HUGE thanks to the awesome WarmlyYours team who have been the best brand to work with from start to finish - including being patient while we finished some other renovations, moved in, got everything settled and wrote this post many months later. We highly recommend them. They offer everything from heated floors, to snow melt systems for your driveway to towel-warmers and heated mirrors for your bathroom. Some truly ingenious solutions to common problems, many of which we’ll be exploring for future projects.
Stay tuned for the next lengthy post all about days 3 & 4 when we laid the “opus” pattern limestone tile – coming soon!
And they lived happily ever after… with a warm floor!
Love & cuddles,
Lex

