
Building Trellis Cedar Planters
Once Upon a Time… I dreamed up an enormous garden plan and then set to work figuring out how to make it a reality. In the meantime, our kids have been learning about farming and garden at their very outdoor-based school and asked to grow some veggies. We were more than happy to comply! Neither Stu nor I are particularly adept at gardening, but we’re willing to learn just about anything. So, we set about building the first part of our big garden plan…our cedar planters!
Full transparency, we actually started this project well over a year ago. Yikes!! Why did it take so long? Well, we built two of the planters, and then I had a baby. Then I waited for some warmer weather to start it up again. And then I waited for the plants to grow for a pretty picture. Stupid, I know. The things we do aye?
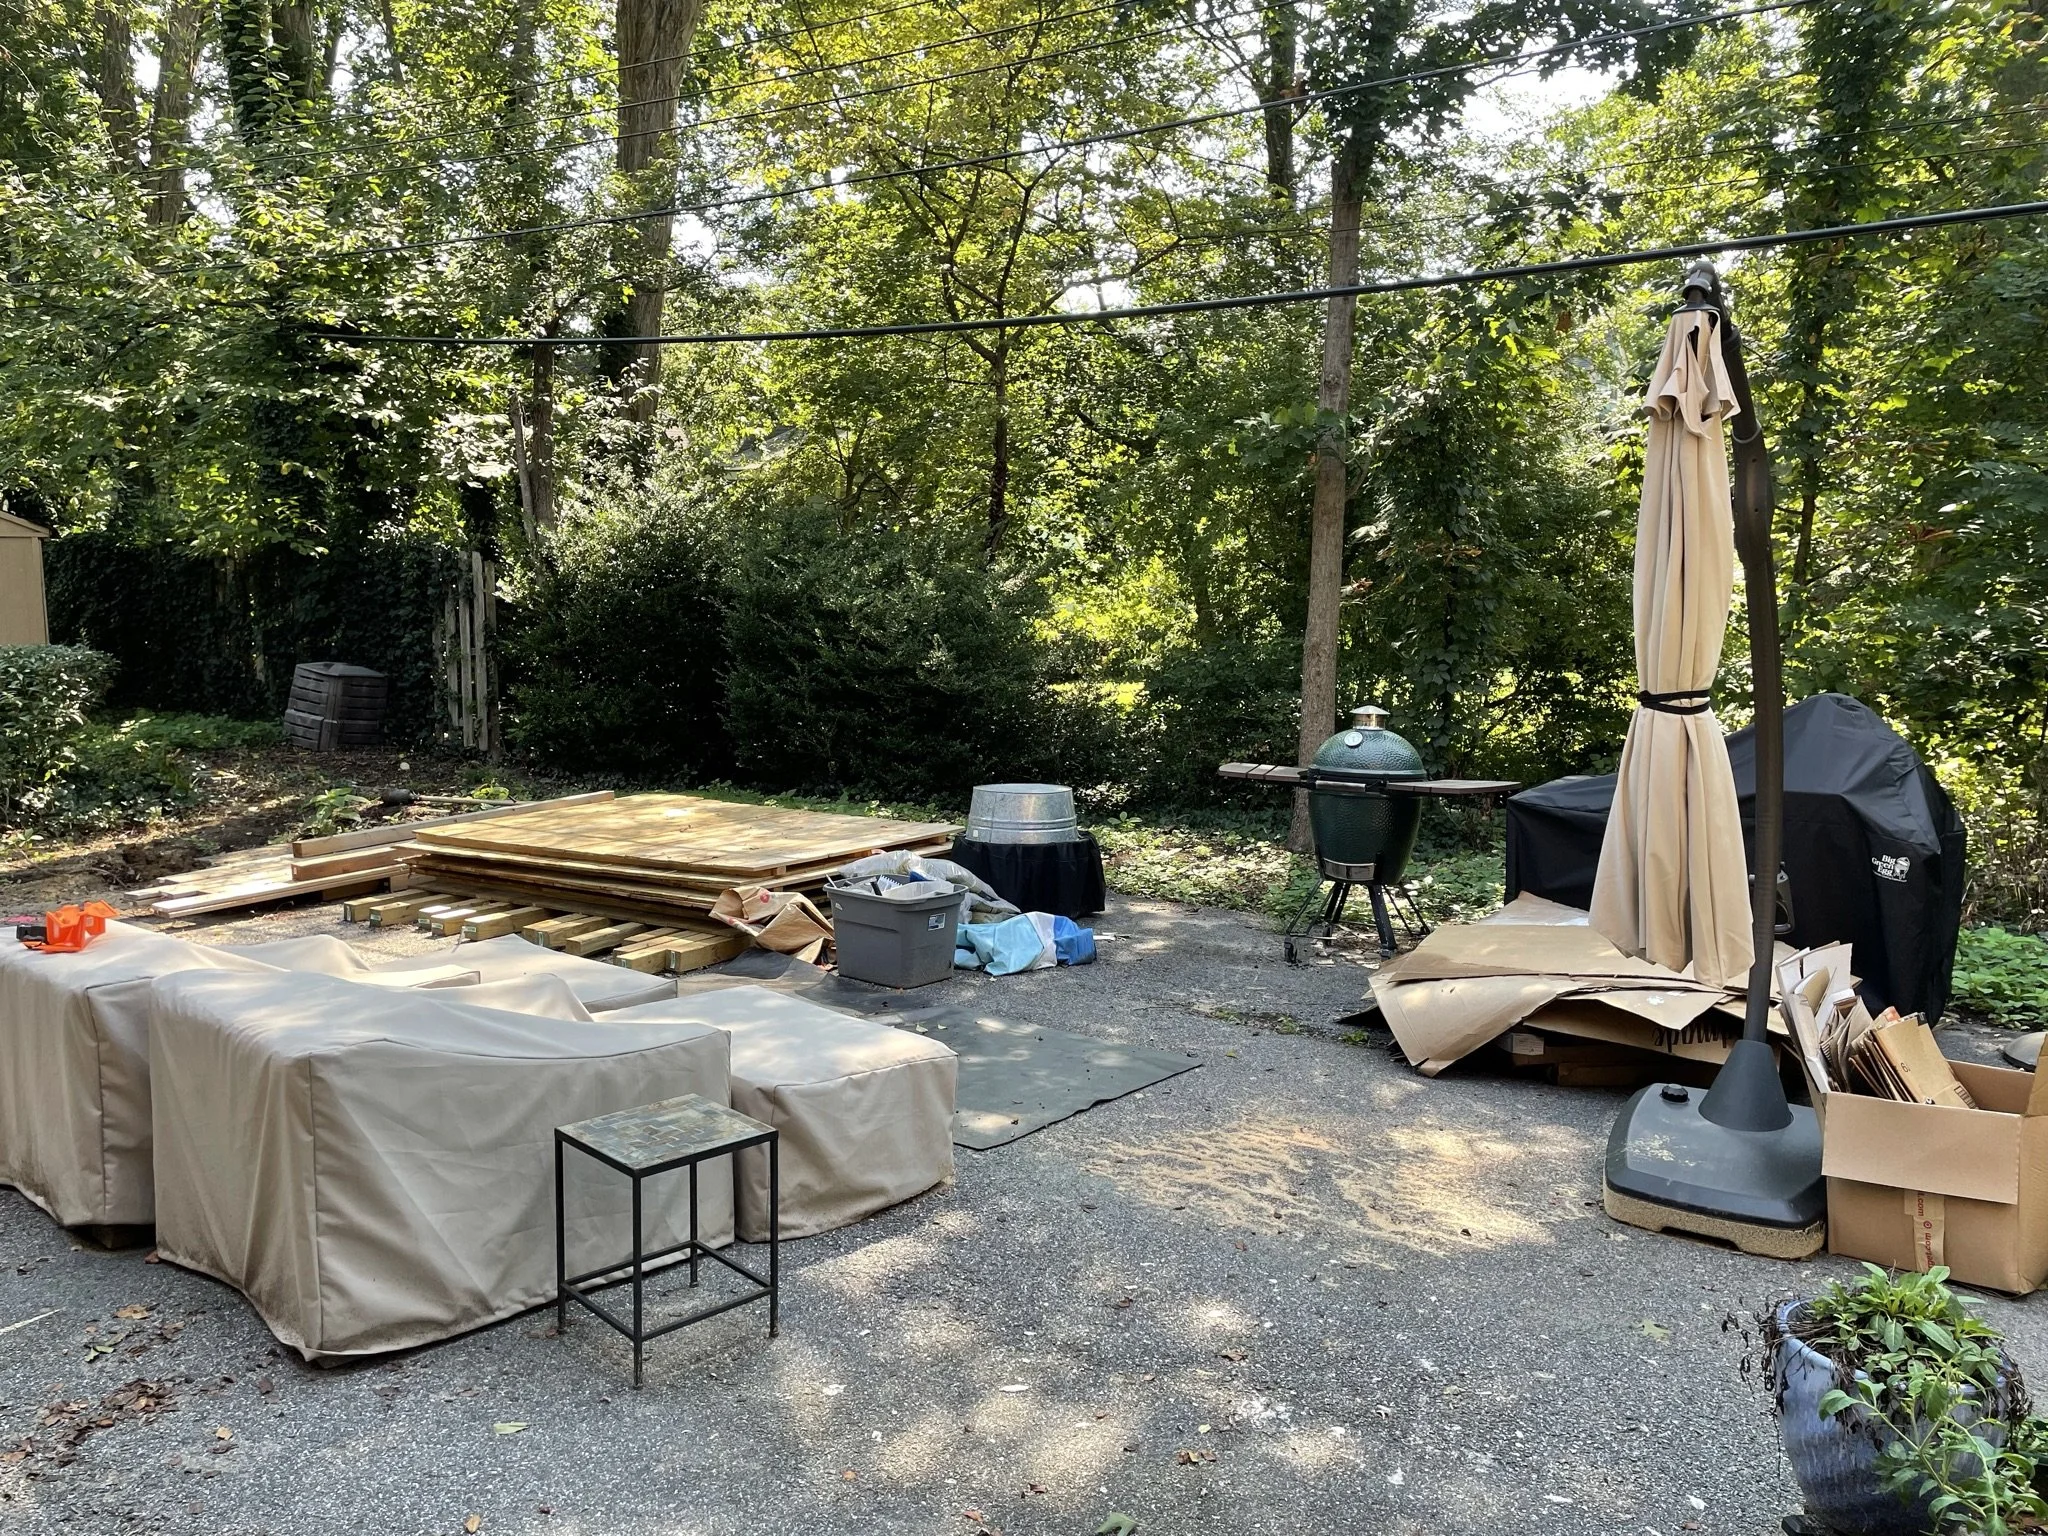
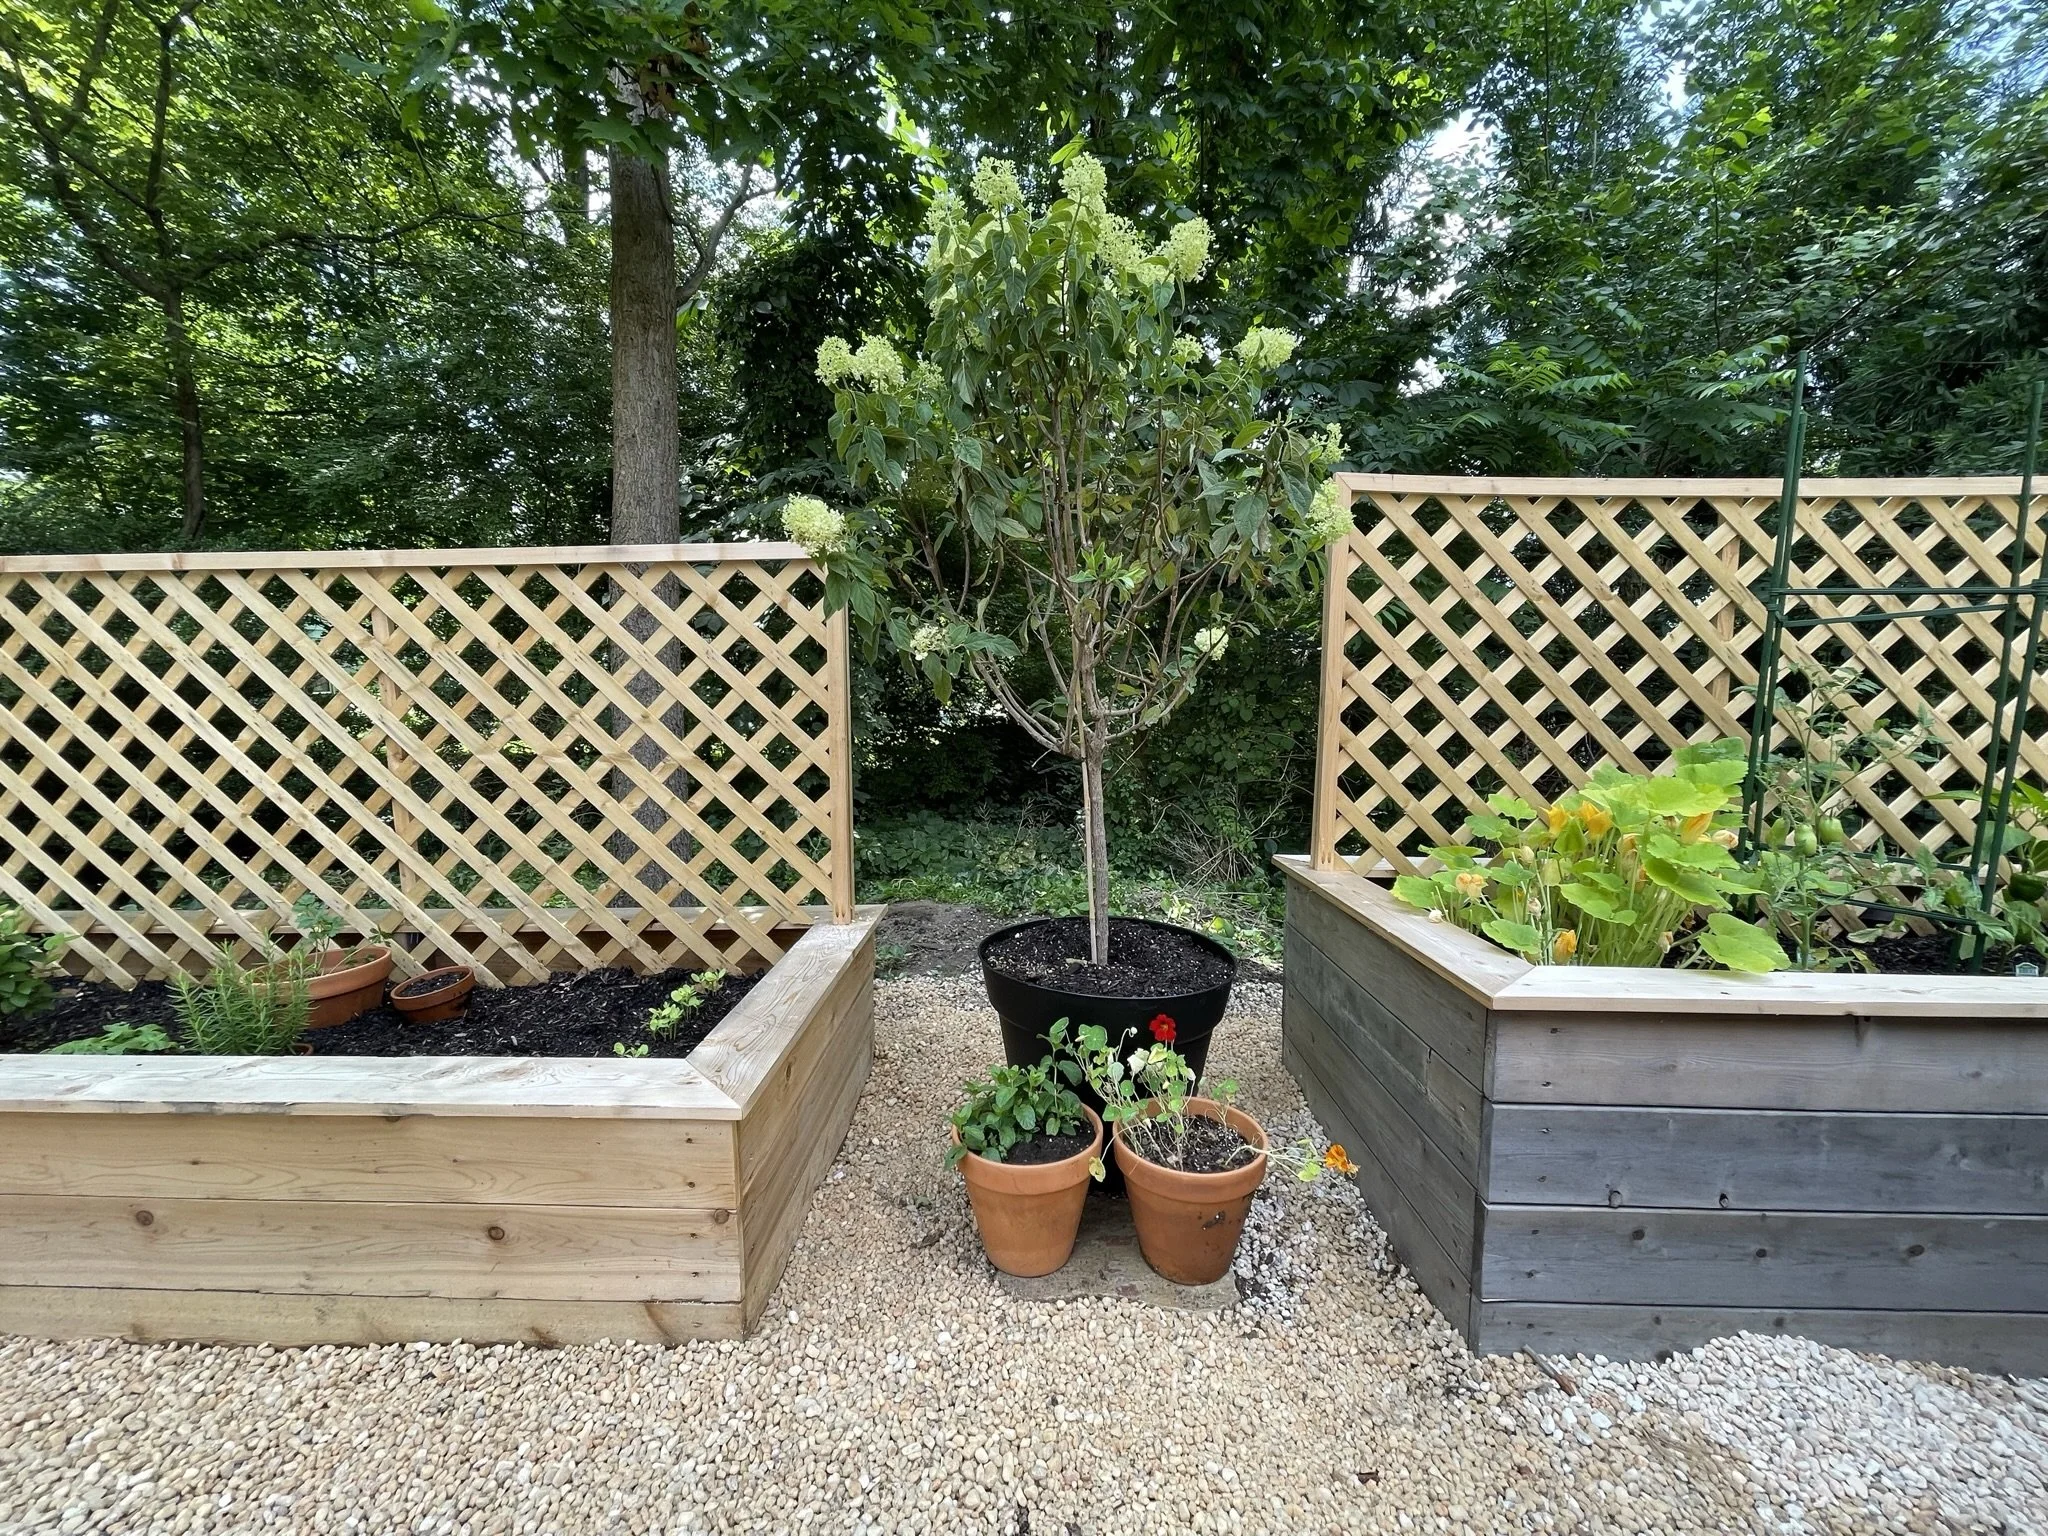
A little background before we dive in - these planters sit on the border of our property and behind them is a ditch expanse of weeds, i.e. a generally neglected area. See below for the “before” (ish). We didn’t particularly need the trellis aspect for veggie growth (though we did end up planting peas!), but instead it provides a fence-like backdrop to our property, will provide a bit of privacy during the winter when we can see the house behind, and makes our driveway apron feel slightly more like a nice courtyard! There may be plans to switch it up in the future and grow a creeping flower like honeysuckle, jasmine or morning glories another year, so we may see them covered in flowers yet!
But here’s the vision…. a quick dirty sketch of the final planter design, and then this section of the “courtyard” vision
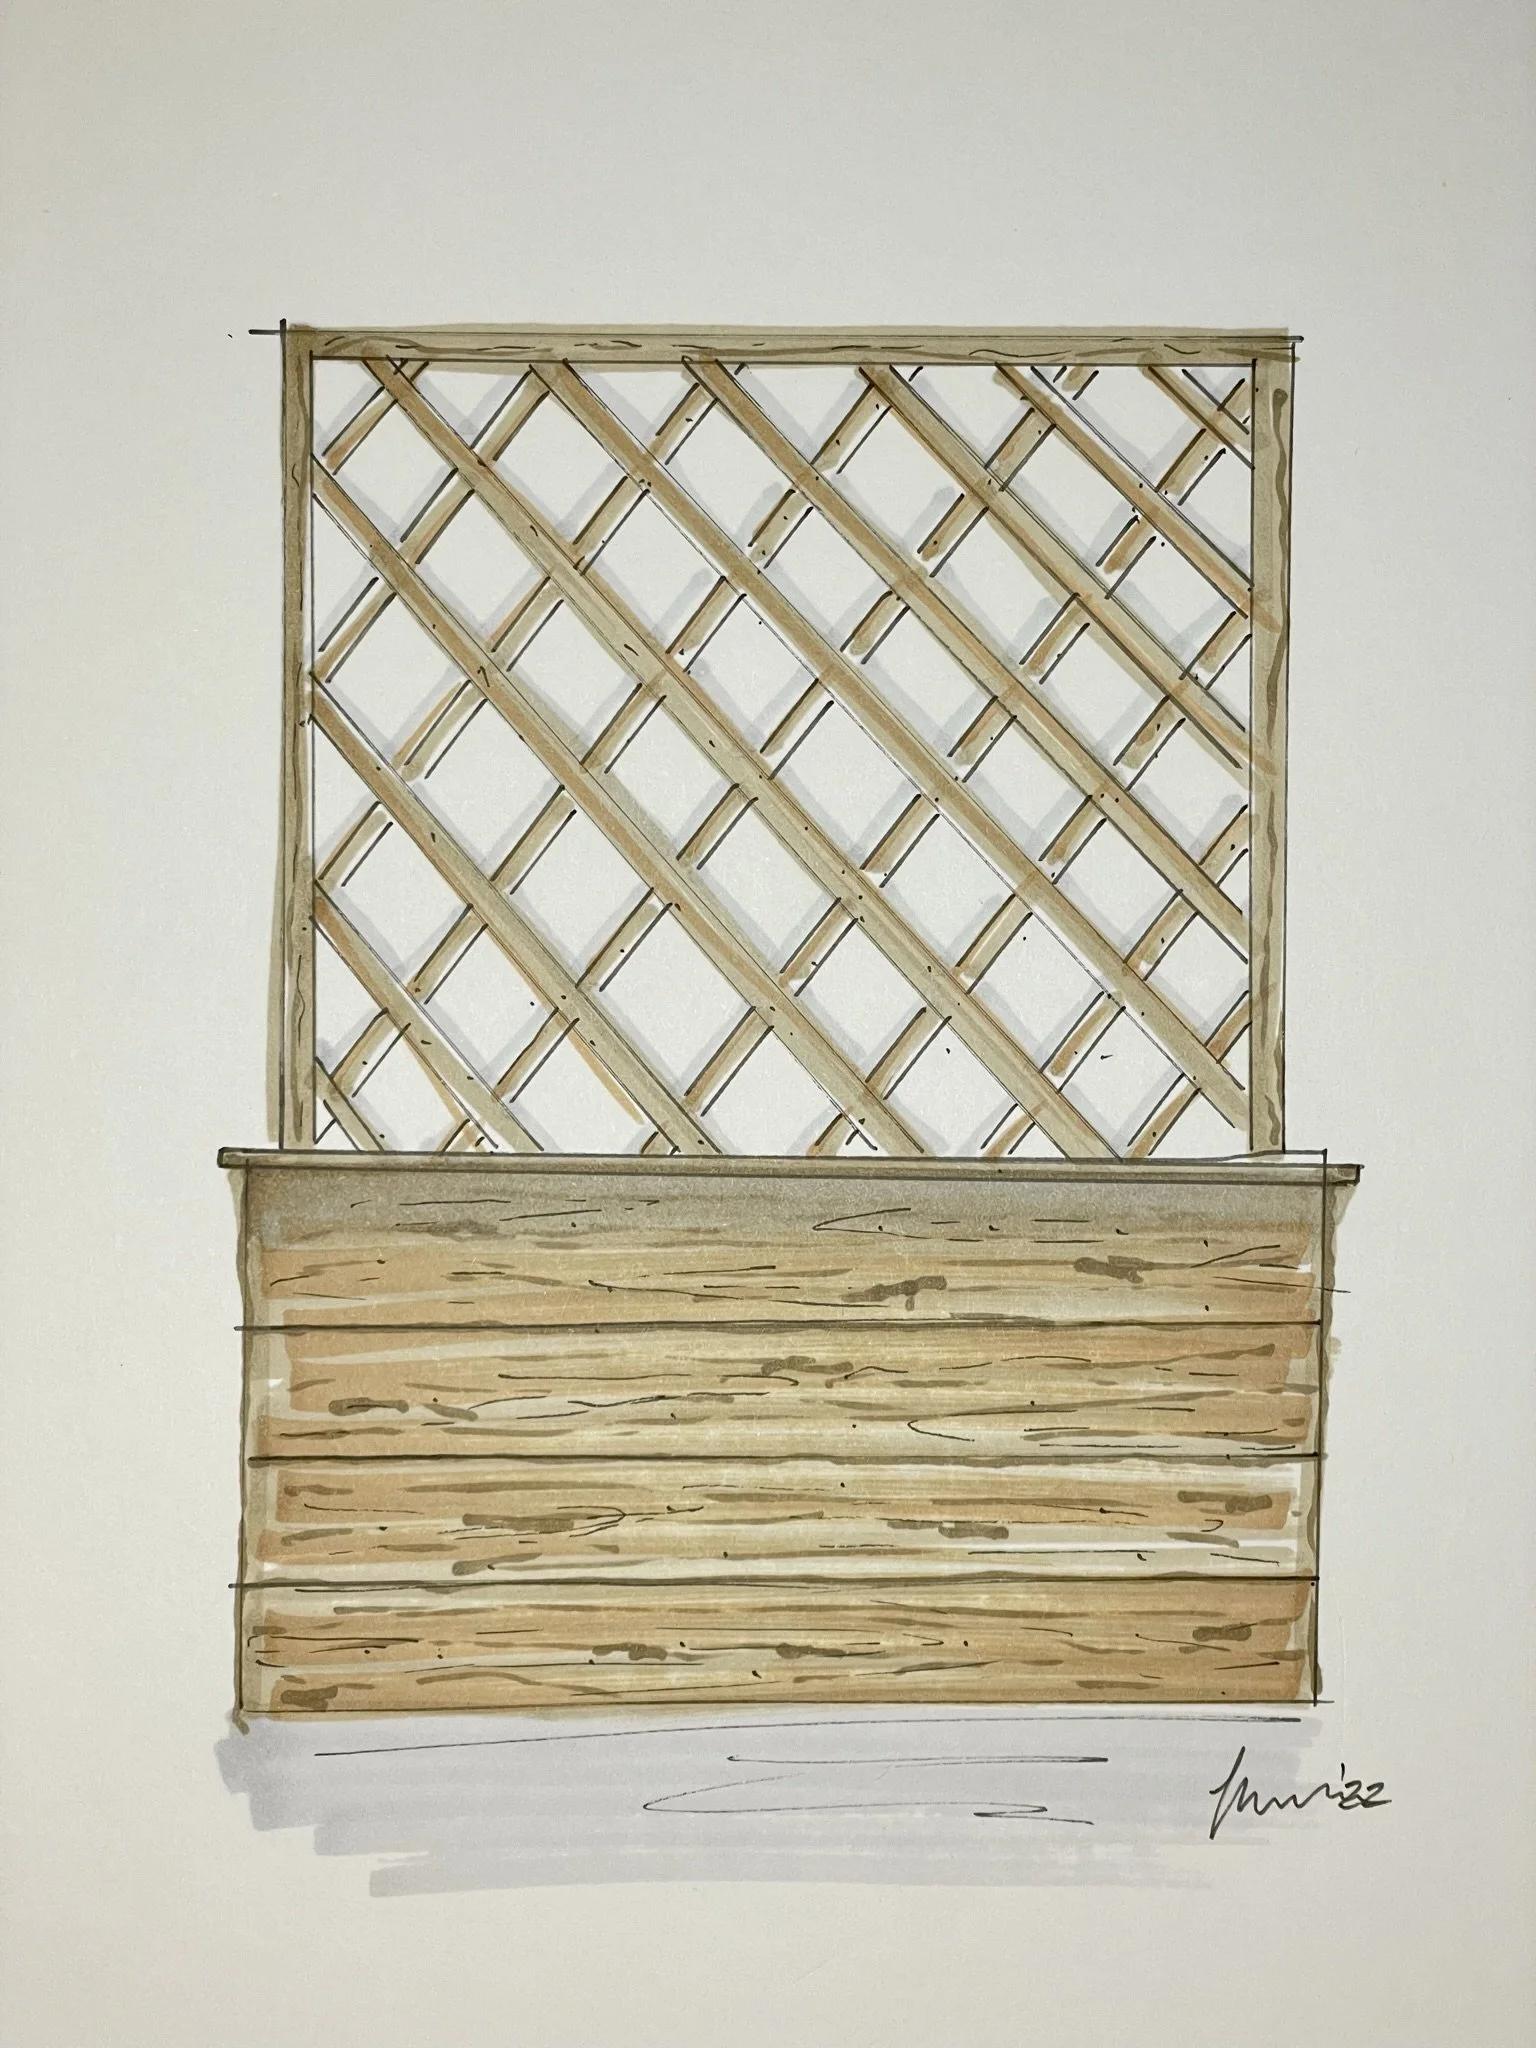
Cedar Planter: drawn by me!
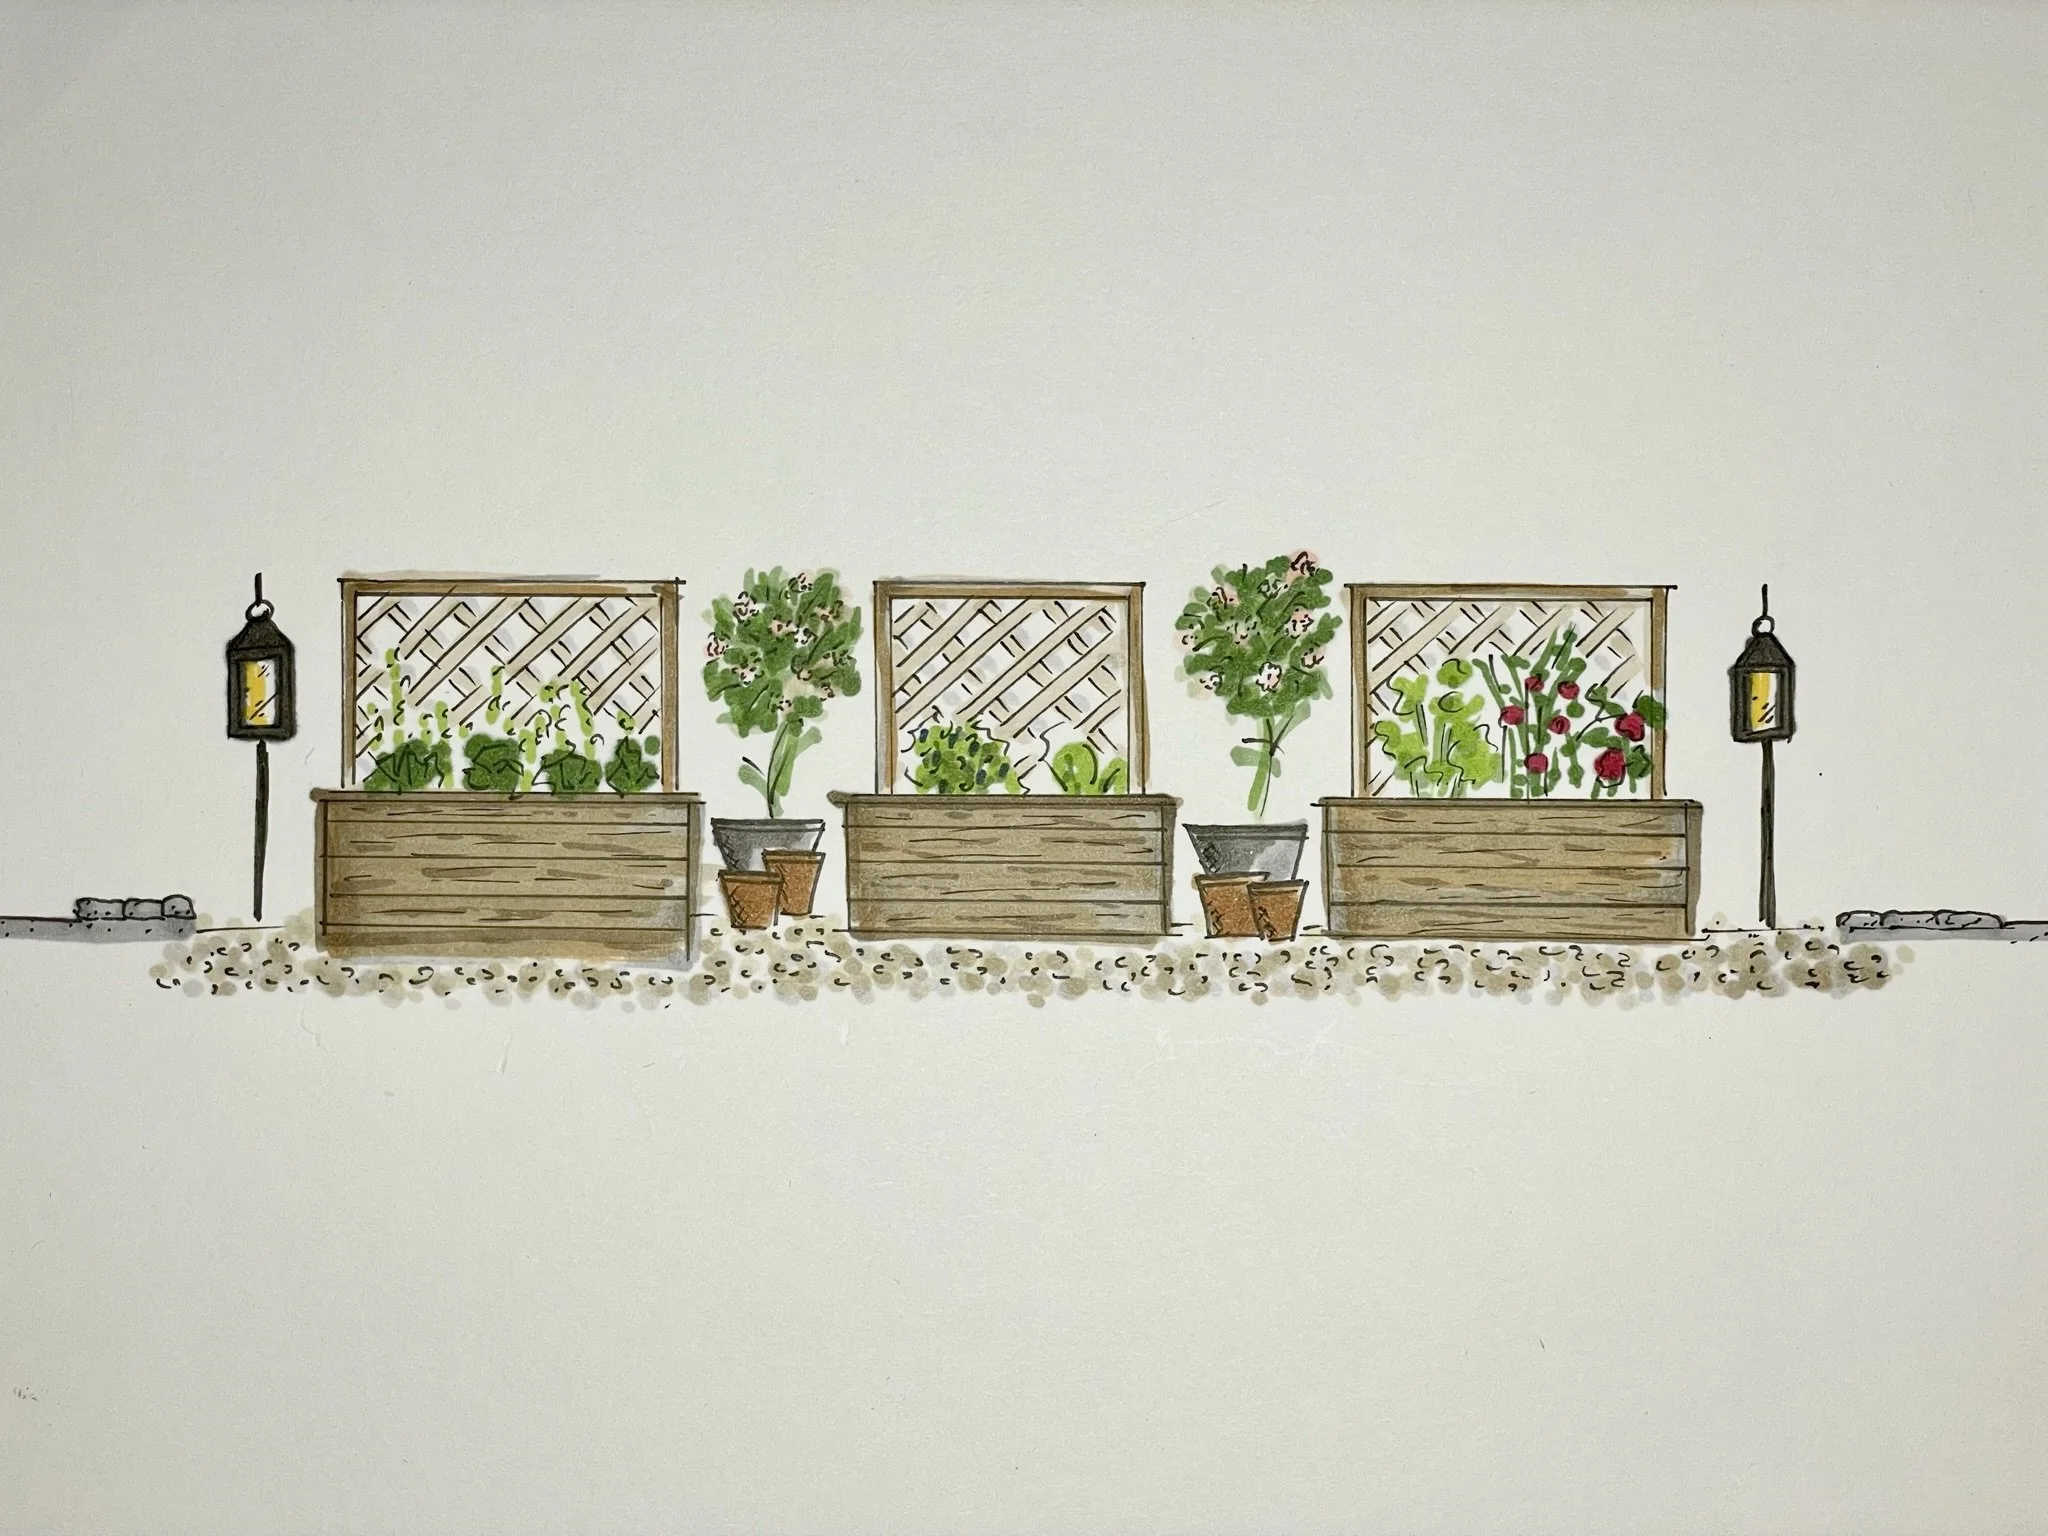
Courtyard Part 1 Vision: drawn by me!
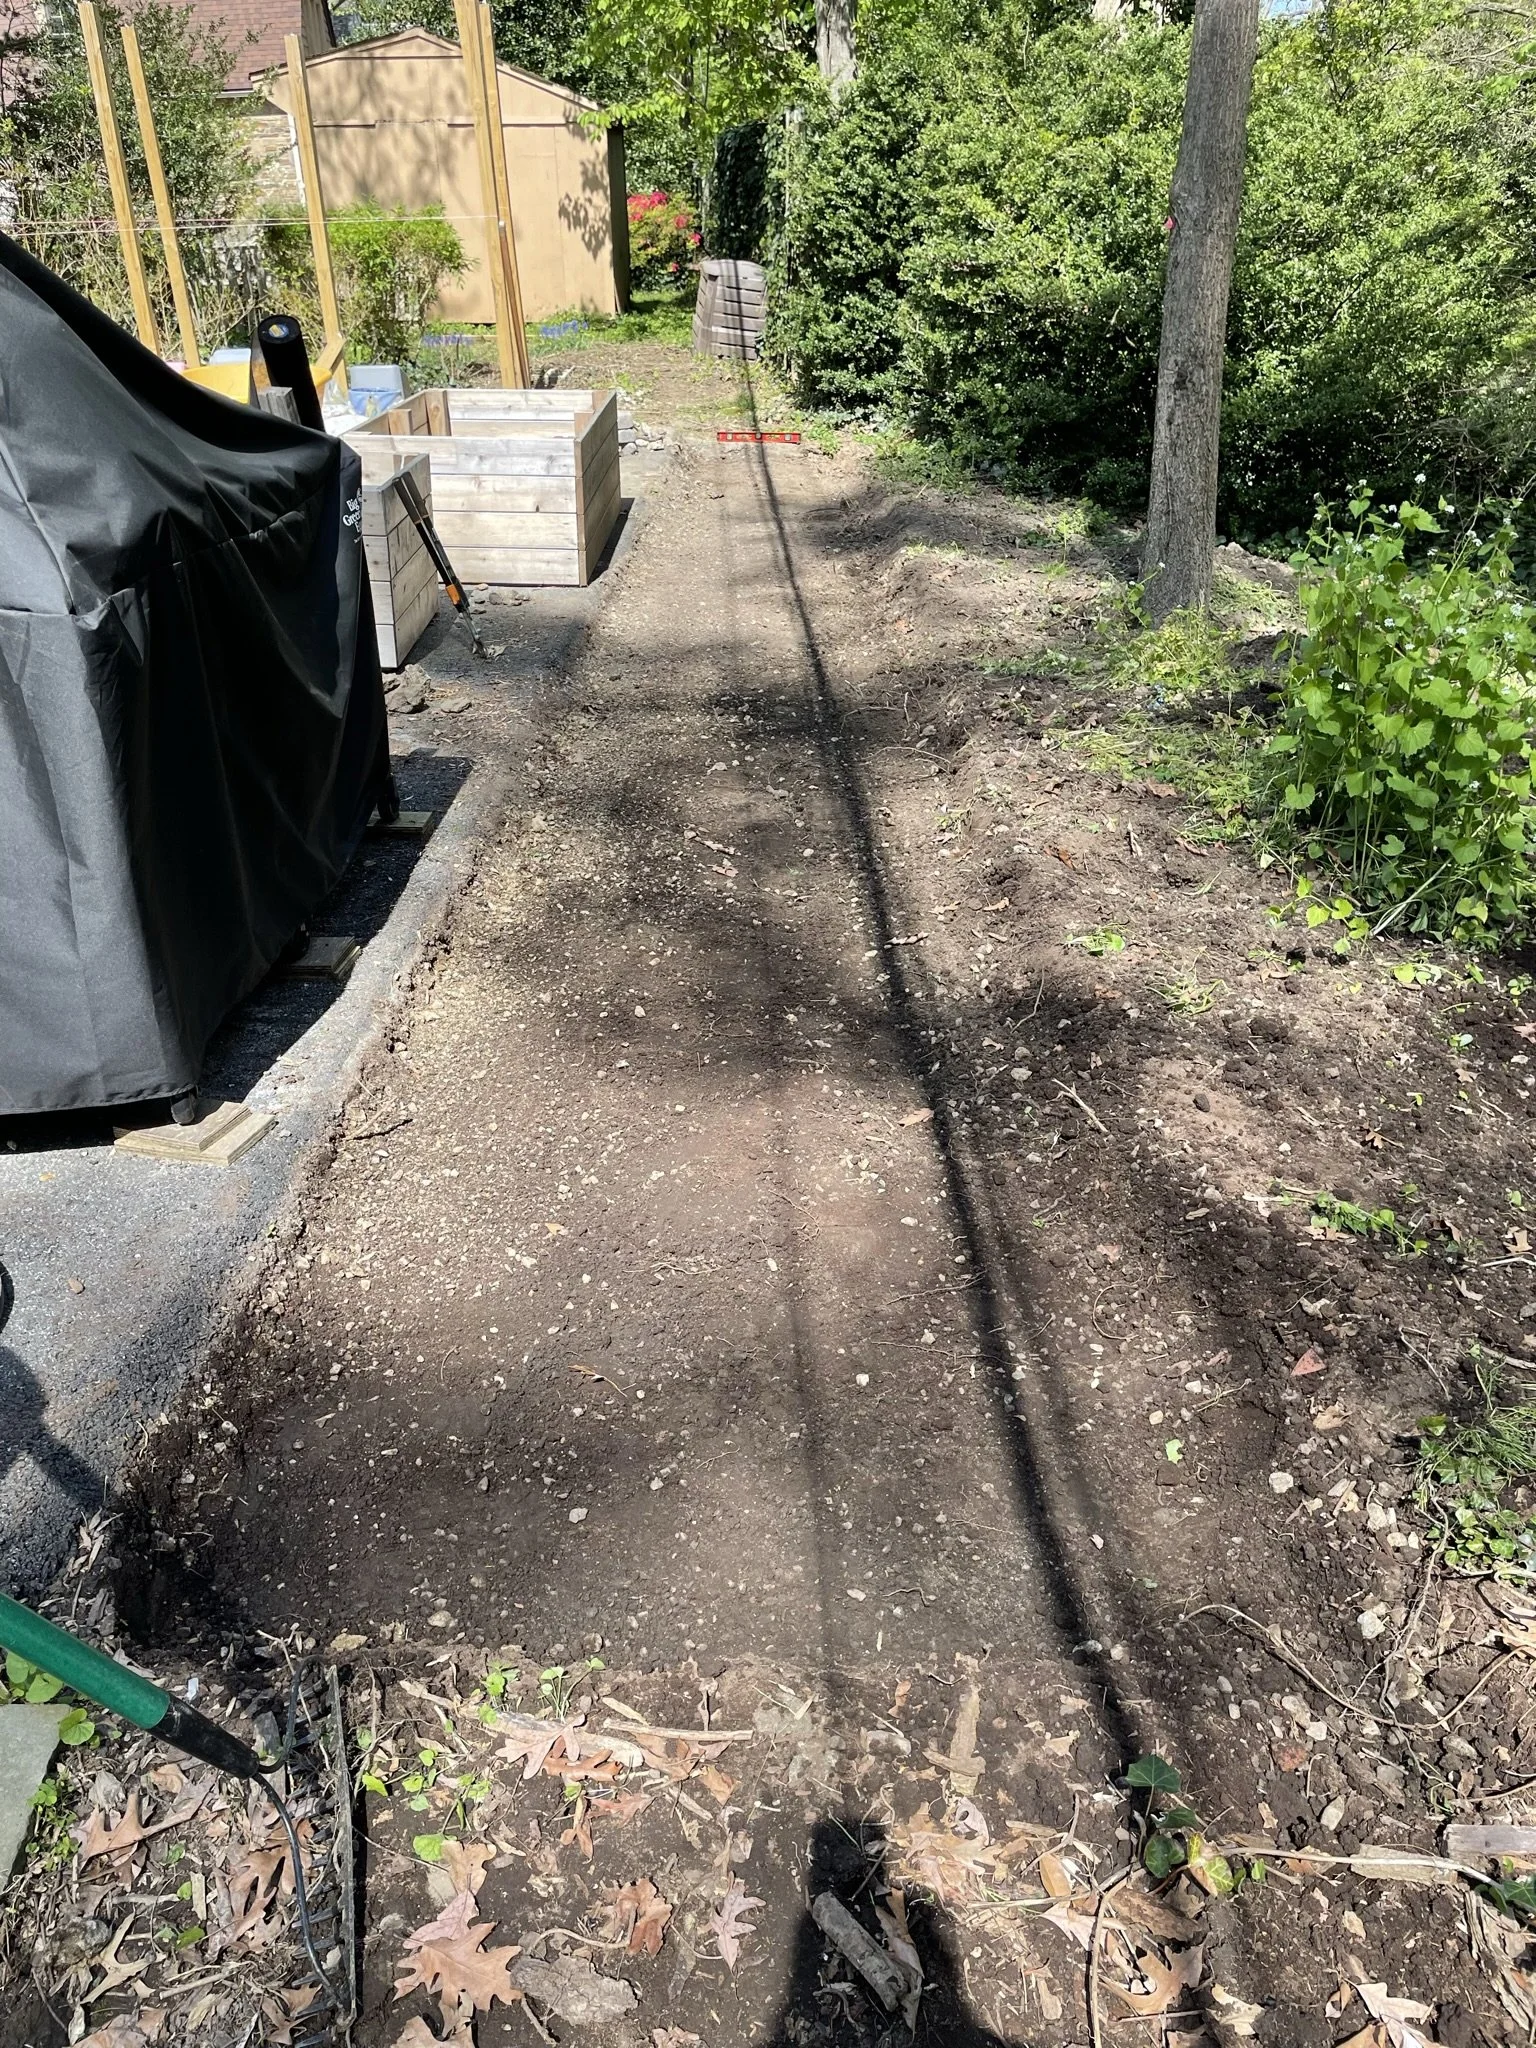
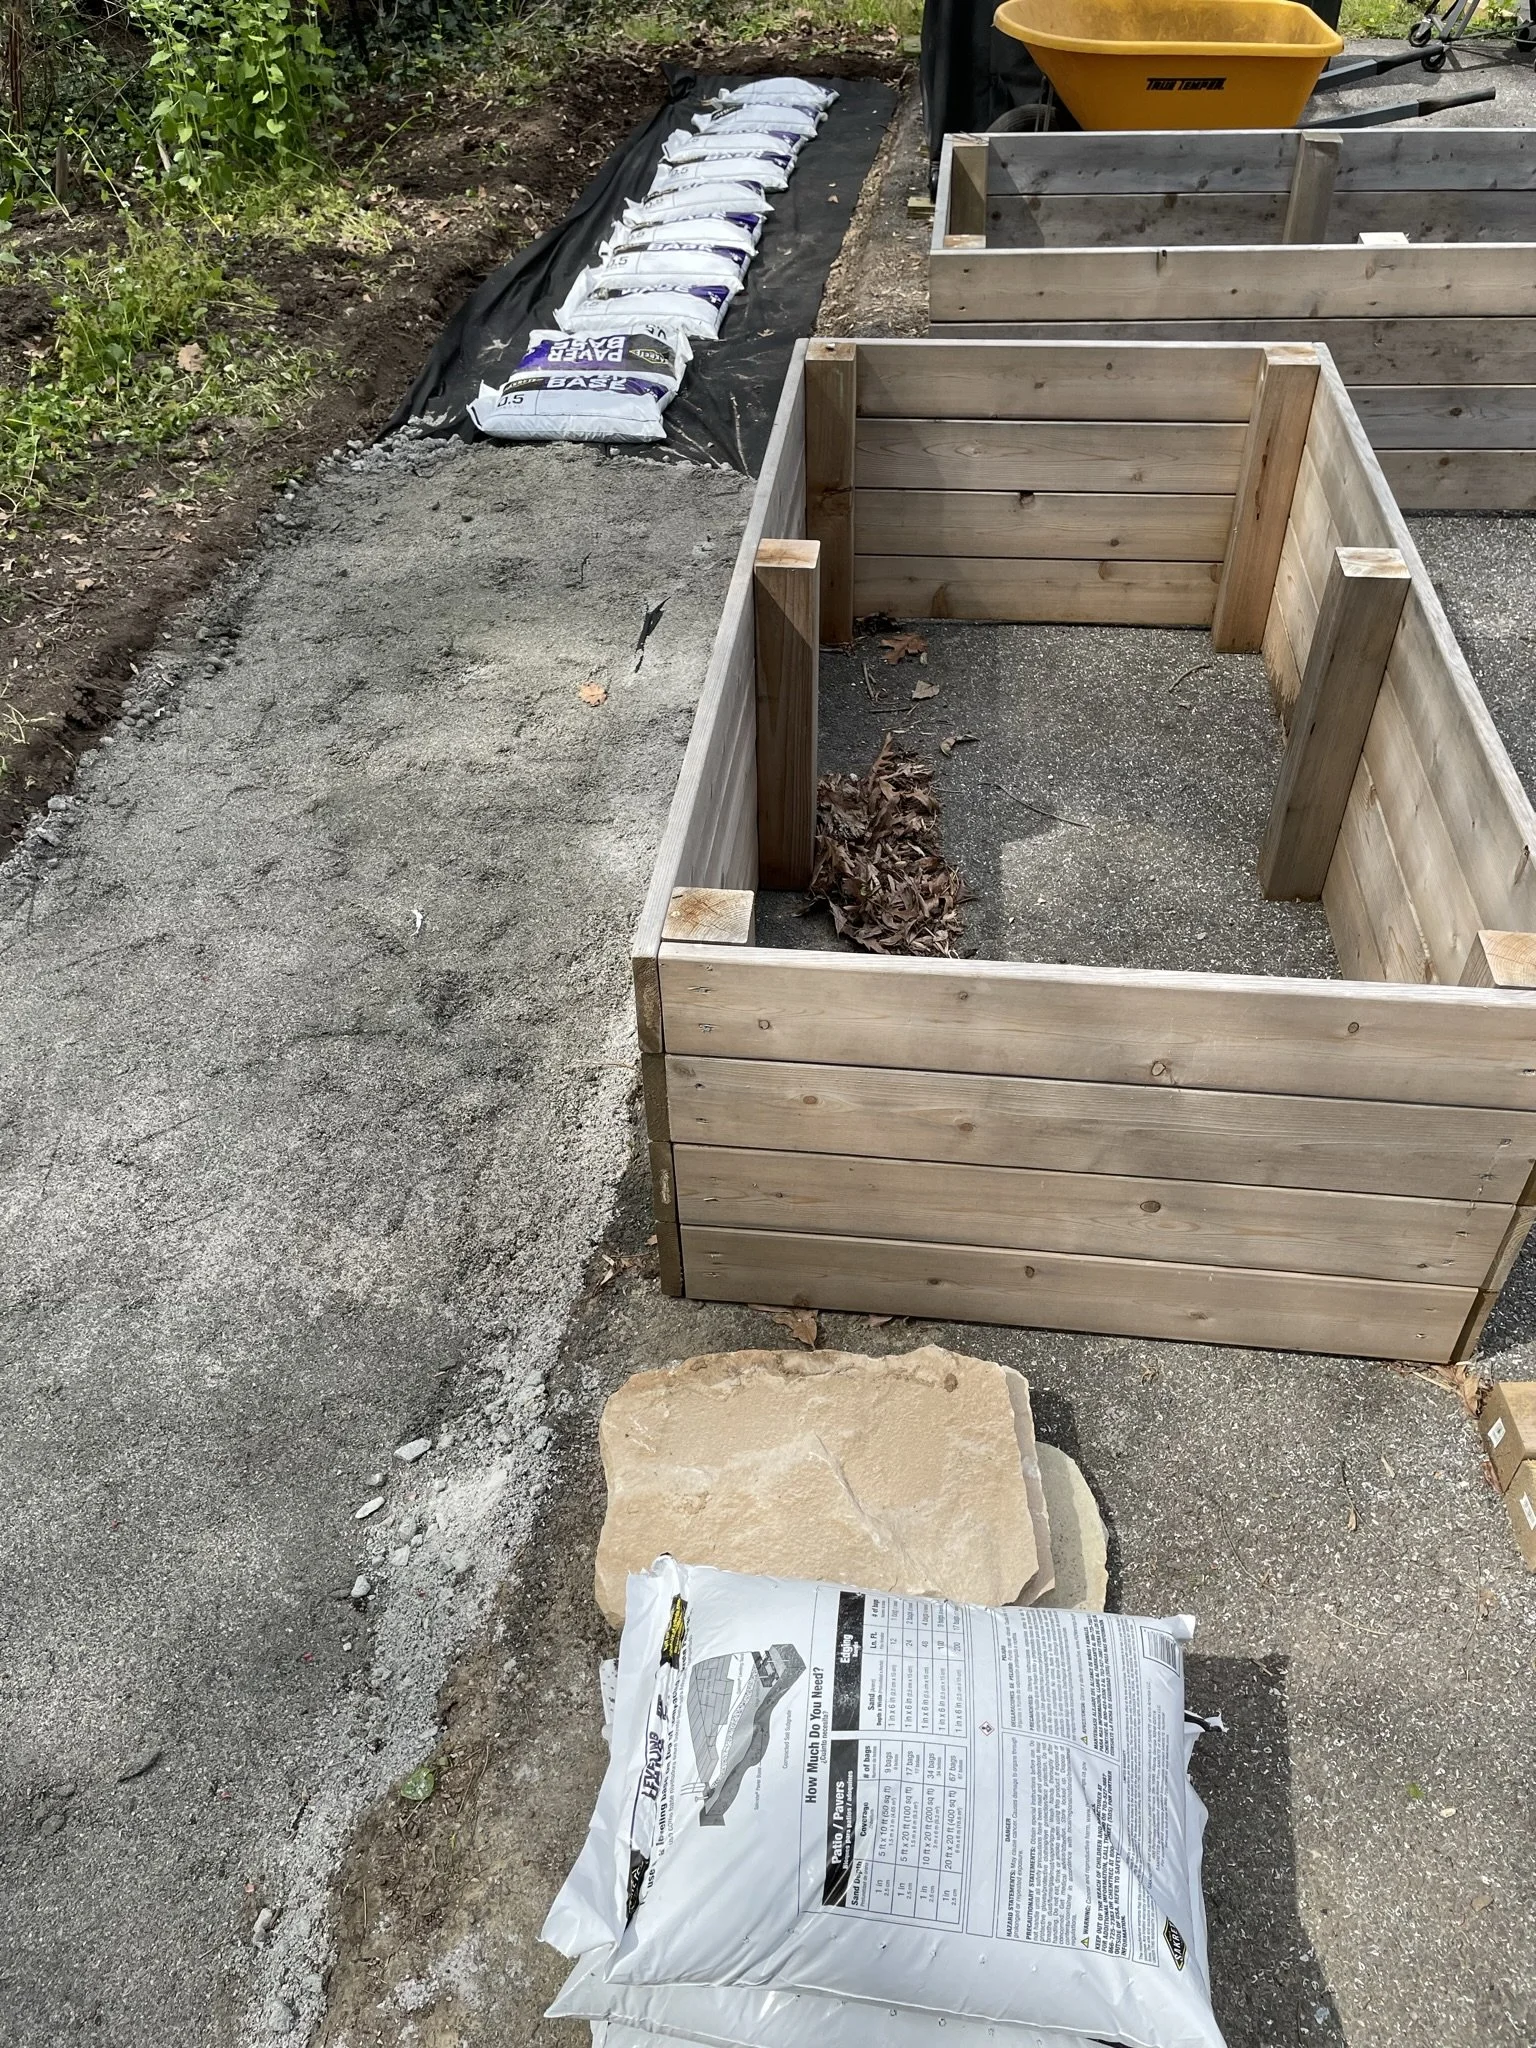
To be transparent, there was also quite a bit of prep work before we got to building. Digging down about 5”, laying landscape fabric, laying paver base, tampering it down, levelling but leaving a sloped grade for drainage, and tampering again (by hand, ick that was sweaty!!). Annoyingly, the driveway was not finished in a straight parallel to the property line (why???!), but rather in a triangle shape. So, we’re trying to mitigate some of that with our design. We’ll fix it once we get to resealing or paving the driveway in a few years’ time!
Right…Onto the building plans… !
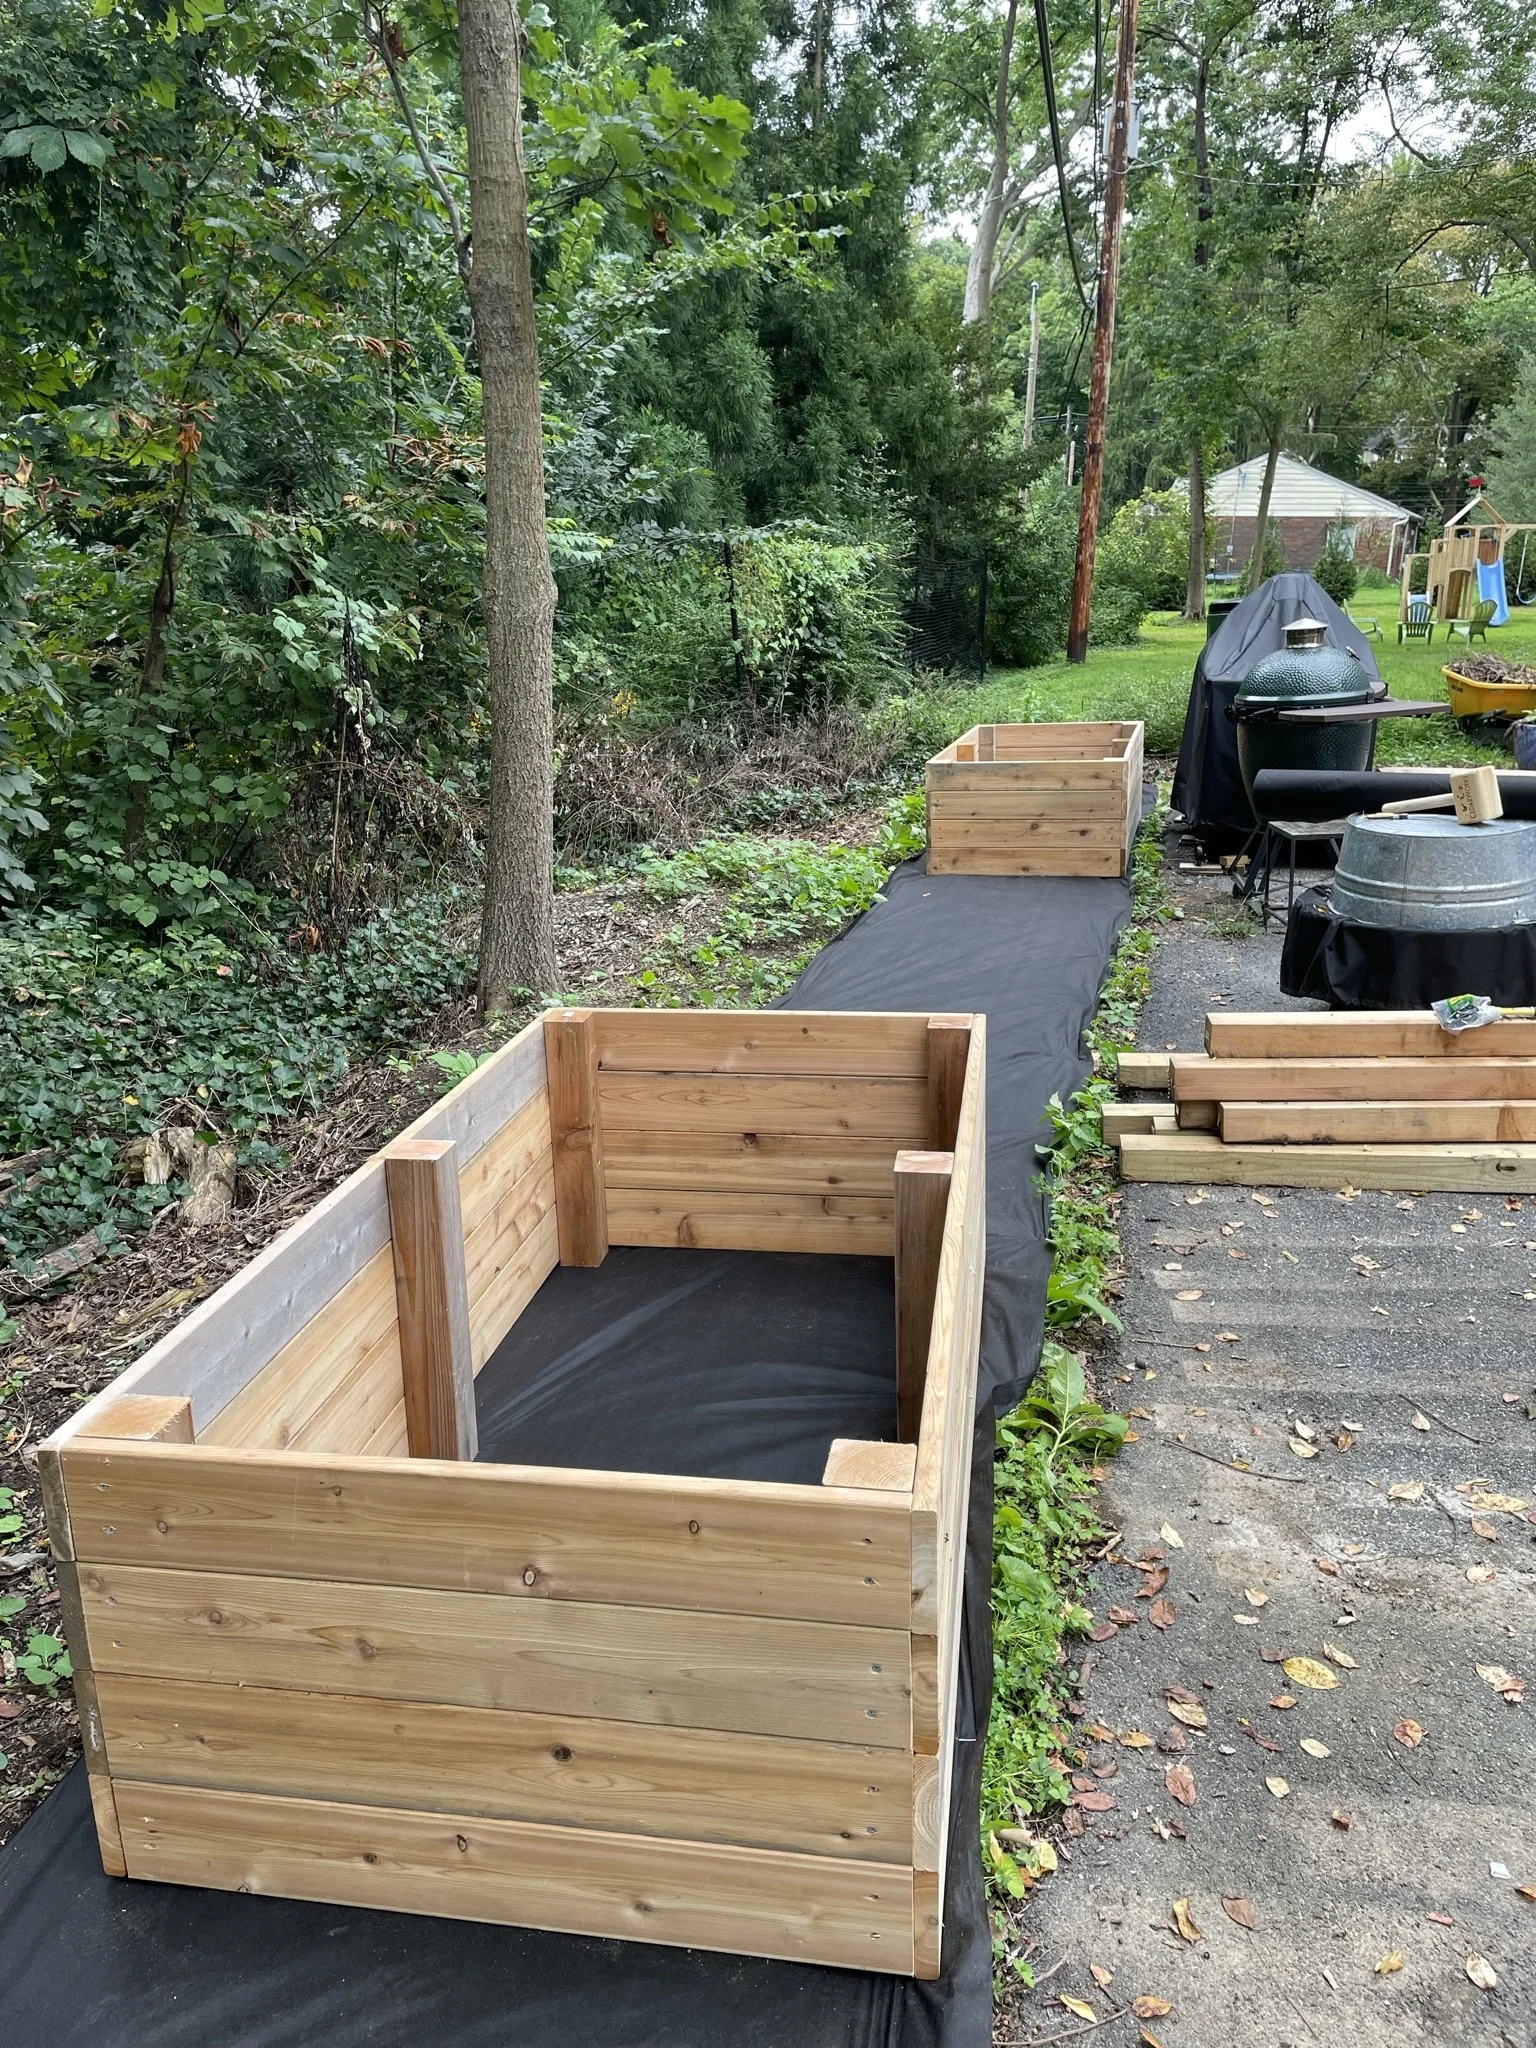
It was simple. We used cedar planks and posts for ultimate weather and time durability, not cheap during this lumber-hungry pandemic, but worth the investment. Each planter is approximately 7’ wide, 3’ deep and 22” high. We wanted large enough to grow a variety of stuff and take up an enormous area, but low enough for our kids to help with the planting and watering. (We ended up doing two different planter sizes, one lower for melons & berries for our 3-year-old son.)
Each planter was just a set of 4 2x4” cedar planks screwed flat (using exterior-grade screws) to 4x4” posts, and then 1x4” cedar planks flat on top of the planter, mitred at the corner to provide a finished edge. Each top plank was secured with 2 screws into the 4x4” post under it. A couple sketches to explain what that looks like:

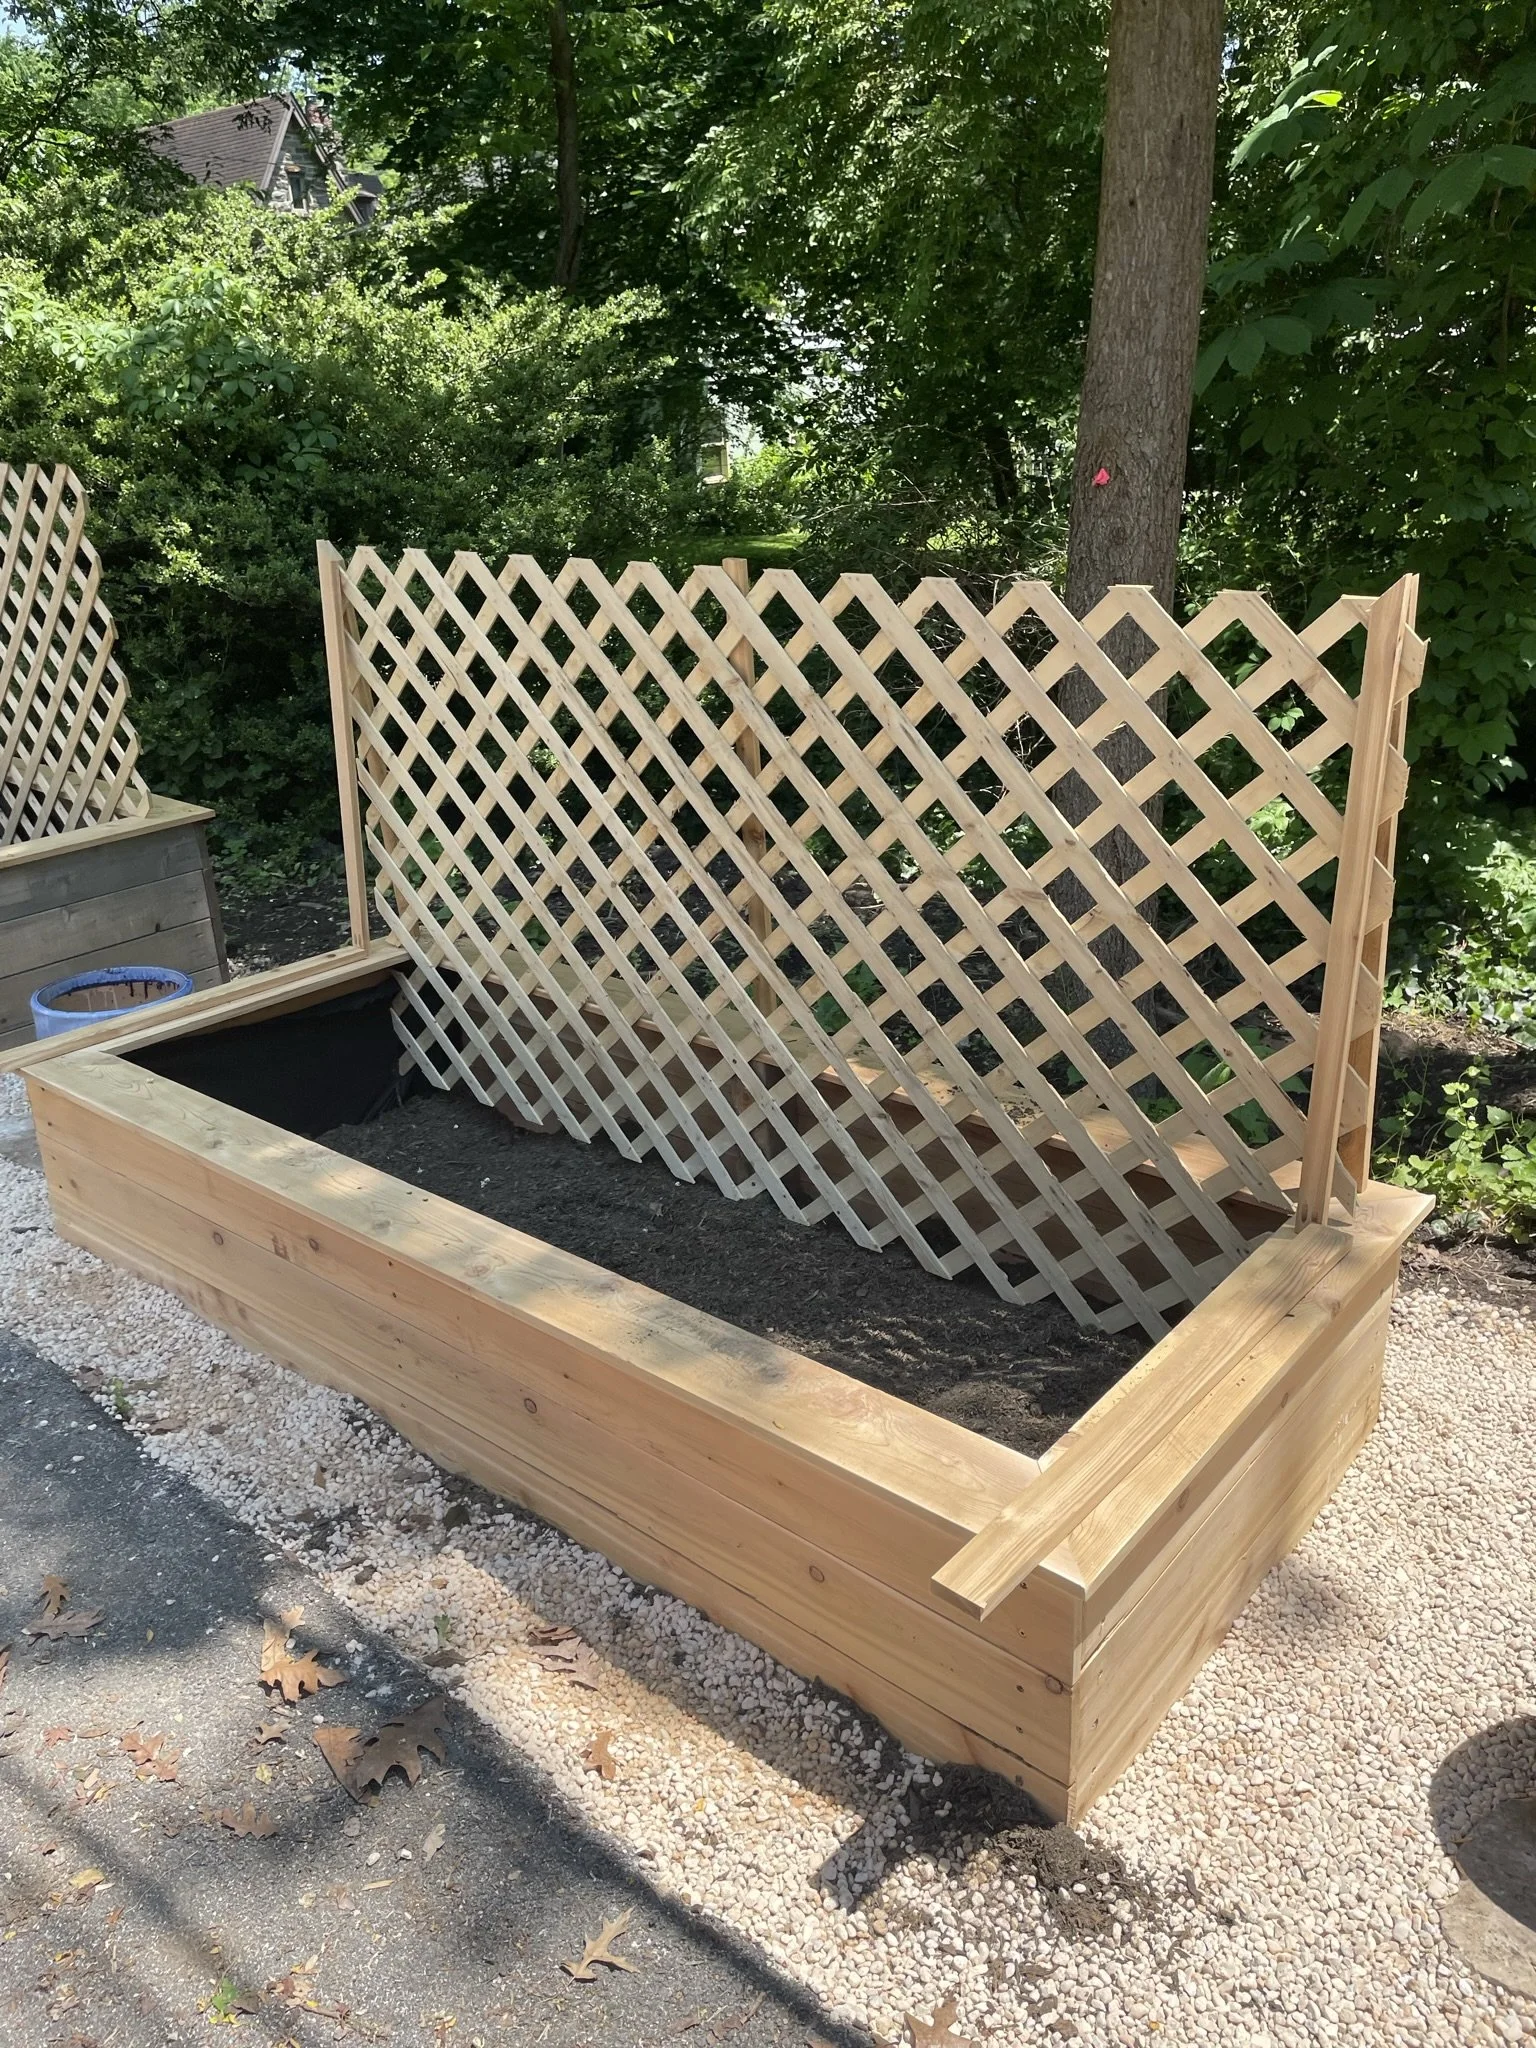
The trellis section was also simple. We bought 4x8’ sheets of standard grade pine trellis (not the best) and cut them to the size of each planter using a jigsaw to avoid the staples holding the trellis pieces together. Ensure you remove any staples in the way of your measurement line first. Staples + power saw equals the emergency room!! The trellis sat all the way down in the depth of the planter, but in order to secure it to the 4x4 post and not have to cut our top mitred plank, we had to cut a notch out of the trellis. Another drawing to explain:

The second part of the trellis section was finishing it off. Trellis is pretty rubbish 1/4” pine that is flimsy, splinters easily and not very attractive at the edges. We wanted to make it look professional and fence worthy, plus provide some stability for the wobbly top, since the trellis sat 4’ above the planter posts where we secured it. We took a 1x4” cedar post and used the table saw to rip it down to 1.5” wide pieces. We then used a mitre saw to cut to the length from the top plank to 3/4” beyond the top of the trellis and add the 45-degree mitre edge. Remember you’ll need to cut the length to an extra 1.5” to cover the width of the mitre! Two pieces of cedar edging were used for each section of trim, one on the front and one on the back, with the trellis sandwiched between. Because each cedar piece was heavy, we also secured the edge vertically into the 4x4” post using pocket holes. We then just used the finishing nailer to secure the edging to the trellis itself.
After completing the edges, the stability was still a bit iffy as our planters were so long. At 7’ wide, the trellis swayed a bit in the wind. So, we added a third backer support in the middle of the trellis to the middle 4x4” post. It doesn’t look quite as perfect, but functionally we’re not worried about it all coming down in a high wind scenario now.
Then came the finishing touches:
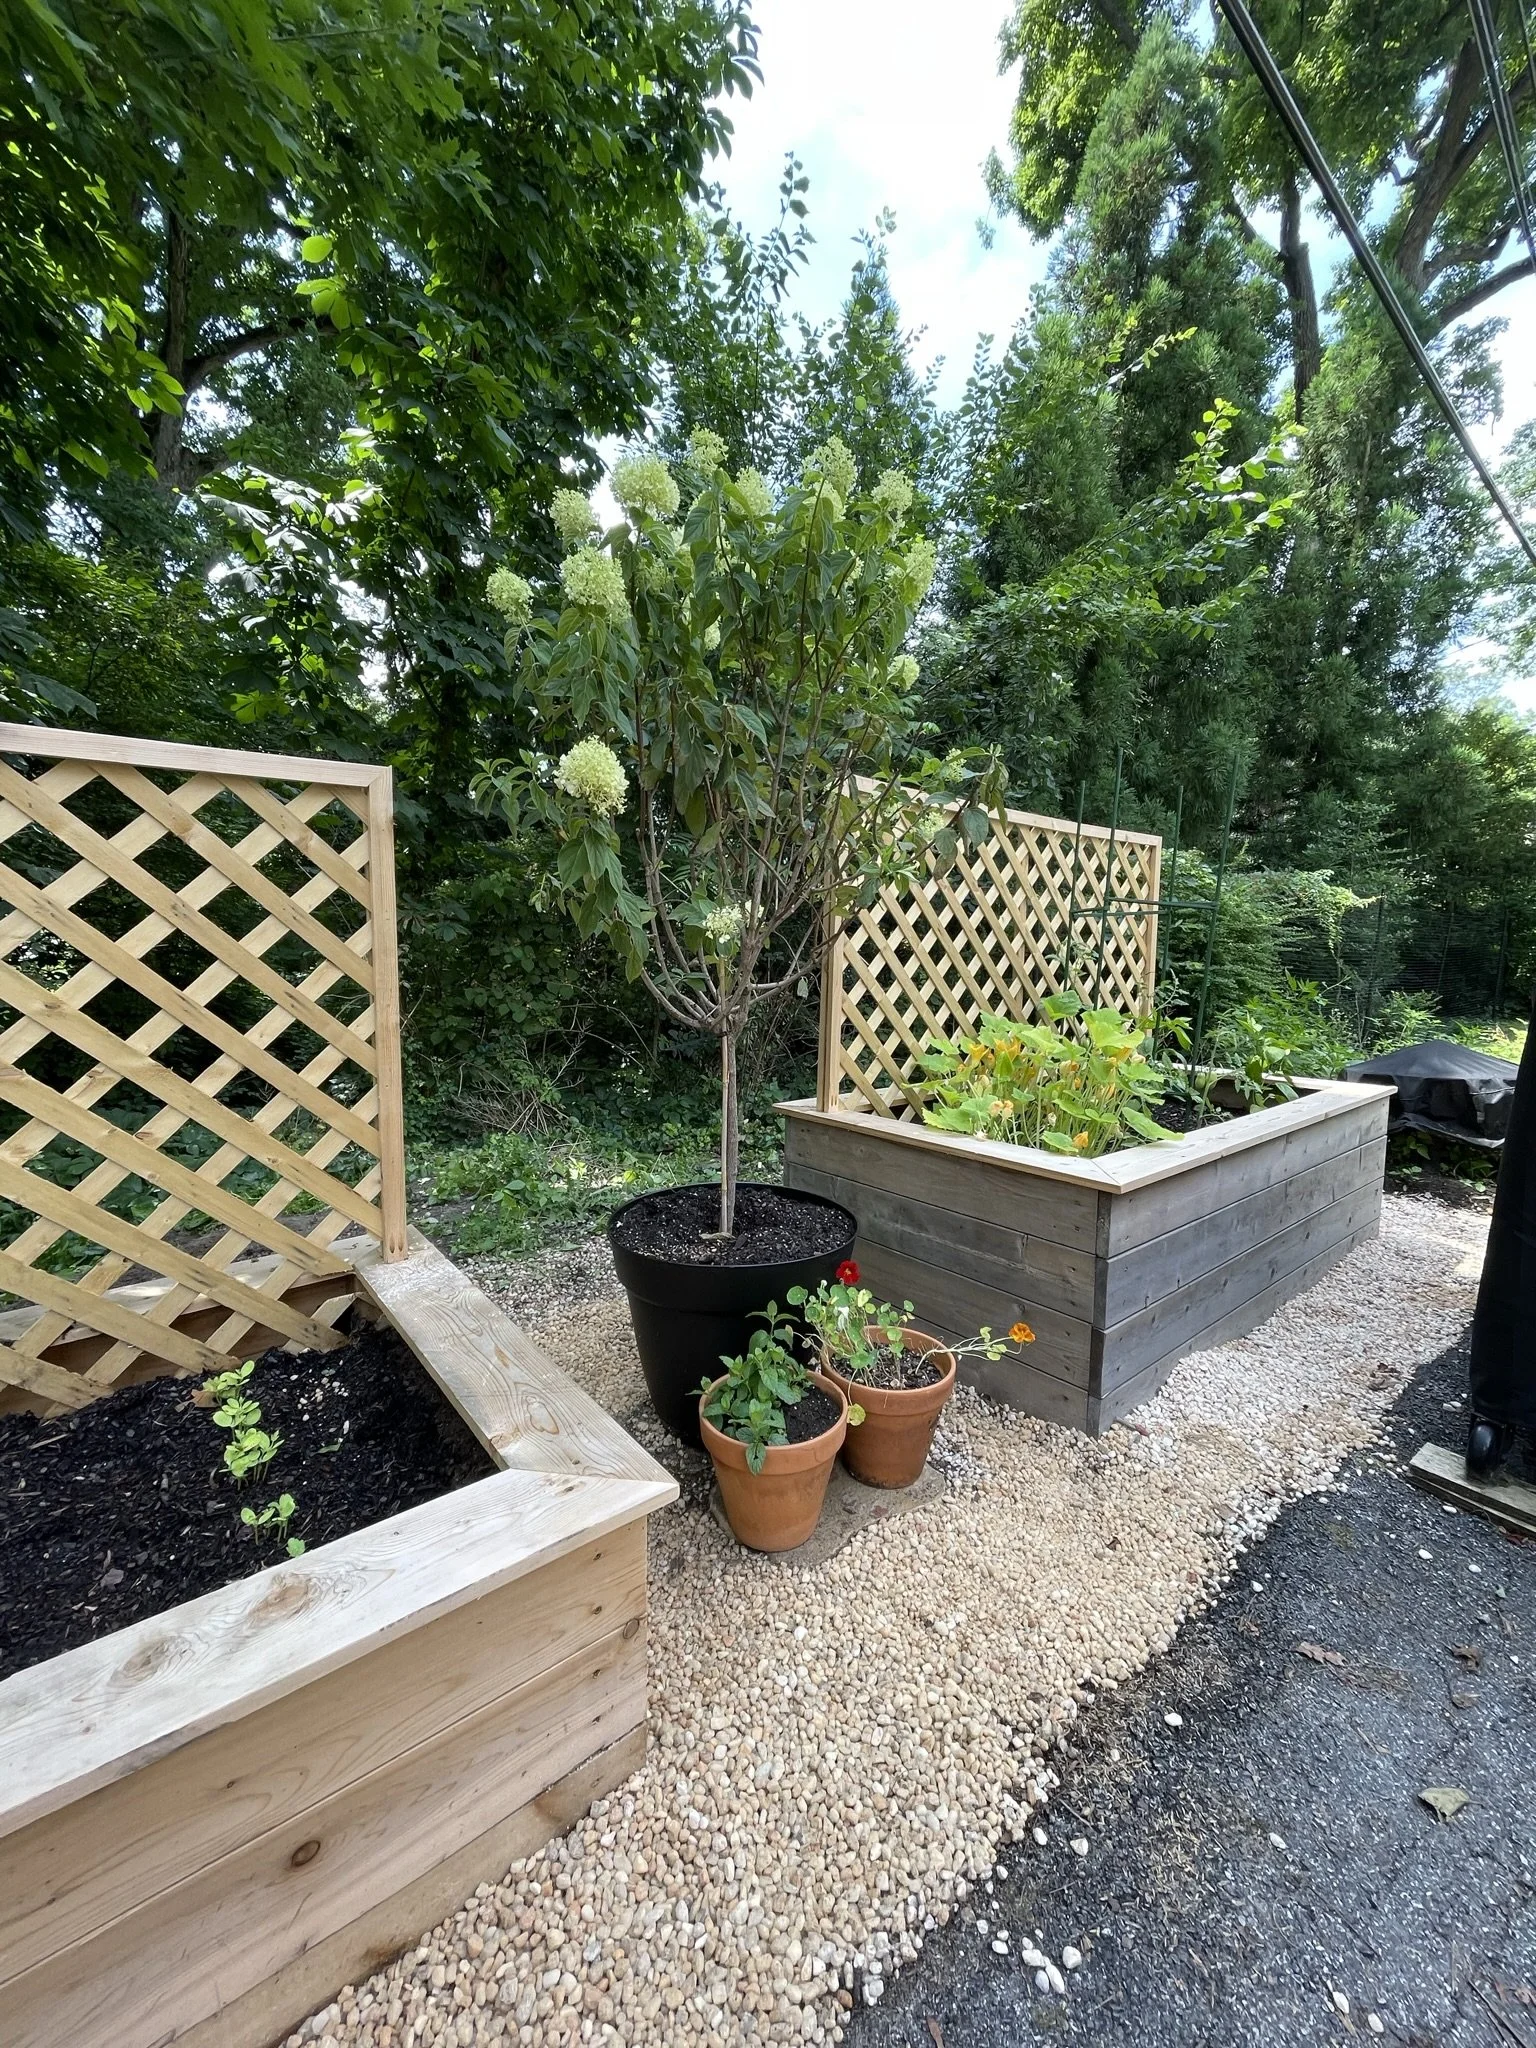
1) filling up the planters with free mulch (wood chips from a huge tree a neighbour was cutting down)
(2) planting a whole load of veggies, fruit and herbs (looking at you spinach, carrots, peas, peppers, tomatoes, blueberries, watermelon, courgette and squash!)
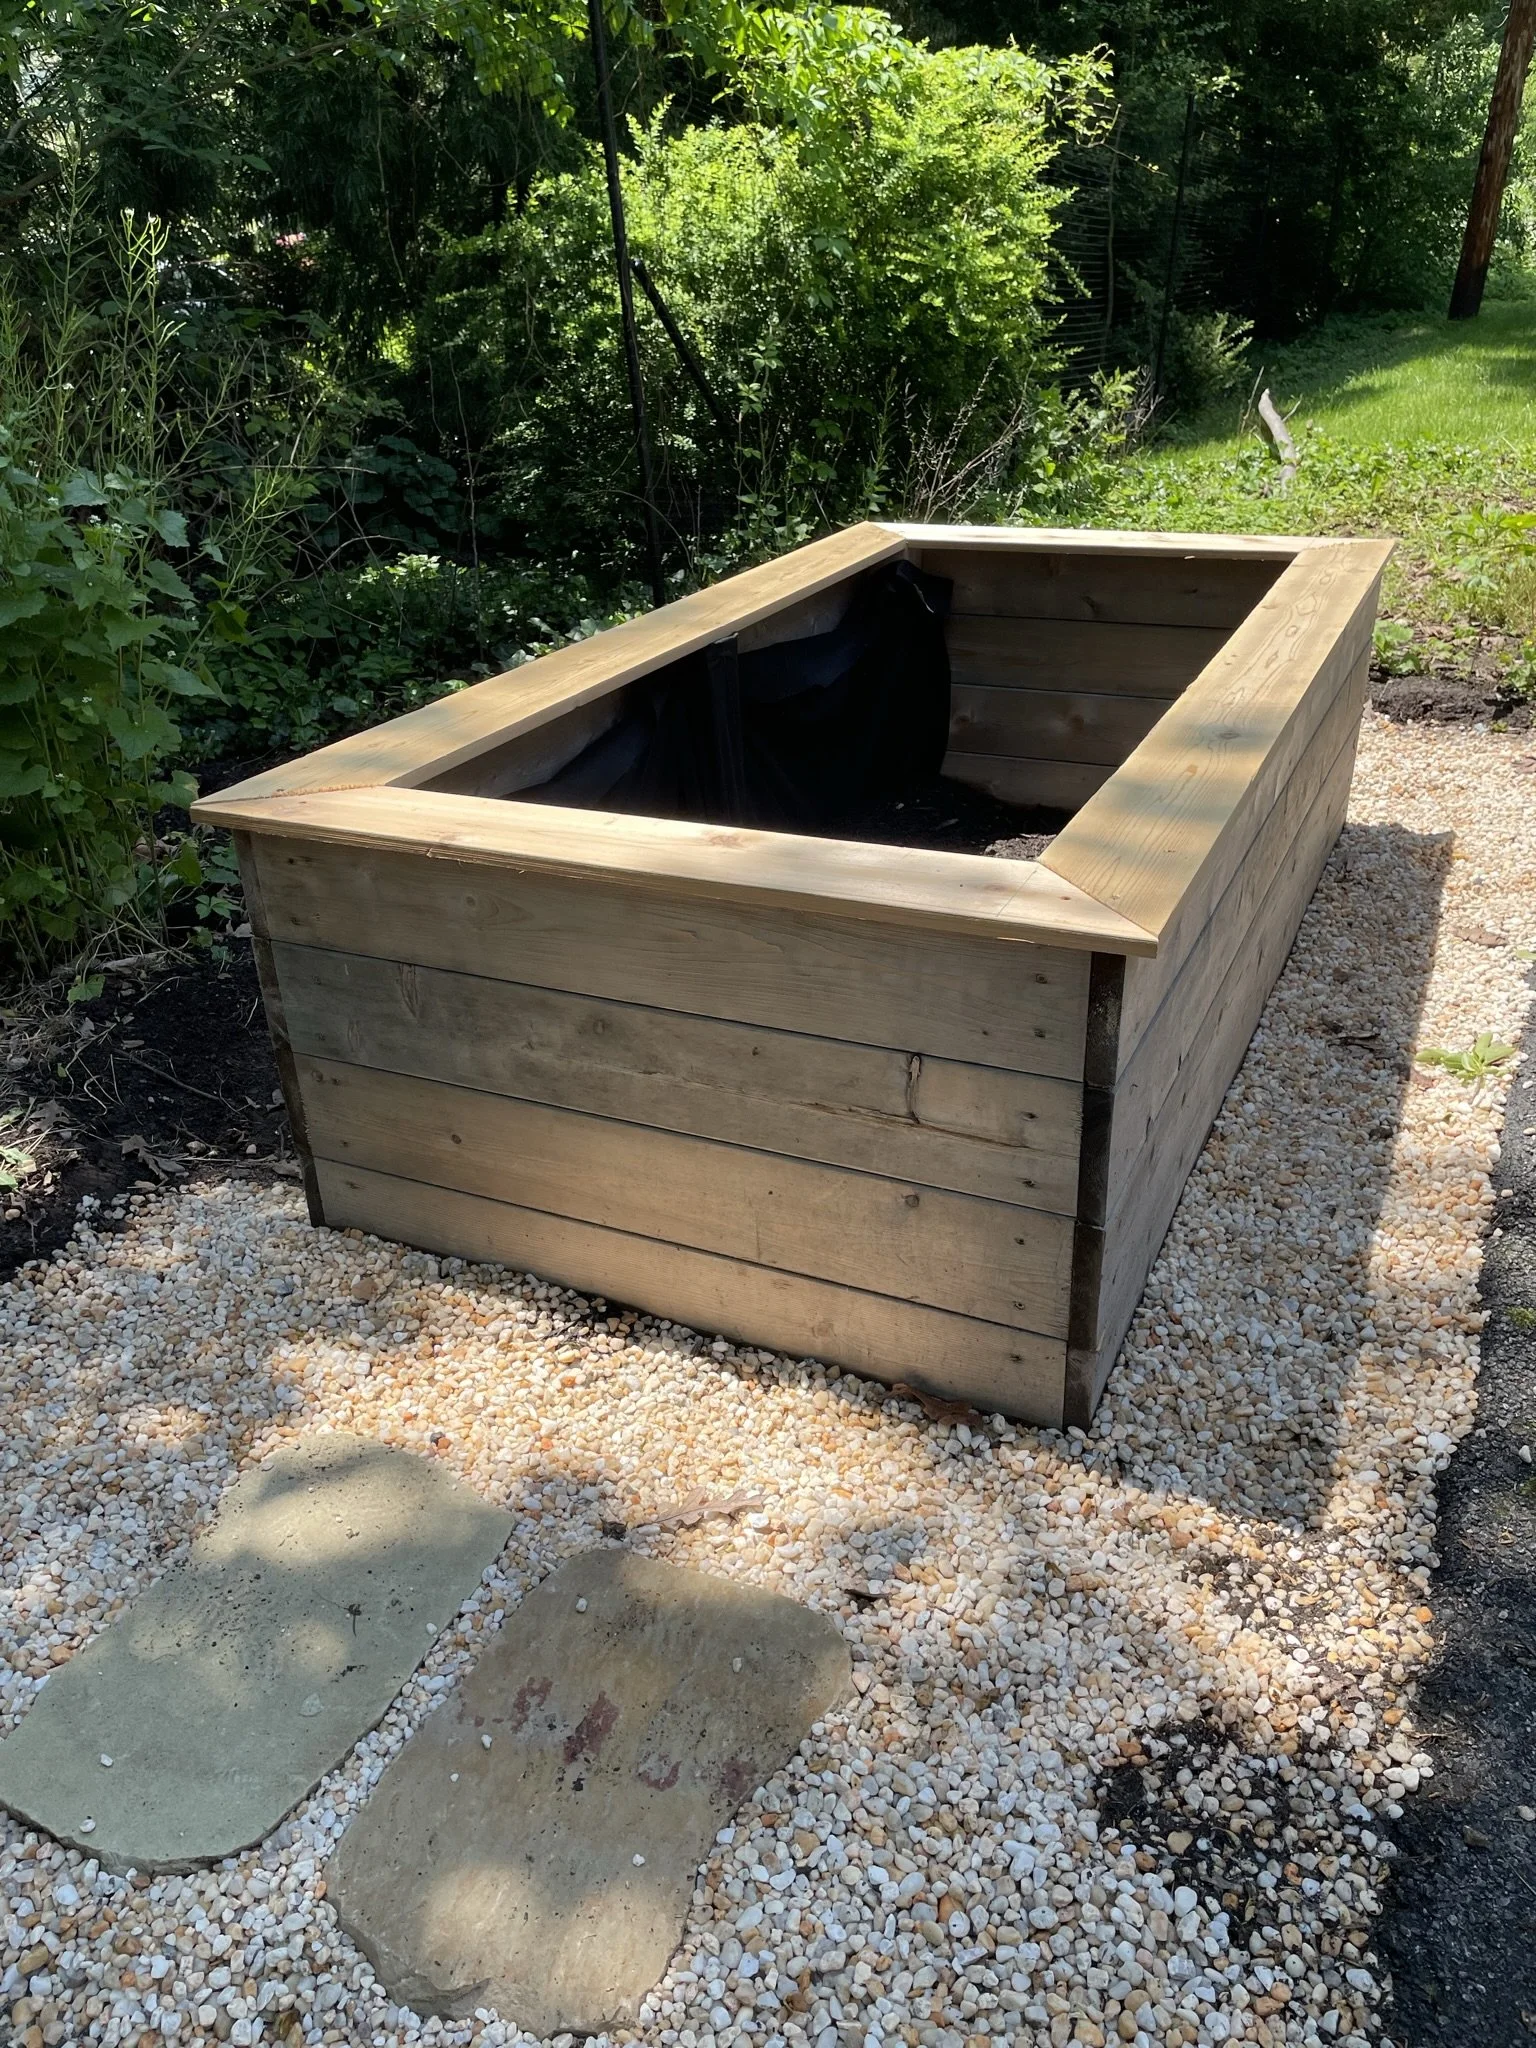
(3) adding in some big pavers in between the planters for some big pots
(4) adding some pea gravel around the planters
(5) ordering some panicle hydrangeas (first time ordering plants online!) and planting them in the big pots
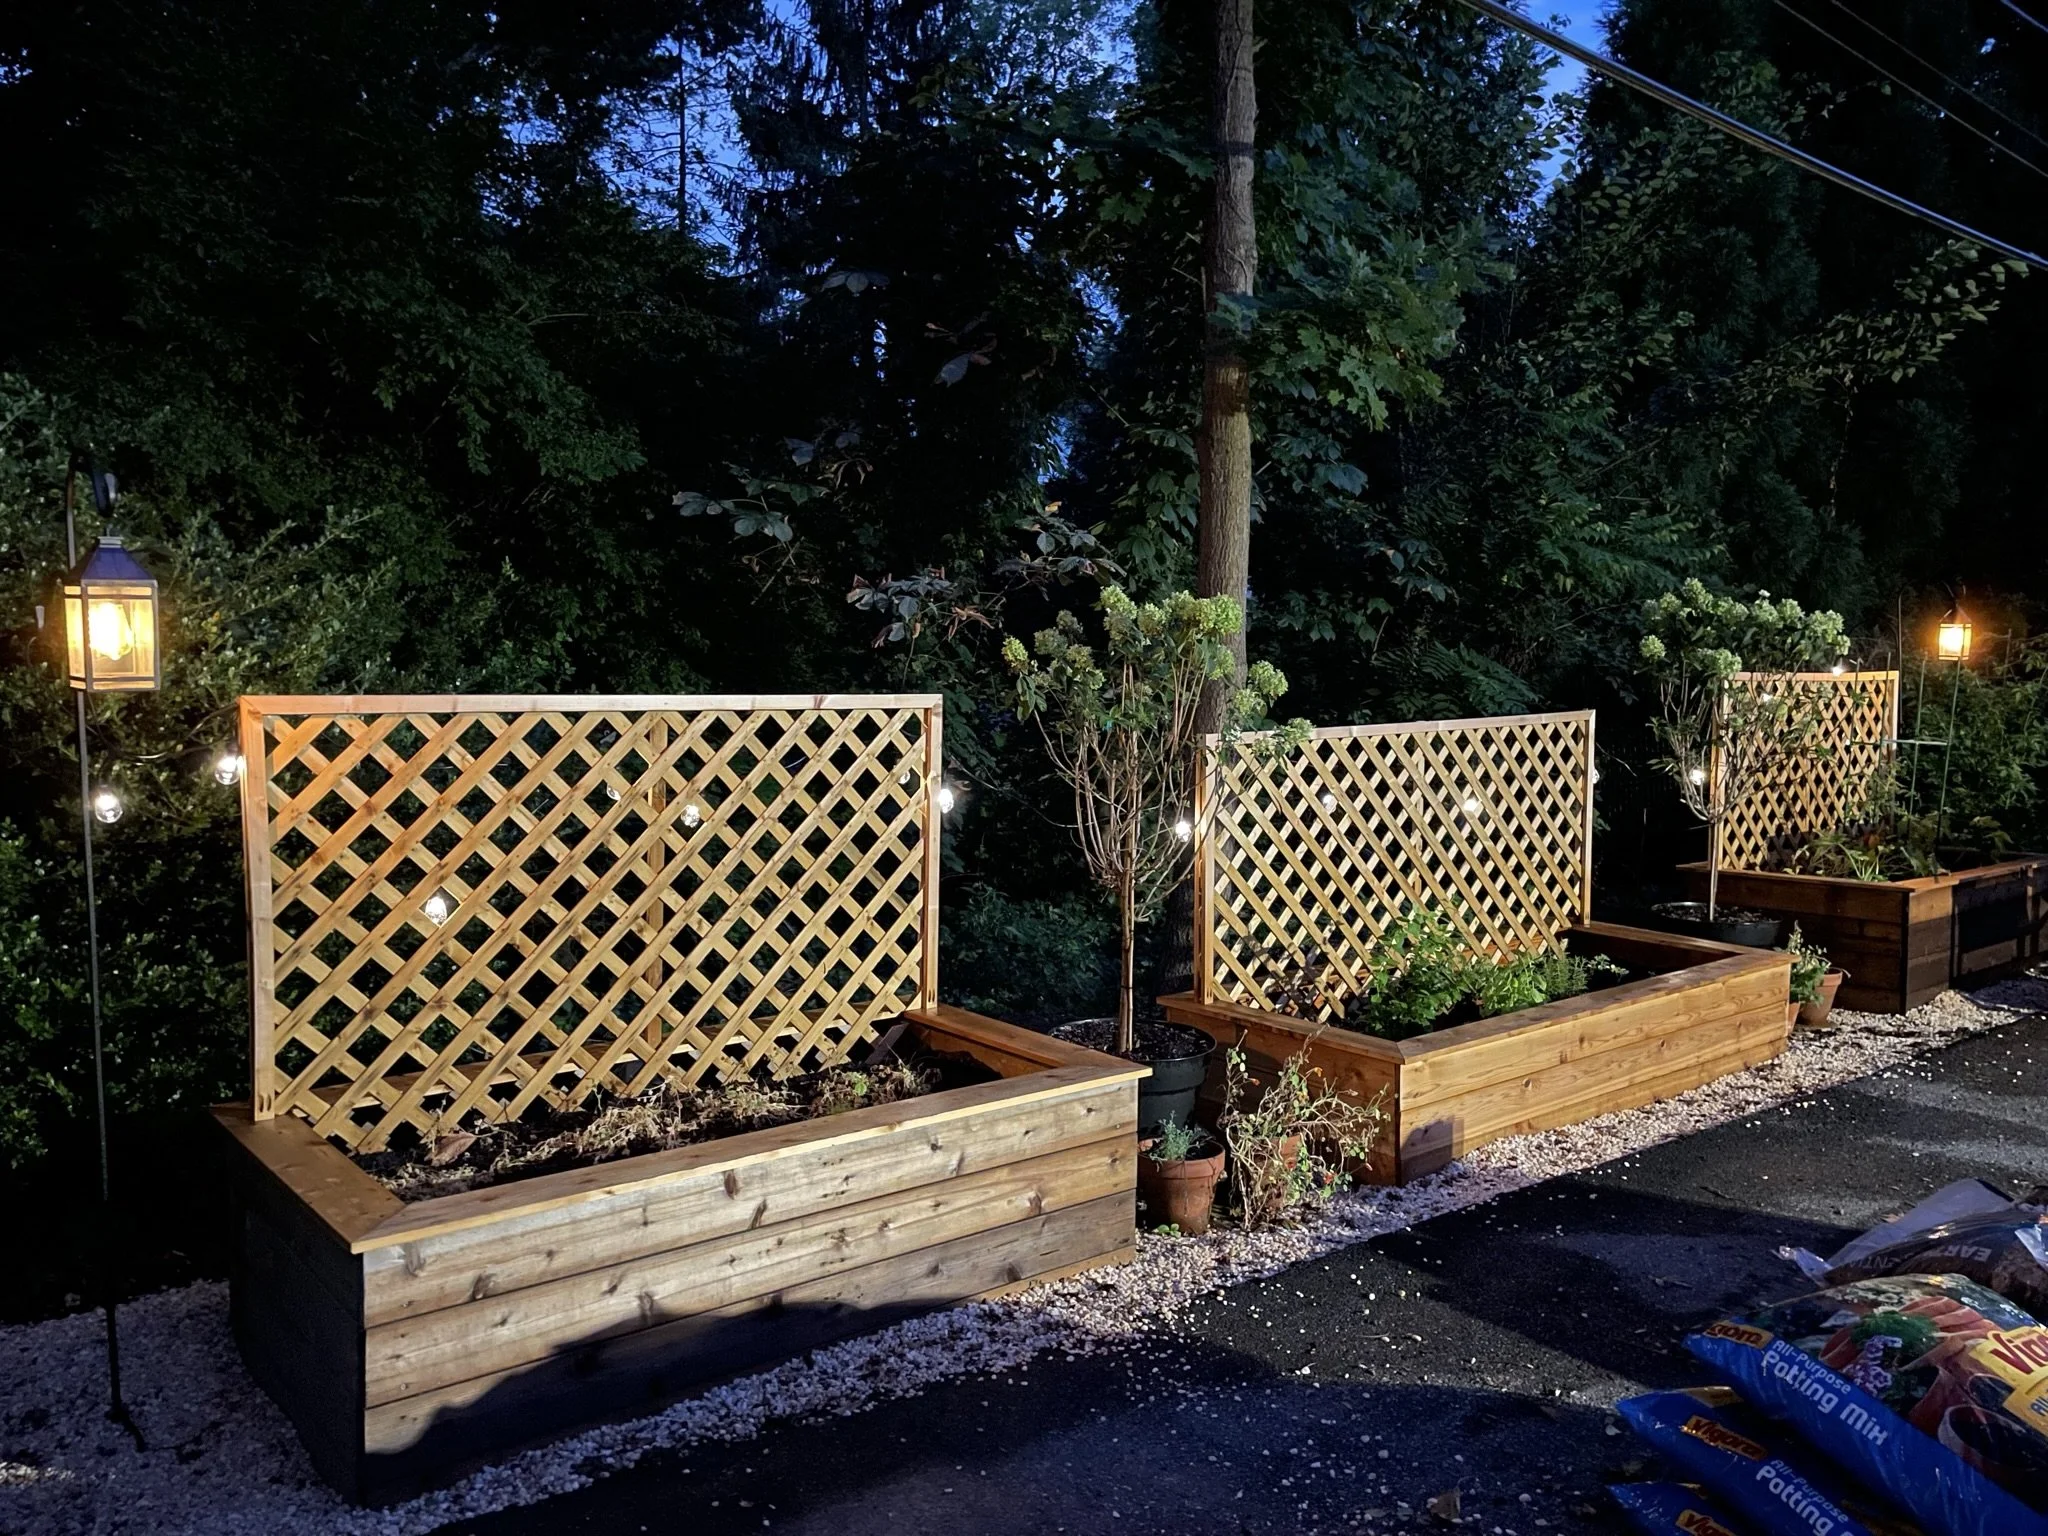
(6) a couple shepherd hooks, lanterns and solar string lights
And BOB’S YOUR UNCLE —- TA DA!

And they lived happily ever after… eating fresh home-grown food (kind of)! And gave the rest to our resident groundhog, Phil. Except for the peas. Because those were planted too late and died in the scorching heat of July. If we could remember to diligently water it each day, it would be even better. But there’s plenty of time to get better at the gardening part….
Let us know what you think and if you tackle your own!
In the next chapter, we get back to work on our shed, show you our new compost bin and start building an entire “formal” garden! Dun dun dun.
See you then!
Love & cuddles,
Lex