
How much wood could a woodchuck chuck?
Once upon a time…
There was a girl who planned everything down to the tee and was convinced it would all happen exactly as she planned for once. And then it rained. And then it rained some more. And then a kid got sick and had to stay home from school. And then I tried to combine 3 weeks of activity into one week to make up for lost time, which is always doomed to a little failure. While I made a huge amount of progress over the week which felt awesome after what feels like a month of inactivity and planning, I technically still have no beautiful pictures to show for it. We’re 50% in progress with all parts of the boot room which doesn’t make for very exciting photos or posts, but I’m hoping this next week will really start to blossom with pretty things and activity we can share here! We’re supposed to be having our sconces installed, our fireplace flue re-lined & gas fireplace installed, will be routing the paneling and adding that to the walls, and I’ll get some finishing touches going on the shoe shelves and boot shelves while I try to also make progress on the upholstered bench. We may even get to some painting if we’re super lucky, but let’s not push it. Nothing like a whirlwind of activity all at the end hey!
Catching up?! Ello, and welcome to the mad house!
Read all about the One Room Challenge here. Or catch up on our first four weeks of planning….
Week 1 : Introducing The Boot Room - Befores, Challenges, The Plan
Week 2 : Let’s Get Colourful - Moodboard & Renderings
Week 3: Lights & Rugs & Fabrics, Oh My! - A guide to my decision process

So what really happened this week? A whole lot of woodworking really! And I also introduced our Instagram community to our resident woodchuck / groudhog, hence the blog post title. Move over Punxsutawney Phil… Philly Pete is in town! Did you know woodchucks and groundhogs were the same thing? Just etymologically different in terms of linguistics… ya learn something knew every day huh? We like the not-so-little guy who’s bigger than our cat, and either he’s dumb or unaware, but he currently munches on our nuisance weeds and not our herbs and veggies, so I’ll take it!
Anyway, as far as One Room Challenge progress… I got started on our upholstered bench build, which I detailed in Week 4 post last week. I’m happy to say I got all of the pieces cut, the base put together, the arms jig-sawed and ready for sanding, and the back support pieces ready for webbing. So this week I’ll be onto constructing the back part together, adding the webbing and starting the beginning of the upholstery! EEEKS! The fabric and corded trim (detailed in Week 3 post), as well as the cushions, have all arrived so I’m just waiting on one final piece of heavy density upholstery foam to land on our doorstep before I really get stuck into the depths of that. I’m both terrified and excited to tackle it. Wish me luck!


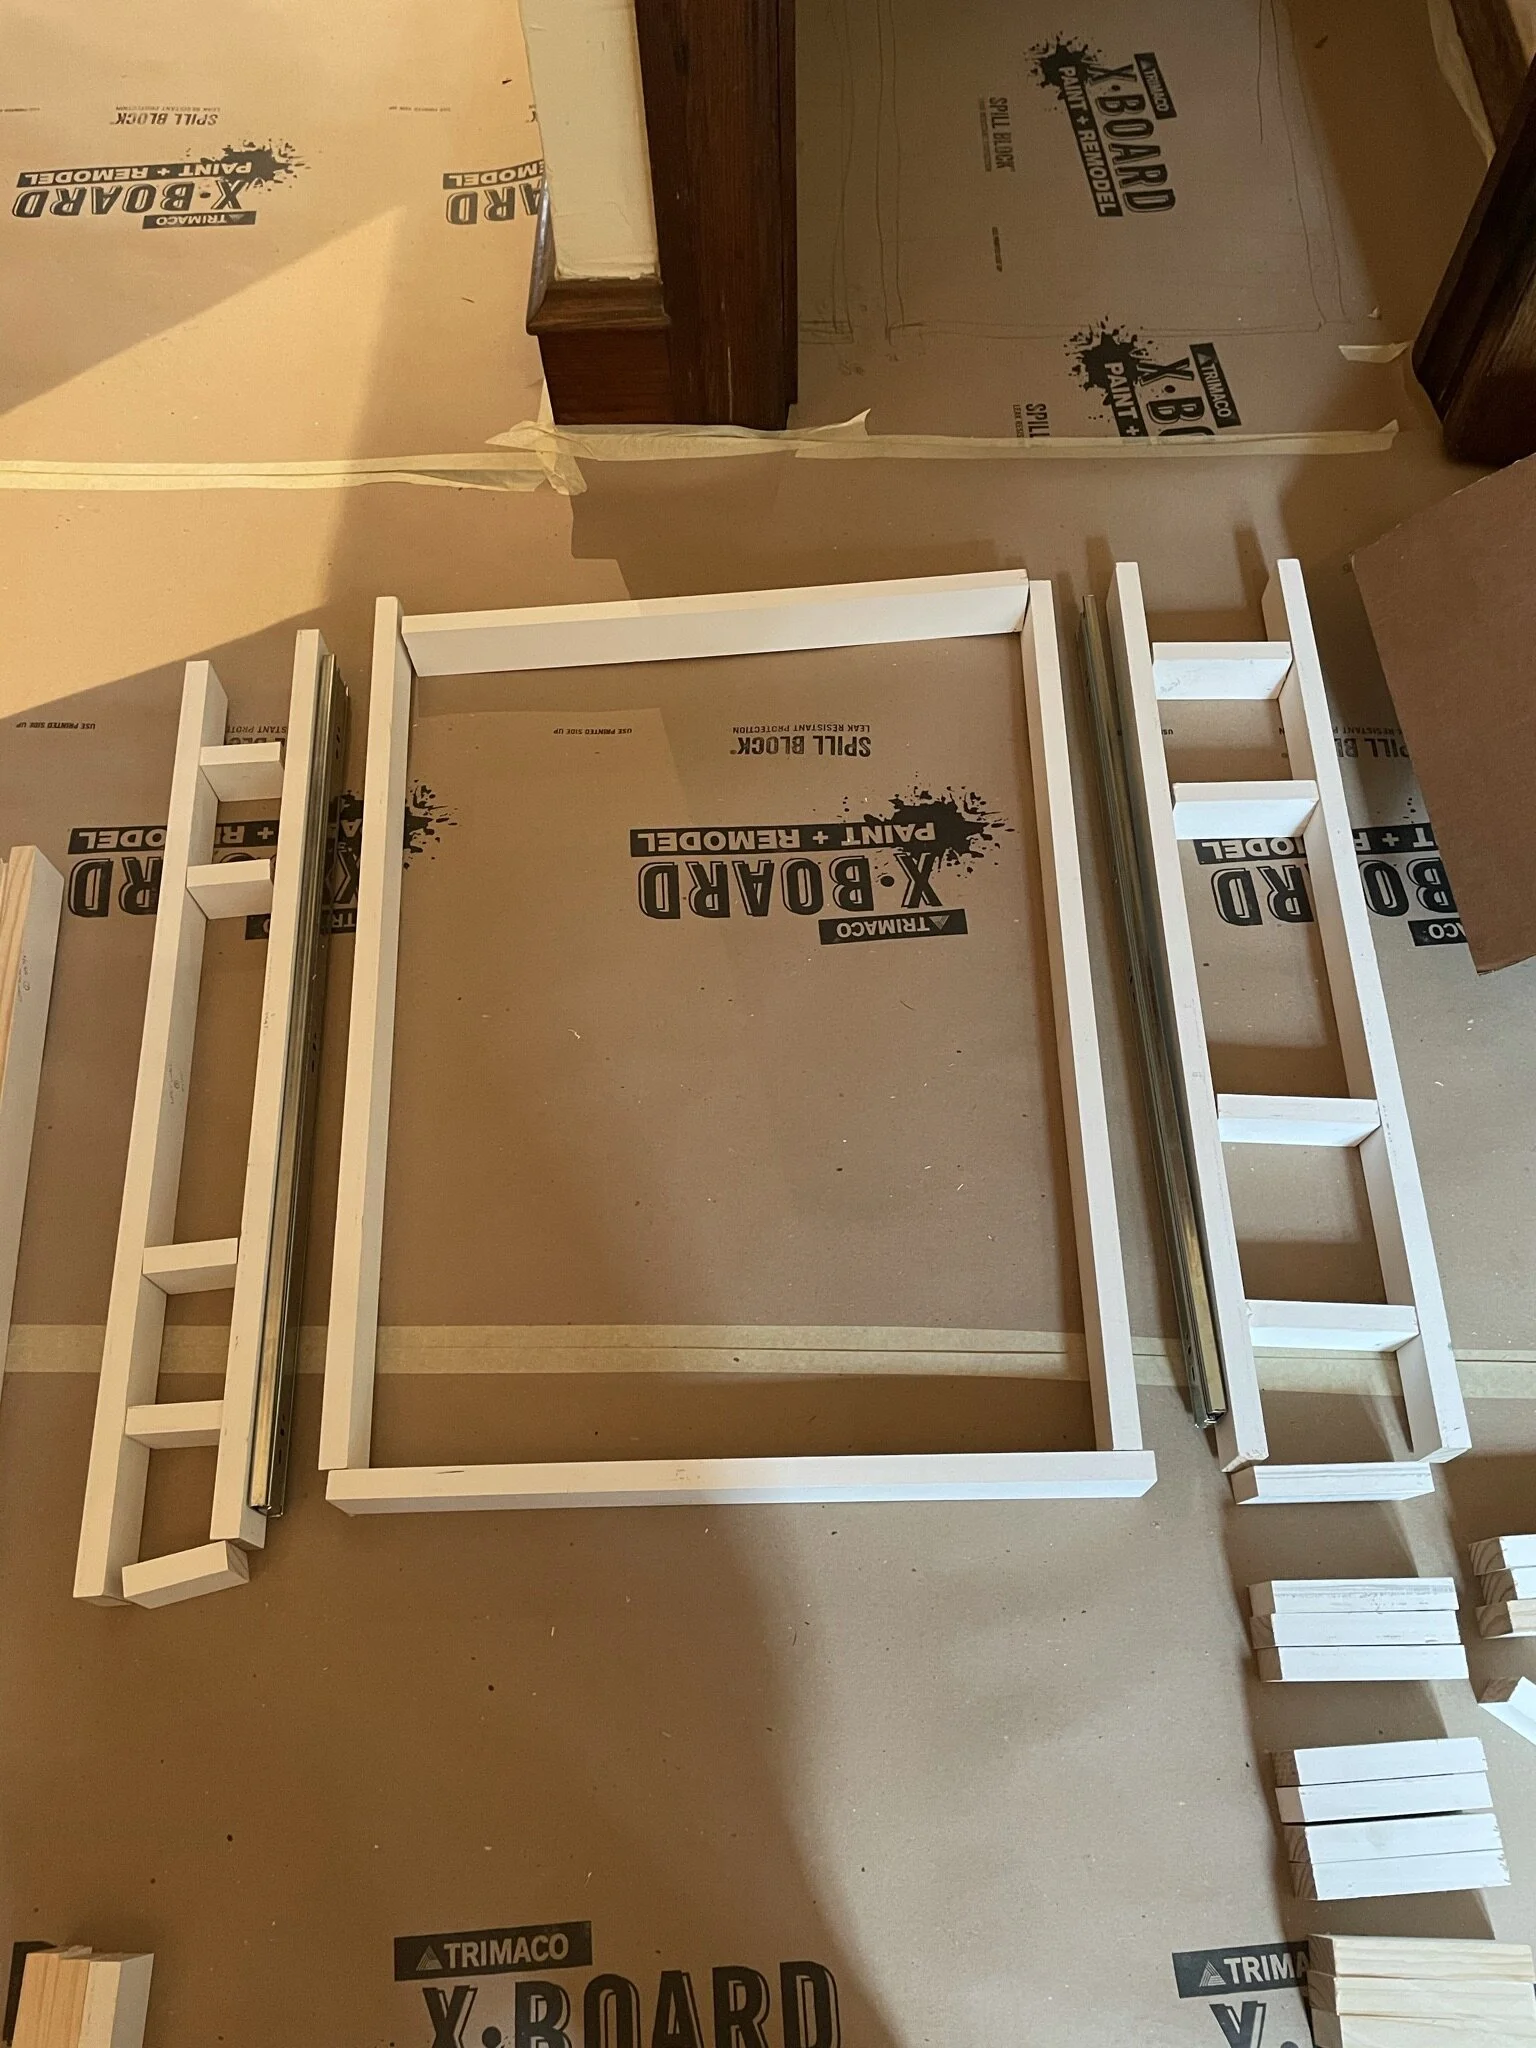
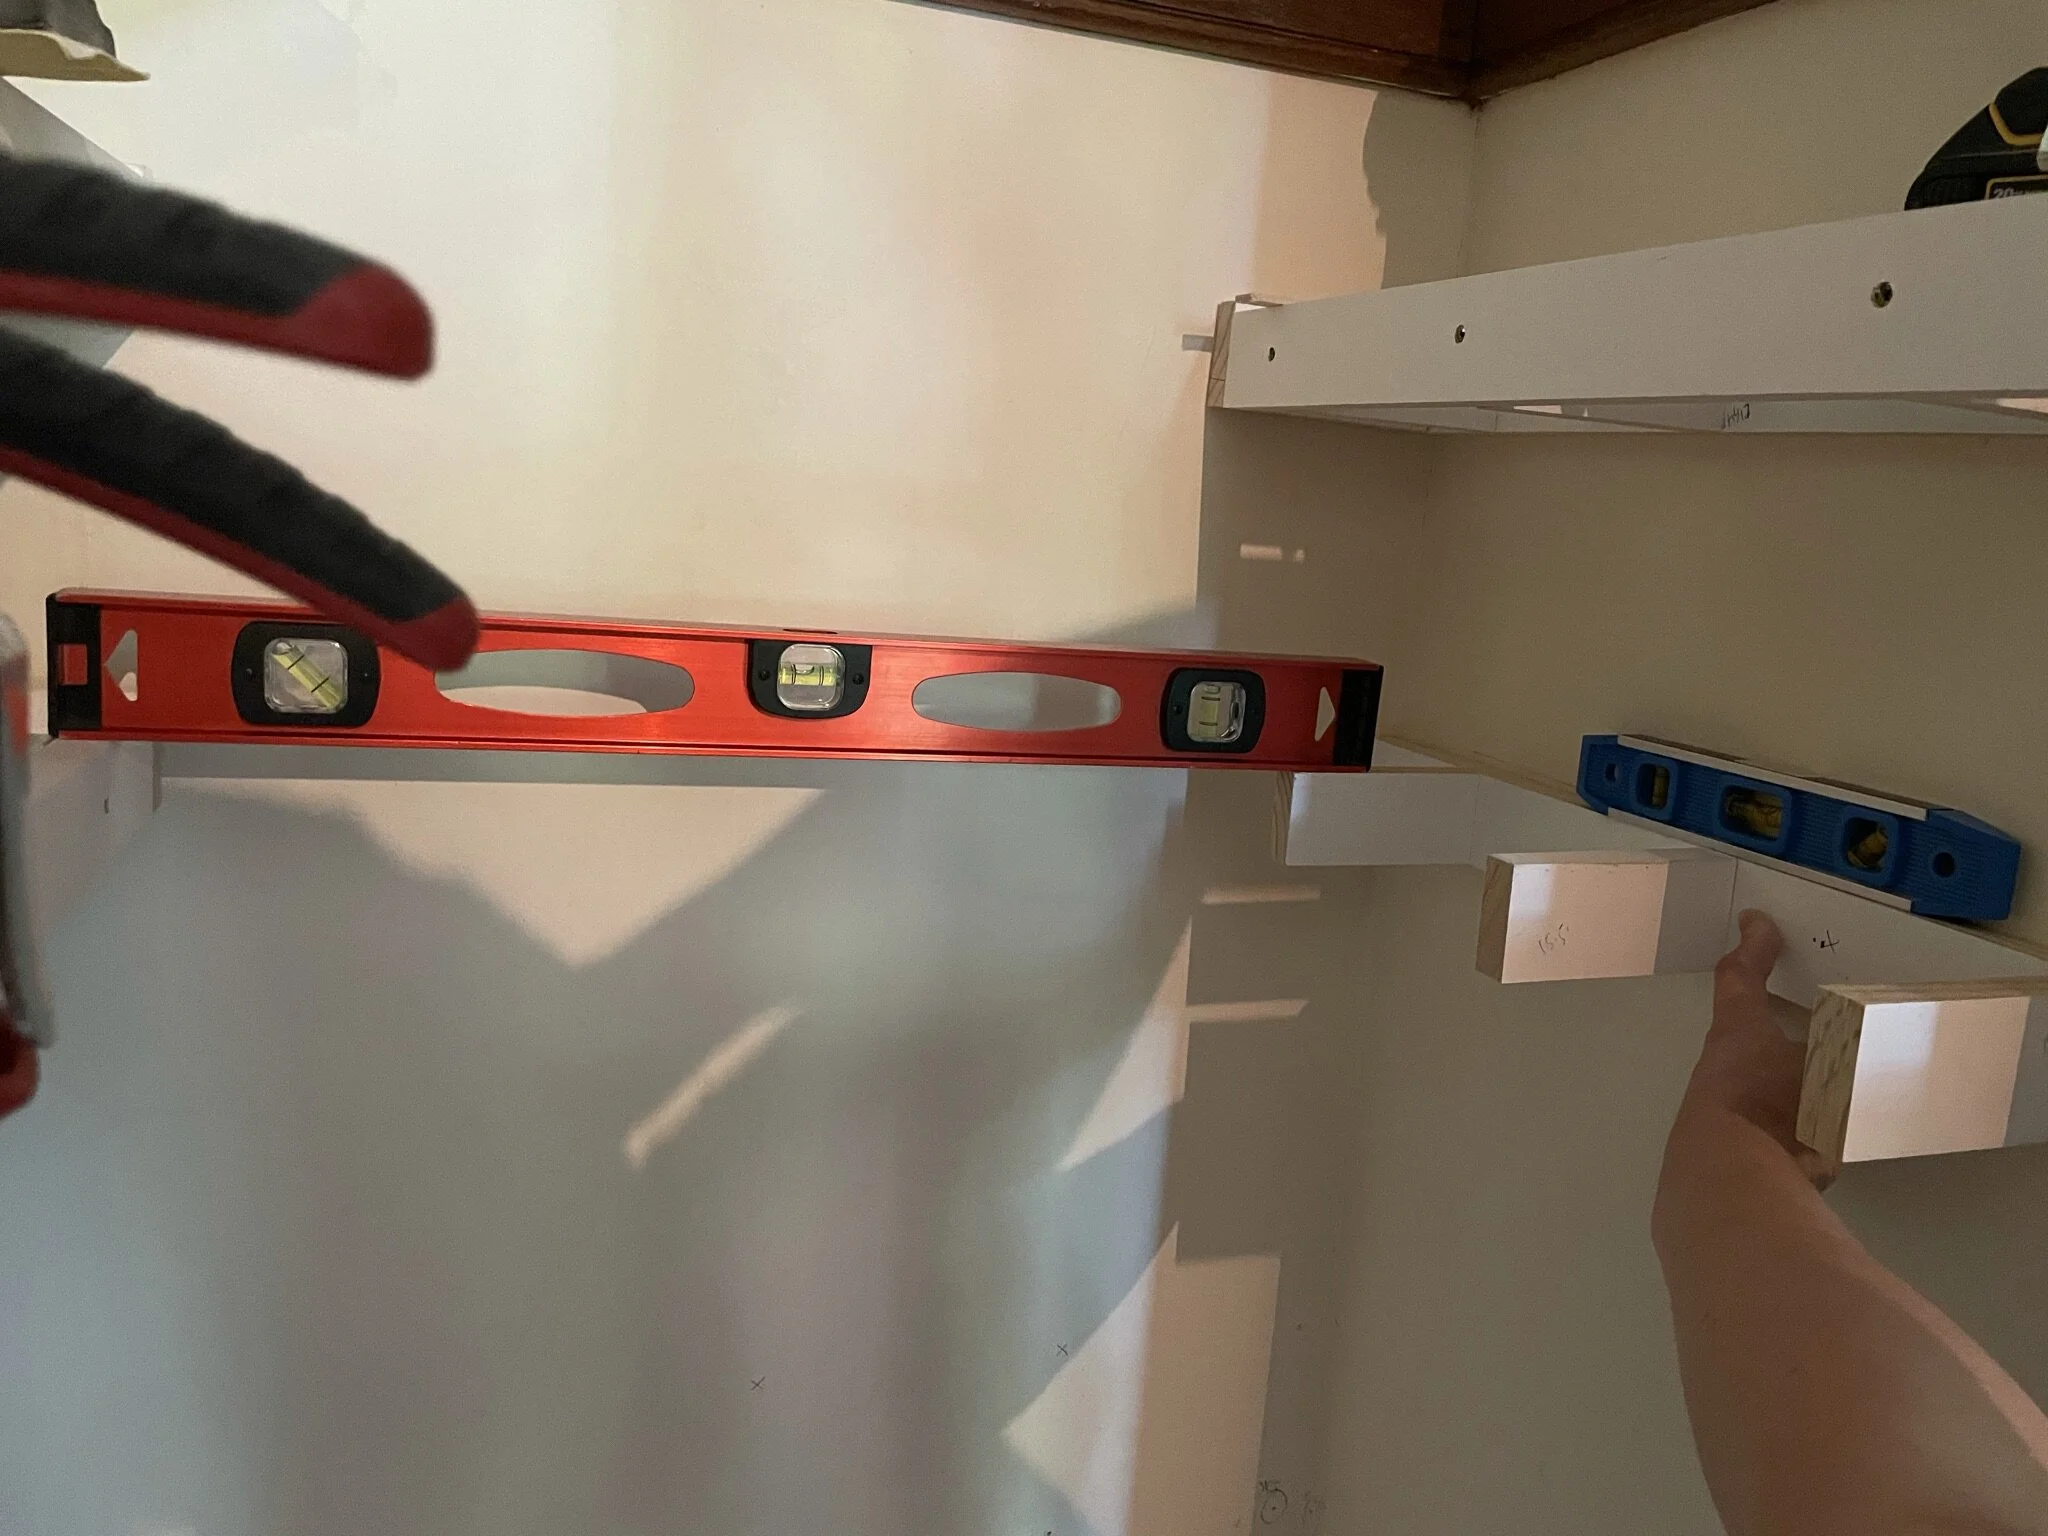
Onto the shoe shelves that I’m installing in the old coat cupboard… I spent a solid couple of days with my mitre saw, table saw, and jigsaw, cutting, ripping and shaping over 120 pieces of wood. While it’s a simple design in theory, because the cupboard is more inset and deeper than a standard closet, I’ve had to over-engineer a few things to get my vision in place. By the end of this week, I have managed to get my side supports up and create the carcasses for the shoe drawers that I’ll be attaching after everything is painted. Unfortunately the screws for my drawer slides didn’t arrive with them like they were supposed to, but I’ve got some substitutes from Home Depot I’m hoping should still work even though they’re 1/16th inch bigger. Fingers crossed!
Anything currently white in my pics will be painted the same colour as our paneling (Little Donkey by @fenwickandtilbrook) and then I’m adding red oak slats to the top of both the supports and the shoe drawers which will all be stained in English Chestnut to match our original trim and doors. I’m hoping this will make it quite a pretty finish.
Popping the original inspiration up here to the right for a reminder of how these shelves will function when I’m all done! My design is a little different and our slats will go horizontally instead, but the pull out drawer concept is the same.


Next up, I also cut down and jigsaw-ed our oak shelf brackets. We had leftover oak from the kitchen brackets, so rather than coming up with a new design and template for the bracket, I’ve just copied that one again. I’ve still not got around to writing a post all about that process, but I promise I will soon. Here’s the template and the kitchen brackets, which is how the new ones will look too (just above the paneling instead of on a special backer like the kitchen). I completed the jigsaw part, but haven’t yet routed the edges. The intention is to round off the edge of the bracket to give it a little softness compared to the kitchen. Sorry for the lack of pictures of what I’ve actually done - it seems I have most of it within time-lapse but not solid state pics! Oops.


And then finally, we also got on with the first step of the tongue & groove paneling that will go around the entire room. We were originally going to make life easy for ourselves and order paneling already routed with random V grooves on mdf. But then the lead time for that product sprang up to 12 weeks, and the cost was almost triple buying basic mdf. Yikes!! At $45 per sheet, the mdf was still not cheap (#gasp!!), but a lot more palatable than the alternative. We’ve been trying to get outside and get this cut for weeks now, but the sheets are insanely heavy so need both of us and mdf does not play well in moisture environments. Then every time Stu planned to take a day off of work to help me, the rain gods decided to do a little dance on our driveway instead. Ho hum! We finally got out in the baking sun yesterday and got it all accomplished. Our pieces are now cut down to size, with nary a mistake to be seen. When does that happen?!?! We just have to cut out all the random size holes for our radiator covers, light switches, the original telephone box and window trim which we intend to use our magic contour finder to do. So right now it’s just a boring pile of wood, but by next weekend hopefully it will be routed with the random v-groove, possibly primed, and installed ready for paint. SketchUp rendering for a reminder here of the final goal - though the v-groove will not be a consistent 5” like shown there, it will be random widths like we have done in the kitchen already.


And that just about sums up my whirlwind week of activity with the tools in the garage! So onwards and upwards, ready to take on the next week and flurry of activity! How are there only 3 weeks to go?! It always goes by so quickly.
And they all lived happily ever after….. in denial with the size of the to-do list still looming.
Love & cuddles,
Lex

One Room Challenge sponsored by Better Homes and Gardens
Featured Designers for Spring 2021:
Ariene C. Bethea | At Home With Ashley | Banyan Bridges | Bari J. Ackerman
Brit Arnesen | Brownstone Boys | Cass Makes Home | Dominique Gebru
Gray Space Interiors | Haneen's Haven | Home Ec. | Nile Johnson Design |
Pennies for a Fortune | Prepford Wife | Rachel Moriarty Interiors | Sachi Lord |
Susan Hill Interior Design | This Is Simplicite | Tiffany DeLangie | Victoria Lee Jones